In the age of mobile content creation, Moment stands as the industry leader for professional-grade lenses, filters, and accessories. Whether you’re an aspiring filmmaker, social media creator, or photography enthusiast, Moment’s T-Series lenses and tools elevate iPhone footage to cinematic standards.
This guide, written from the perspective of a professional filmmaker and photographer, will provide an expert breakdown of each component, how it works, and the best scenarios for use. We’ll also walk through a step-by-step setup and offer pro-level tips to help you maximize your gear.
Before You Shoot: iPhone Settings for Pro-Quality Footage
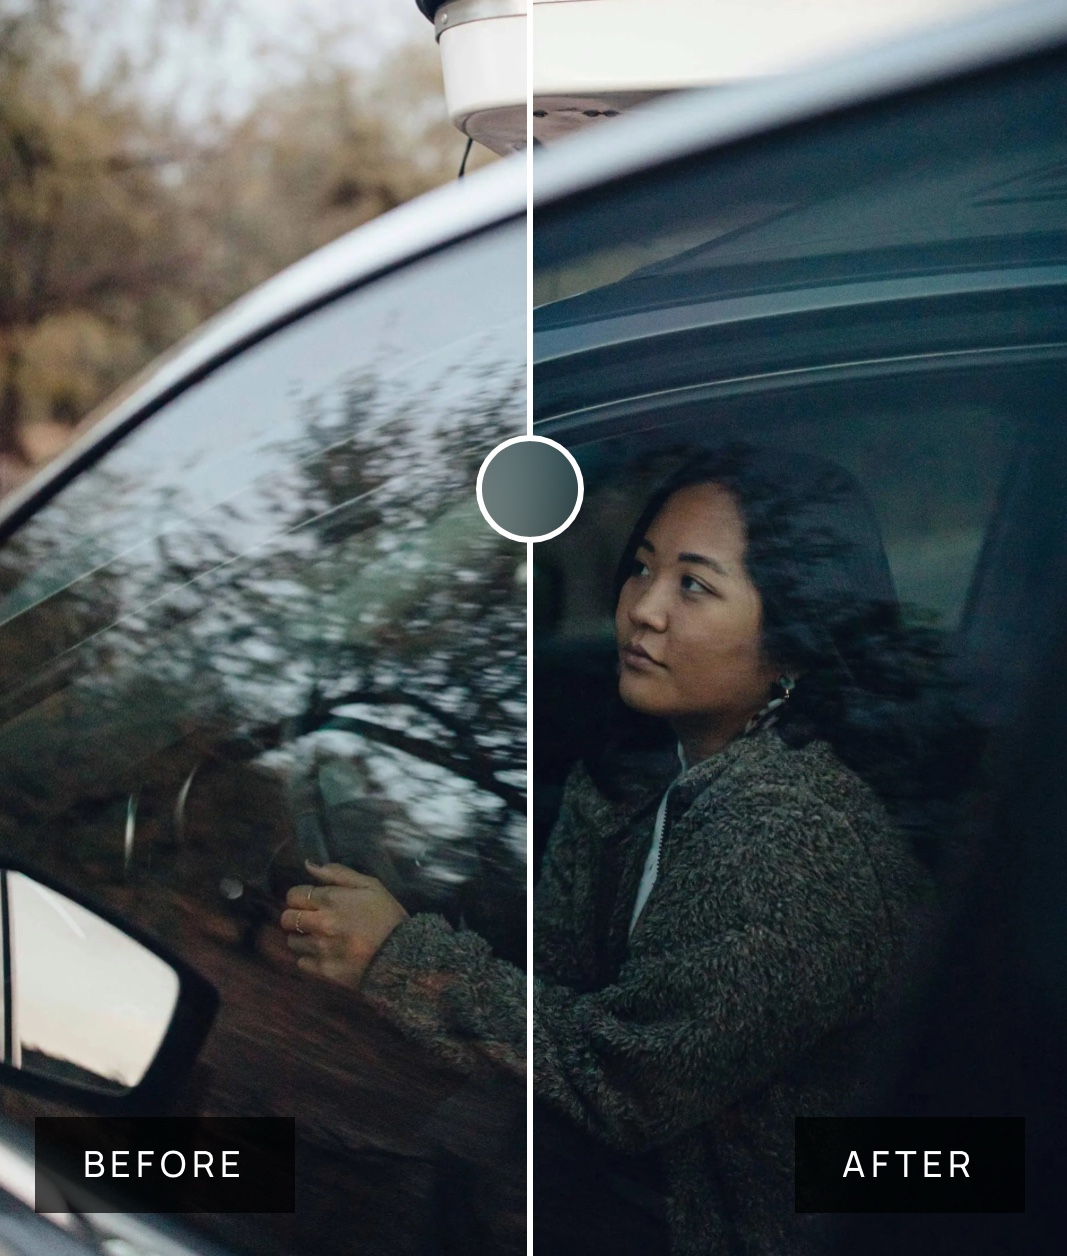
Before attaching your lenses and filters, let’s prepare your iPhone for high-quality photo and video capture. The iPhone, when properly configured, can deliver footage with incredible dynamic range and flexibility for color grading — especially when paired with DaVinci Resolve during post-production.
1. Enable RAW for Photography
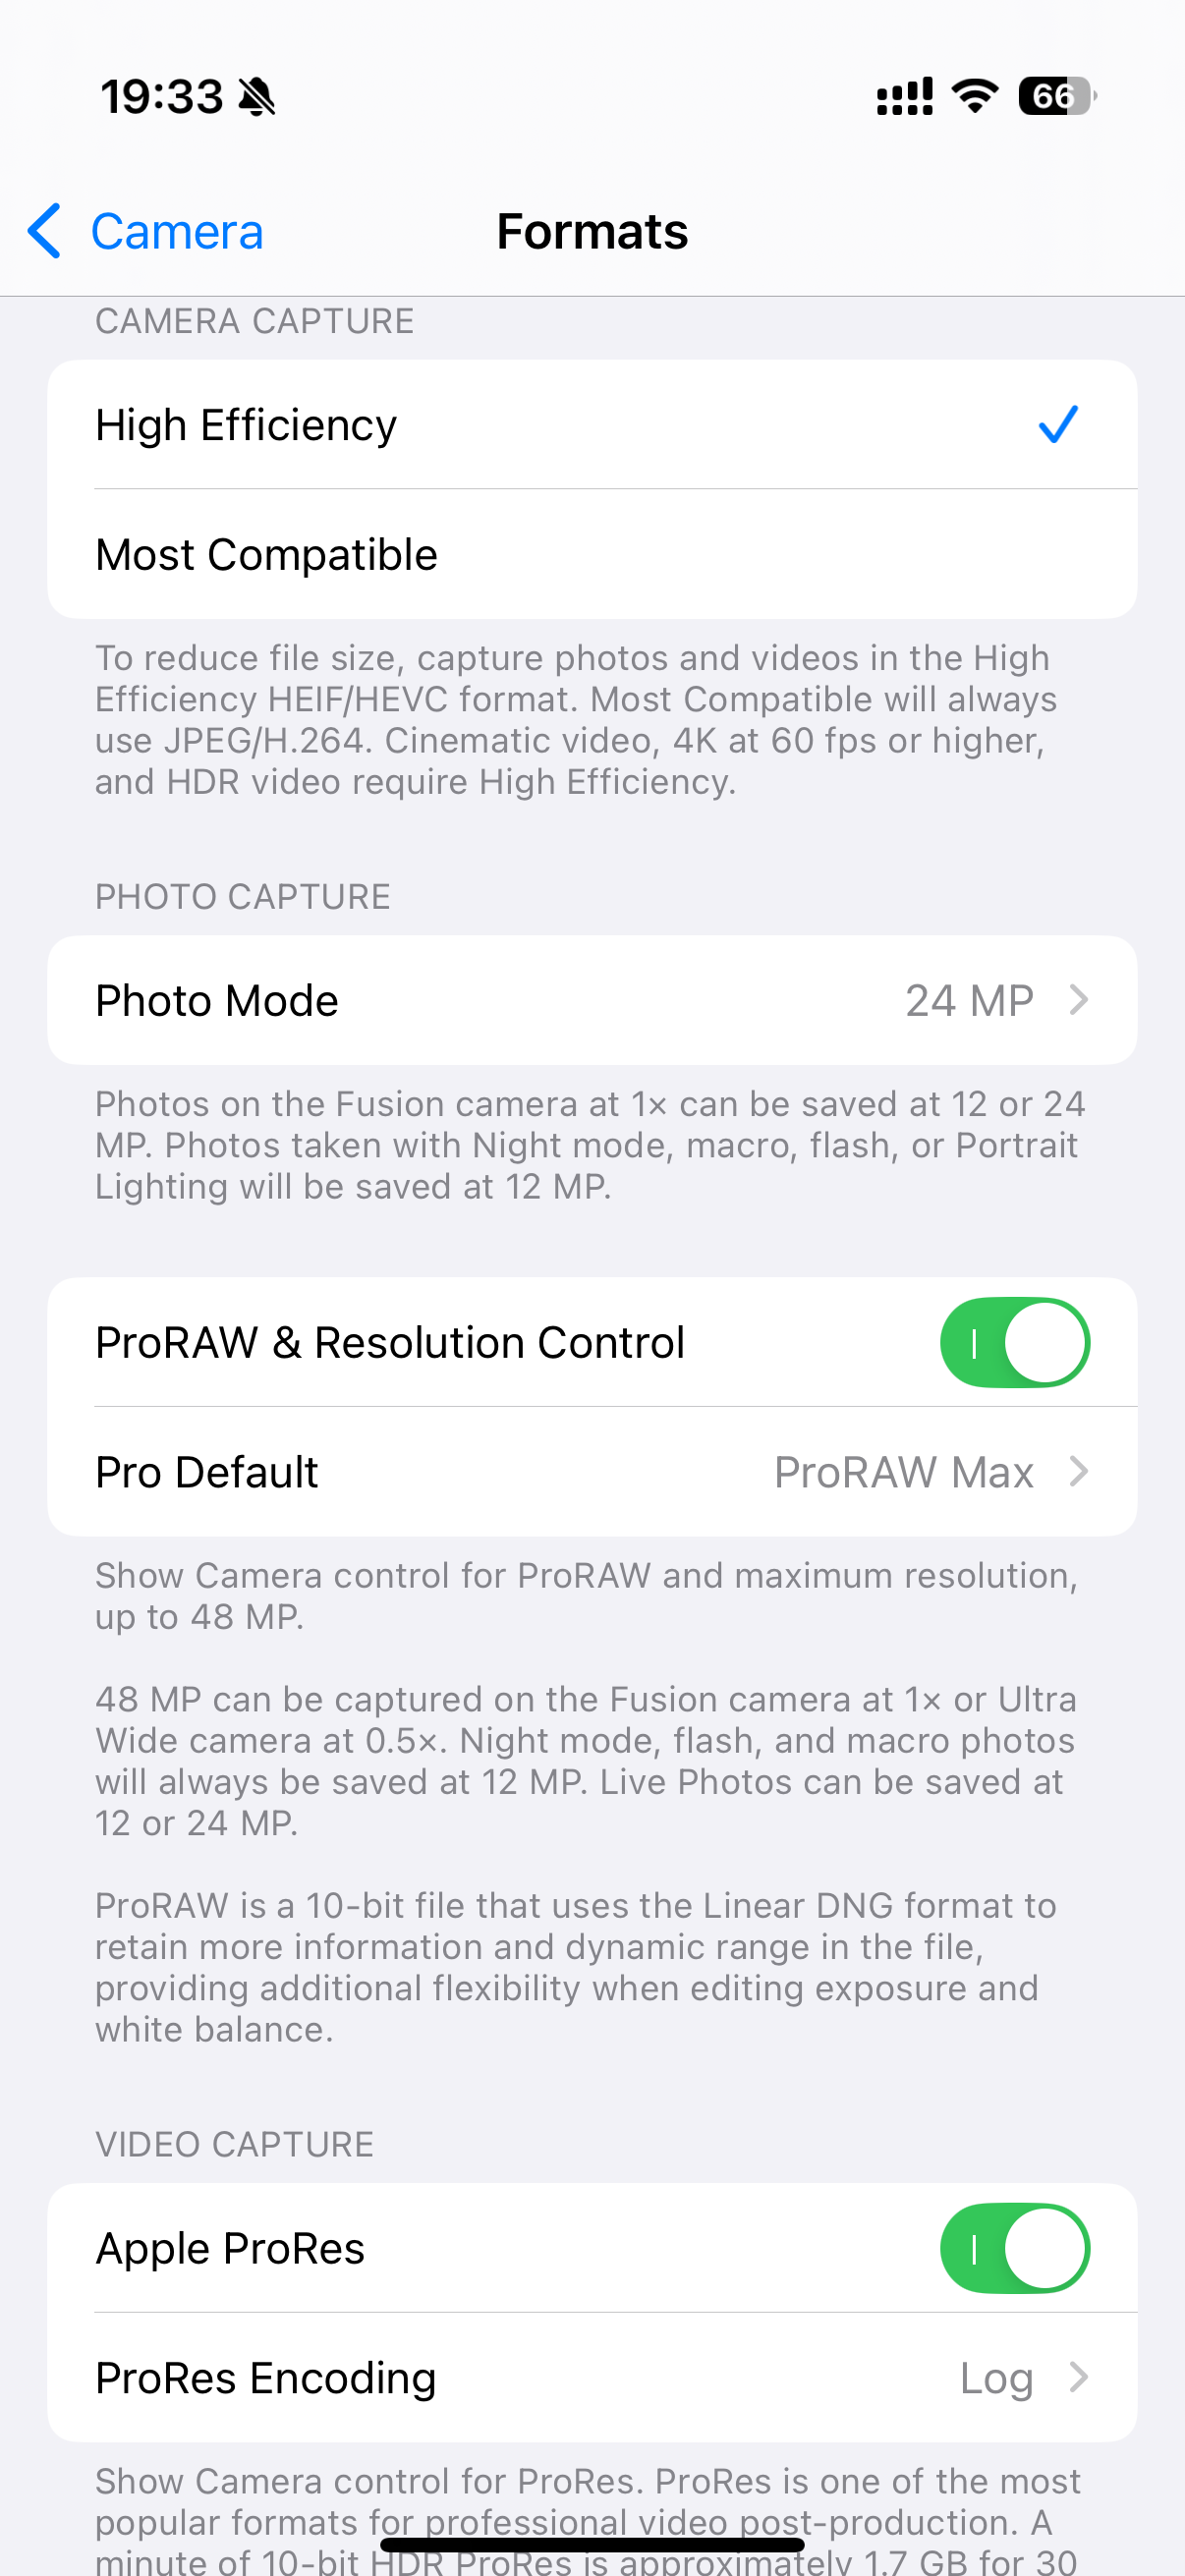
• Go to Settings > Camera > Formats.
• Turn on Apple ProRAW and set it to 48 MP (for newer models).
Why RAW?
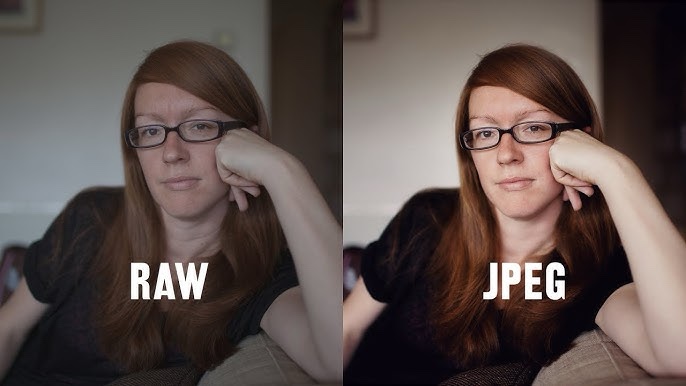
RAW files retain all the sensor data without in-camera processing. This means:
• Greater control over exposure, white balance, and color grading.
• Better shadow and highlight recovery.
• Essential for professional editing in DaVinci Resolve.
Expert Insight:
“I always shoot RAW for product photography and travel shots. When I bring the files into DaVinci Resolve, the added detail lets me adjust colors without introducing artifacts.”
🎯 Pro Tip: Use ISO 100–200 in daylight to minimize noise in RAW photos.
2. Enable Apple Log for Video
• Go to Settings > Camera > Record Video.
• Turn on Apple Log Encoding (available on iPhone 15 Pro models and newer).
• Set resolution to 4K 30fps for cinematic quality or 4K 60fps for action sequences.
Why Apple Log?
Apple Log records a flatter, low-contrast video profile that retains more dynamic range, making it perfect for color grading.
• More Details in Highlights & Shadows: Prevents blown-out skies and crushed blacks.
• Better Color Grading in DaVinci Resolve: The flatter profile allows you to create different cinematic looks without degrading quality.
• Professional Workflow: This log footage can be easily matched with camera footage from DSLRs and mirrorless systems.
Expert Insight:
“Apple Log is a game-changer for mobile filmmakers. In DaVinci Resolve, I use the Color Wheels to lift the shadows and then apply LUTs for consistent color across shots.”
🎯 Pro Tip: Use Auto White Balance Lock before recording to maintain consistent color tones.
Now that your phone is set for professional-quality footage, let’s build the perfect kit.
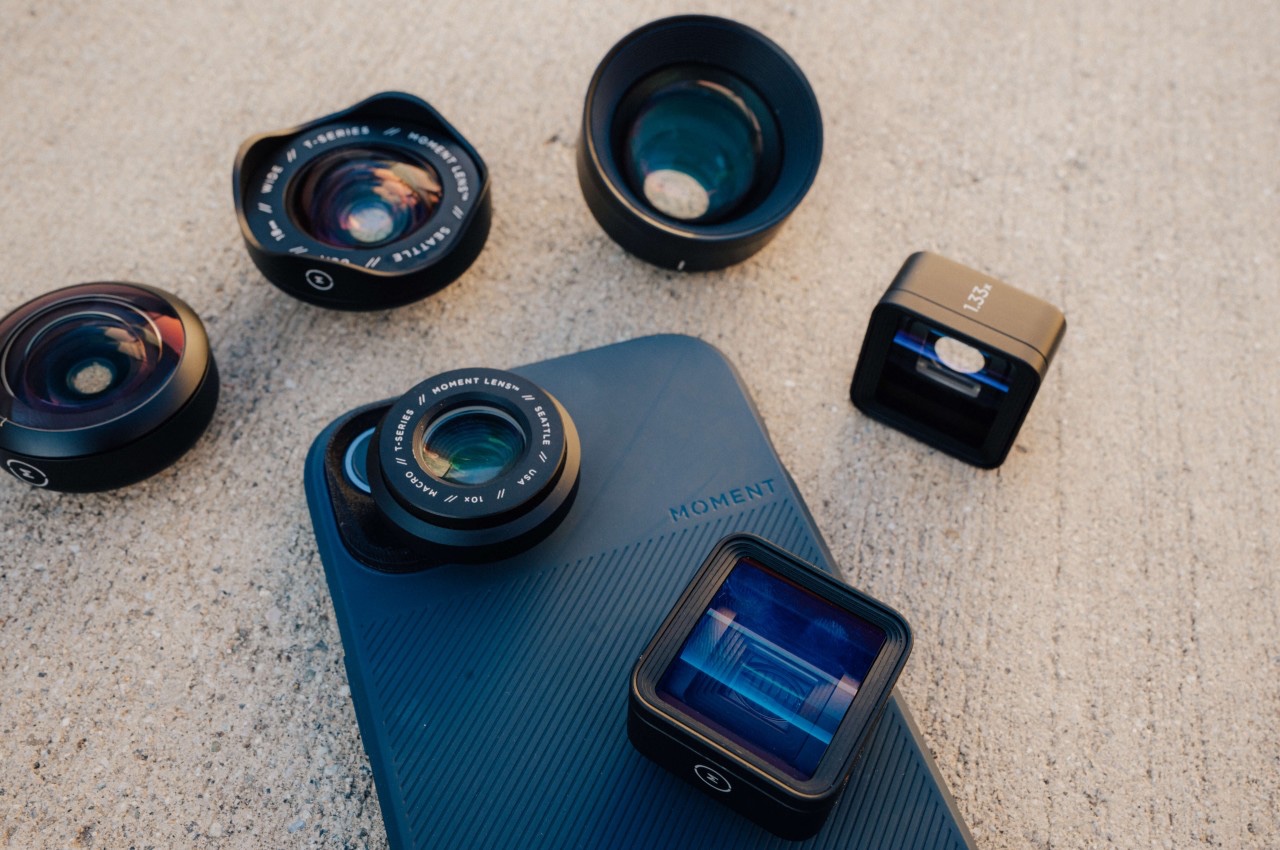
The Complete Professional Kit
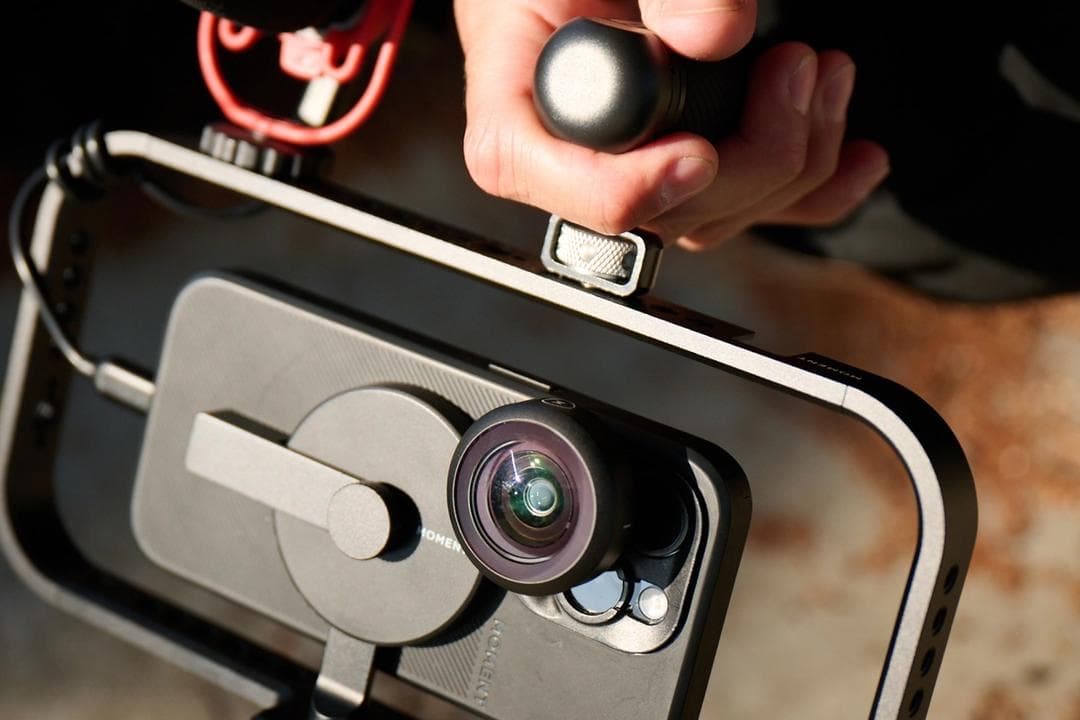
1- Lenses
(T-Series) – Precision Optics for Every Scenario
High-quality glass, minimal distortion, and exceptional sharpness make these lenses essential for versatile mobile content.
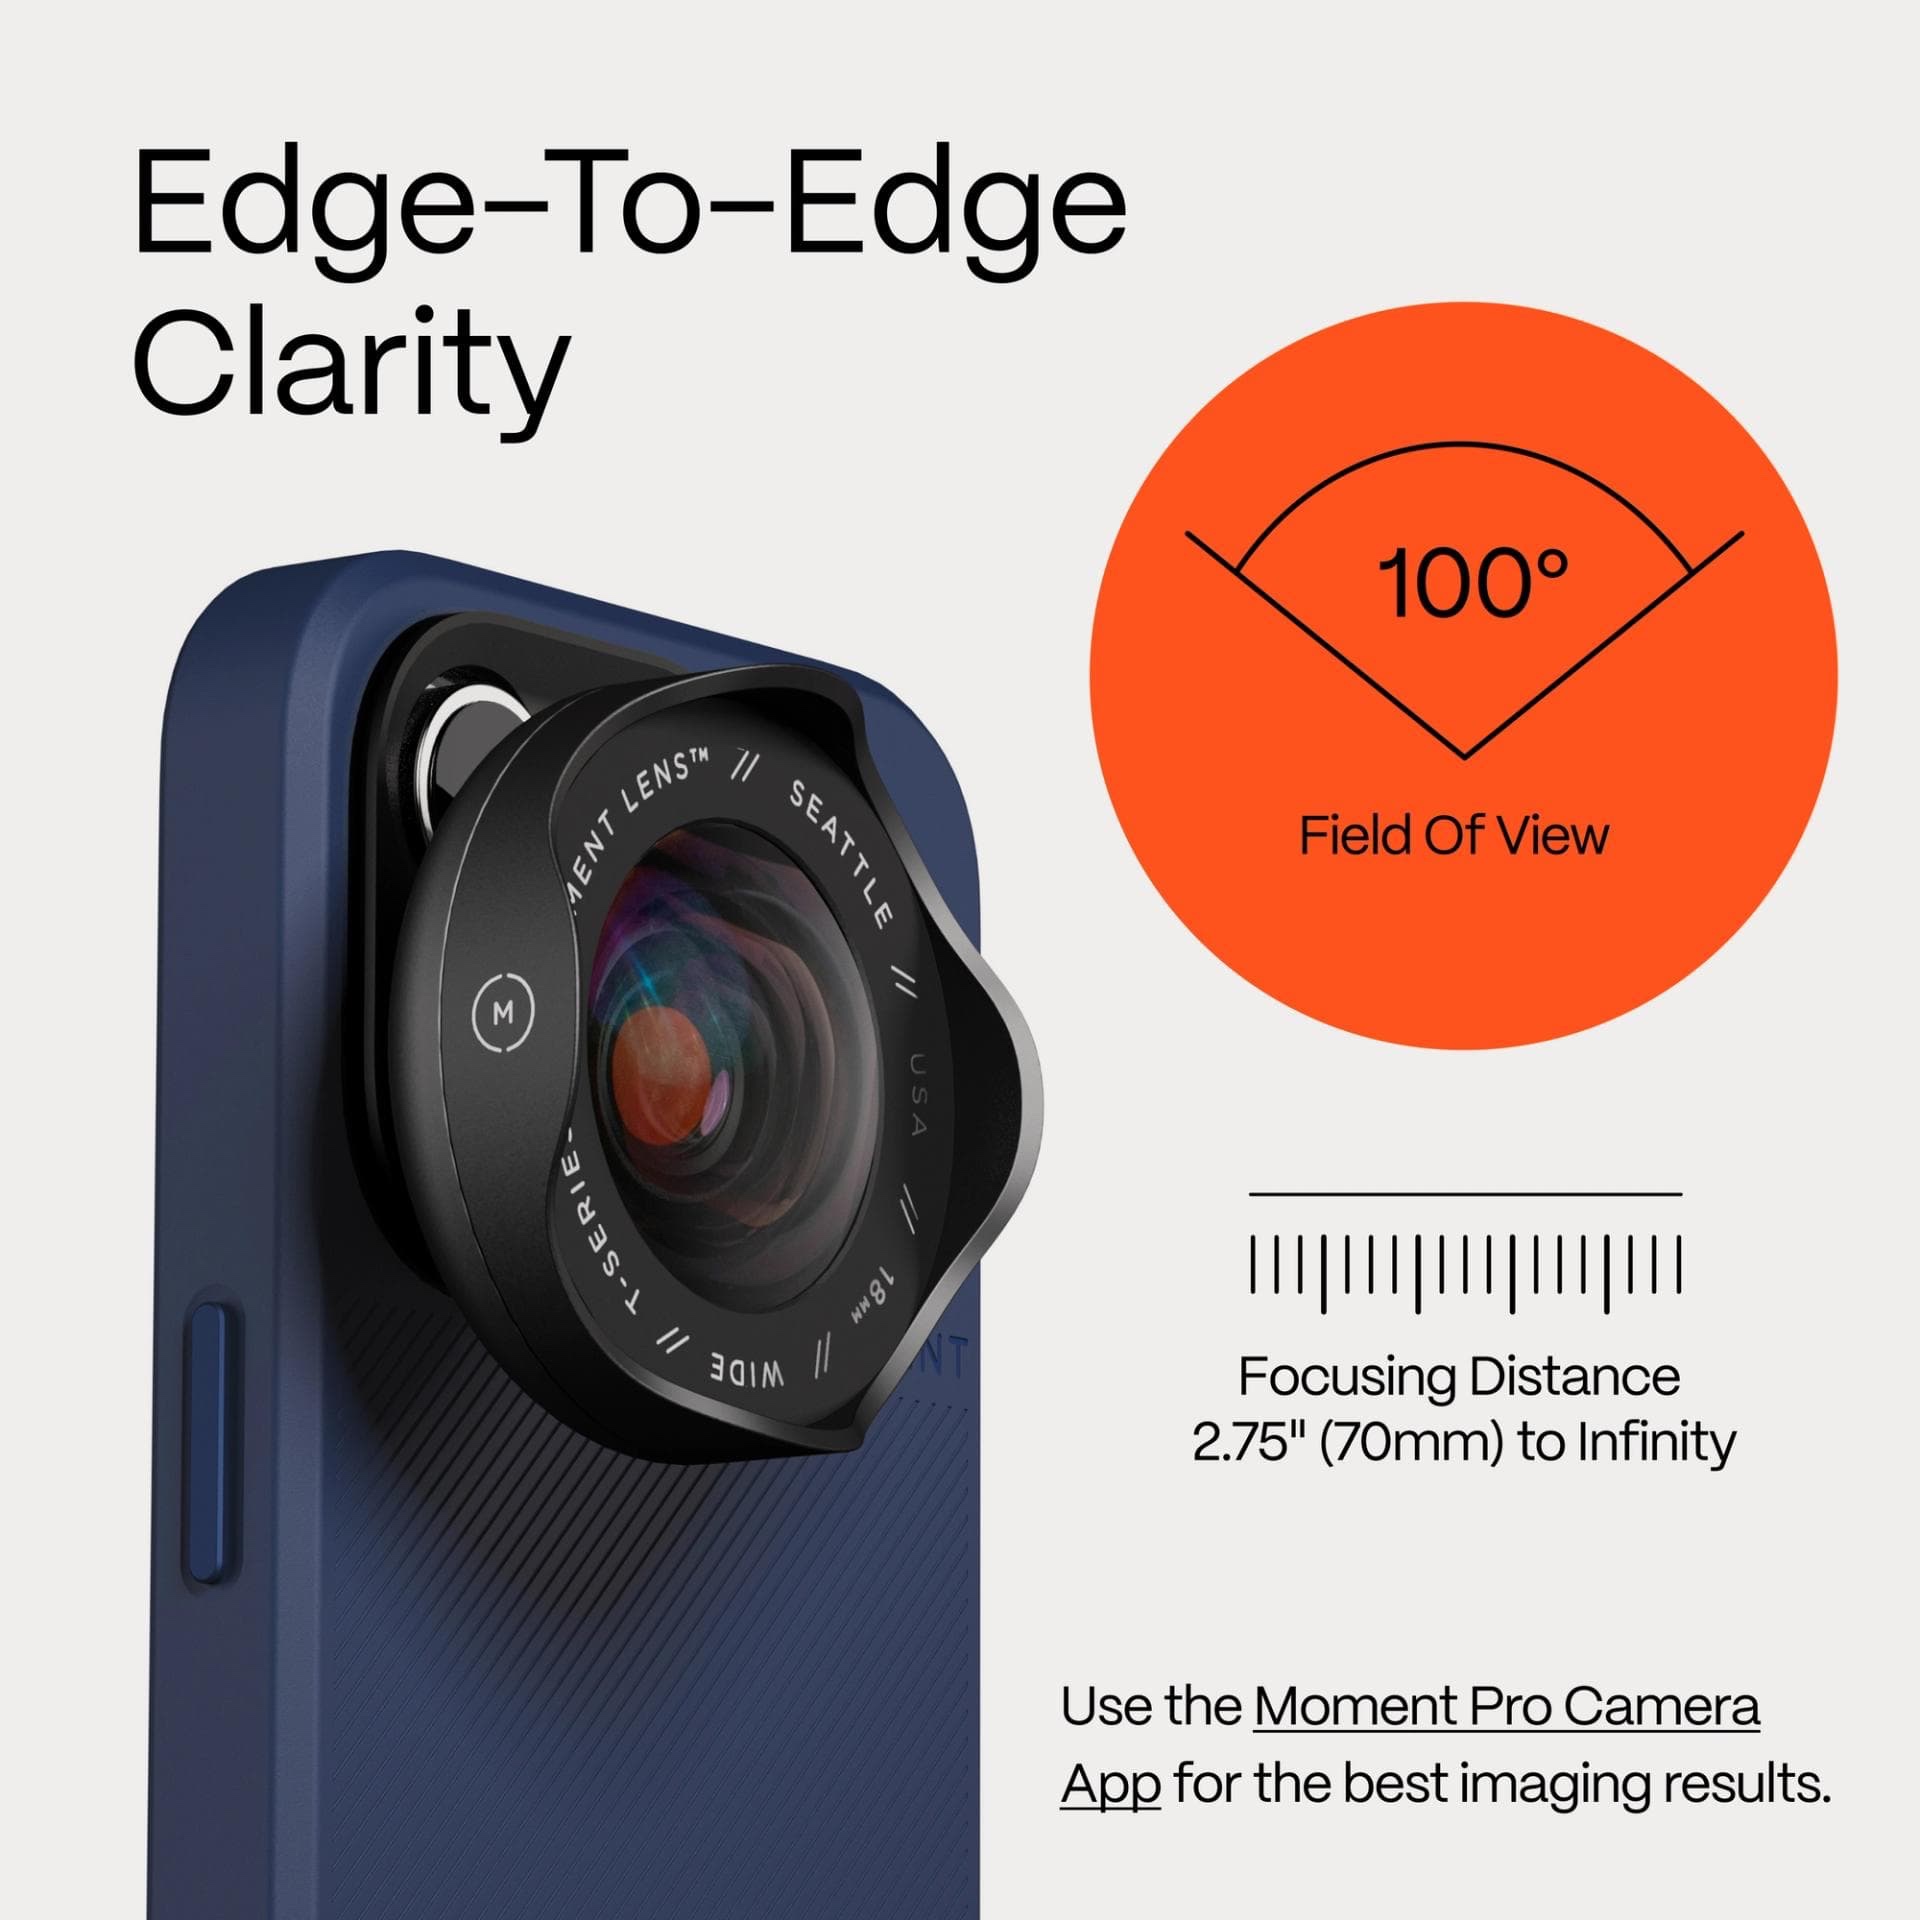
Wide 18mm Mobile Lens – $150
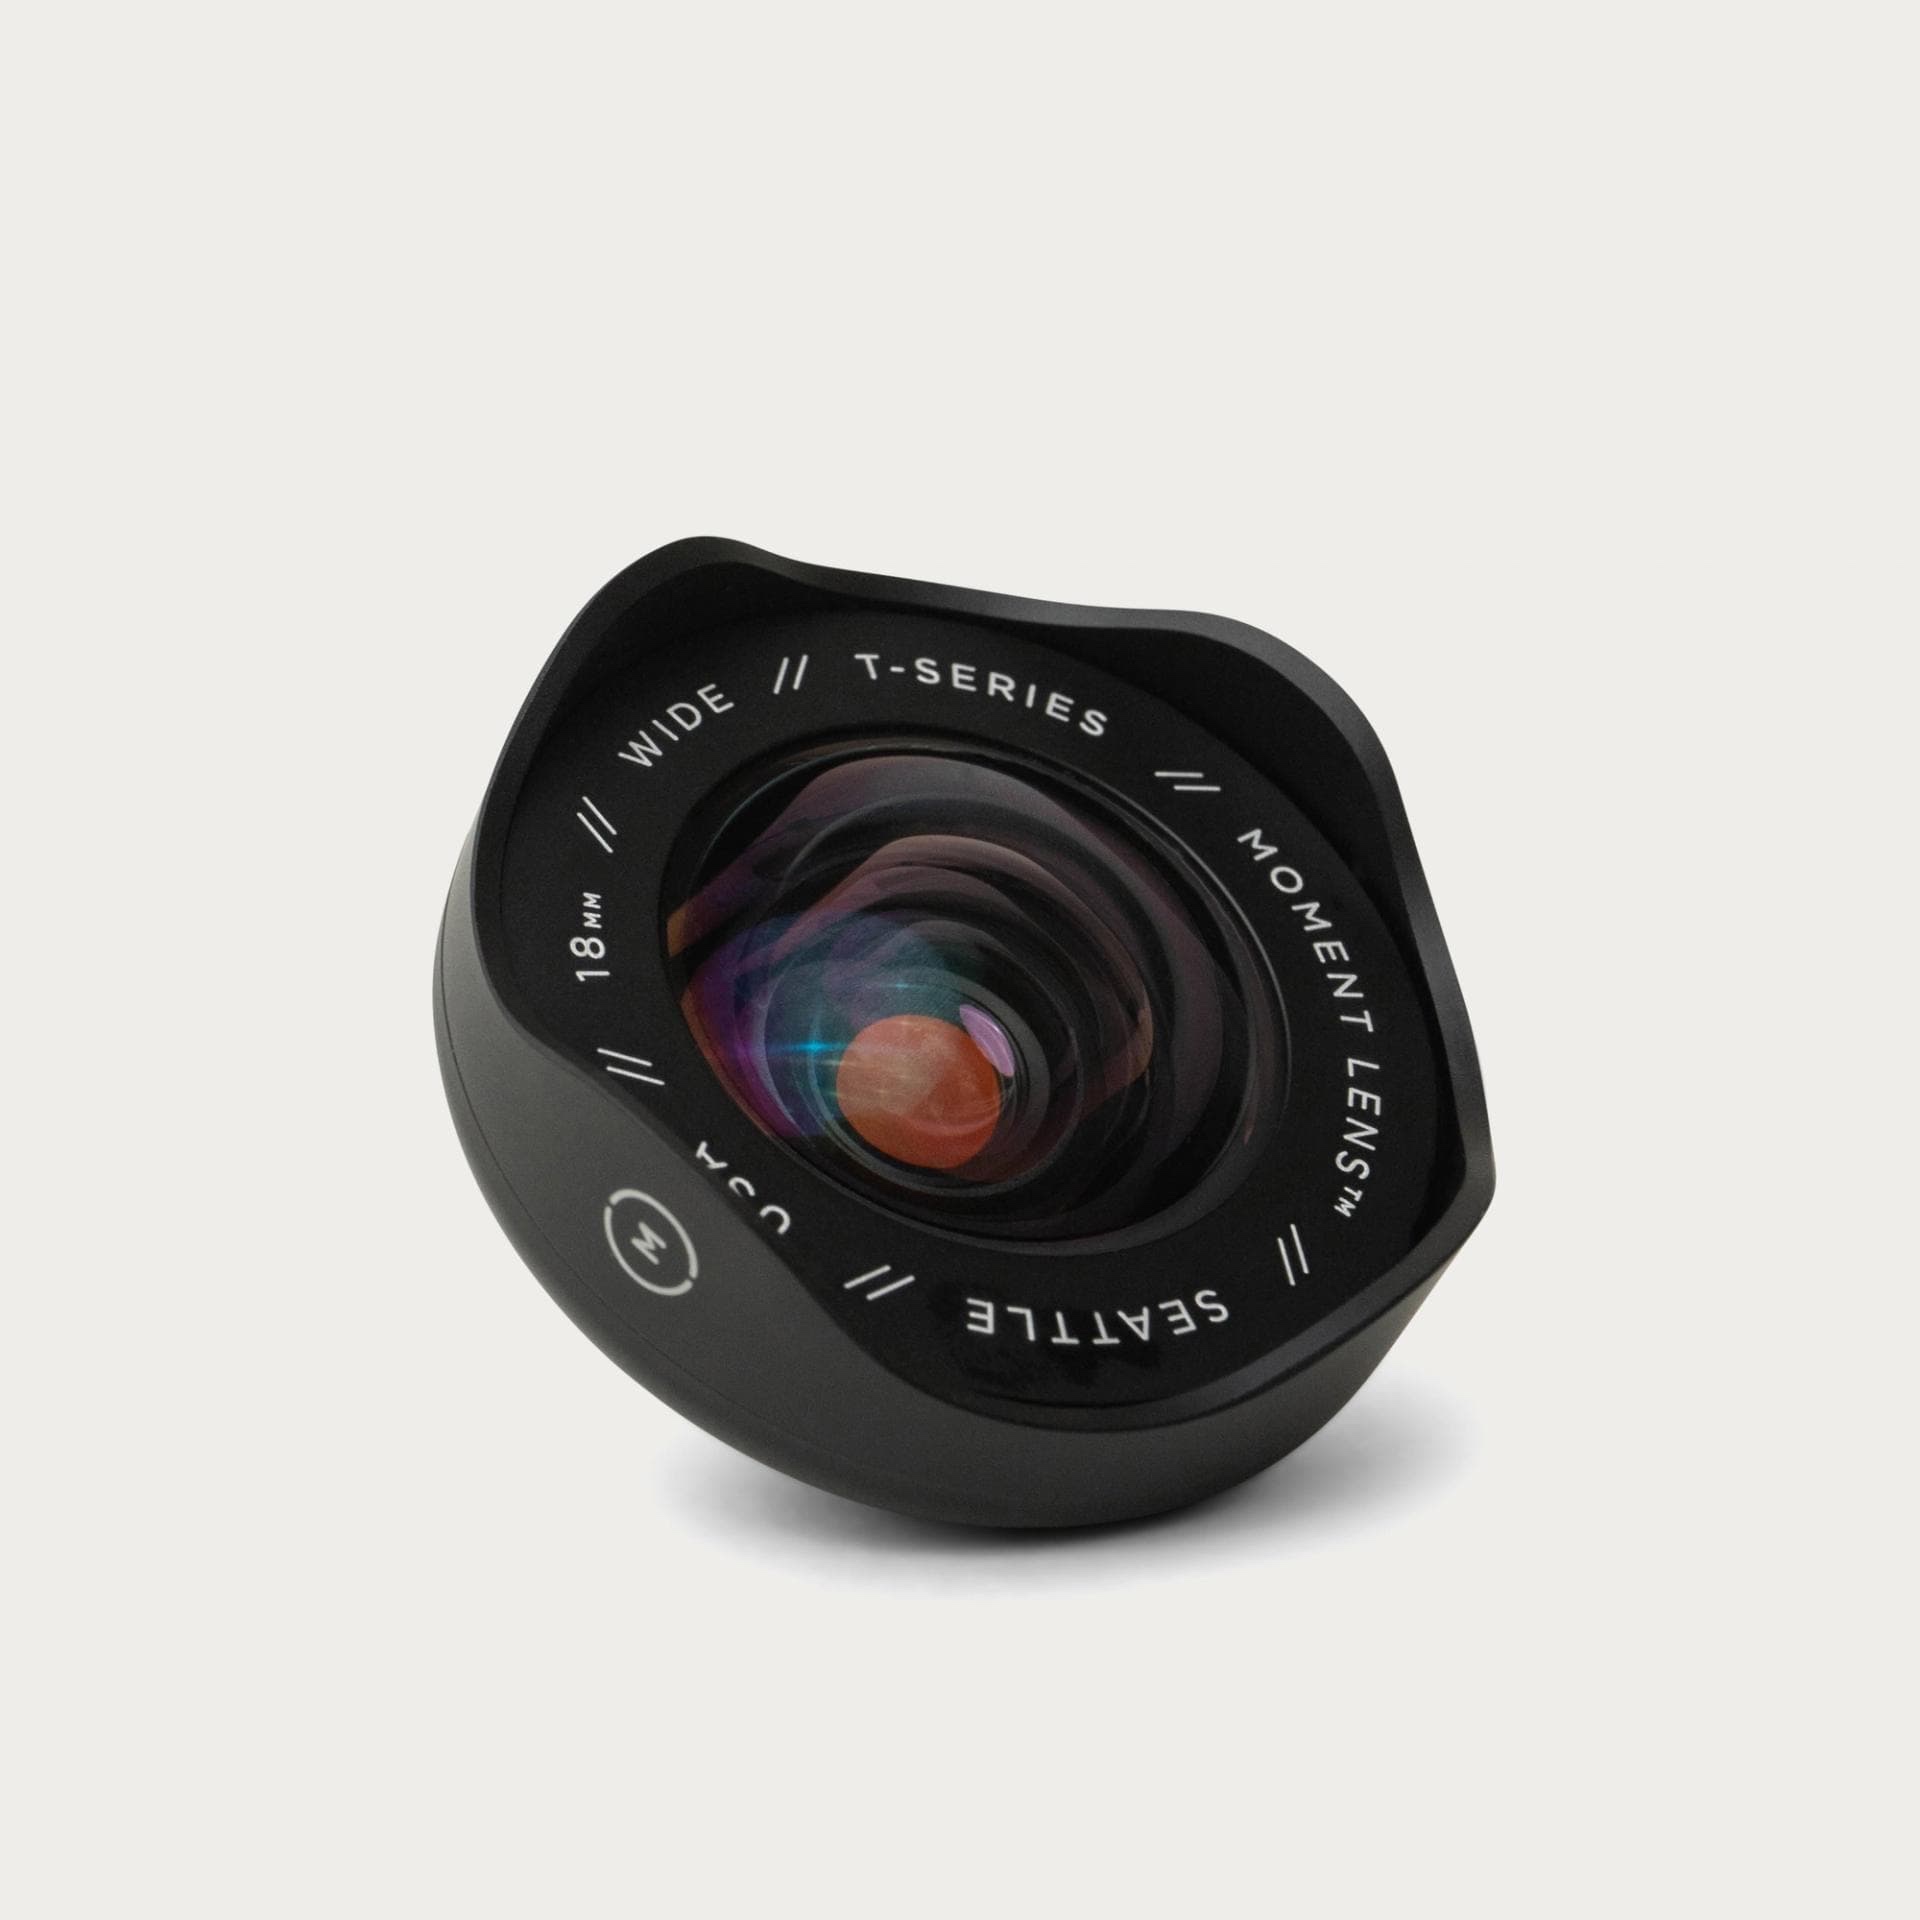
Purpose: Expansive views with sharp edges, no distortion.
Best for:
• Travel vlogs and urban landscapes.
• Architecture and real estate tours.
• Group photos in tight spaces.
Expert Insight:
“The 18mm wide-angle lens is your go-to for storytelling. When filming travel vlogs, I use it to capture the energy of bustling city streets. Its edge-to-edge sharpness keeps lines straight — no awkward fisheye effect.”
🎯 Pro Tip: Use this lens with the Anti-Glare CPL Filter to reduce reflections when shooting through windows or on water surfaces.
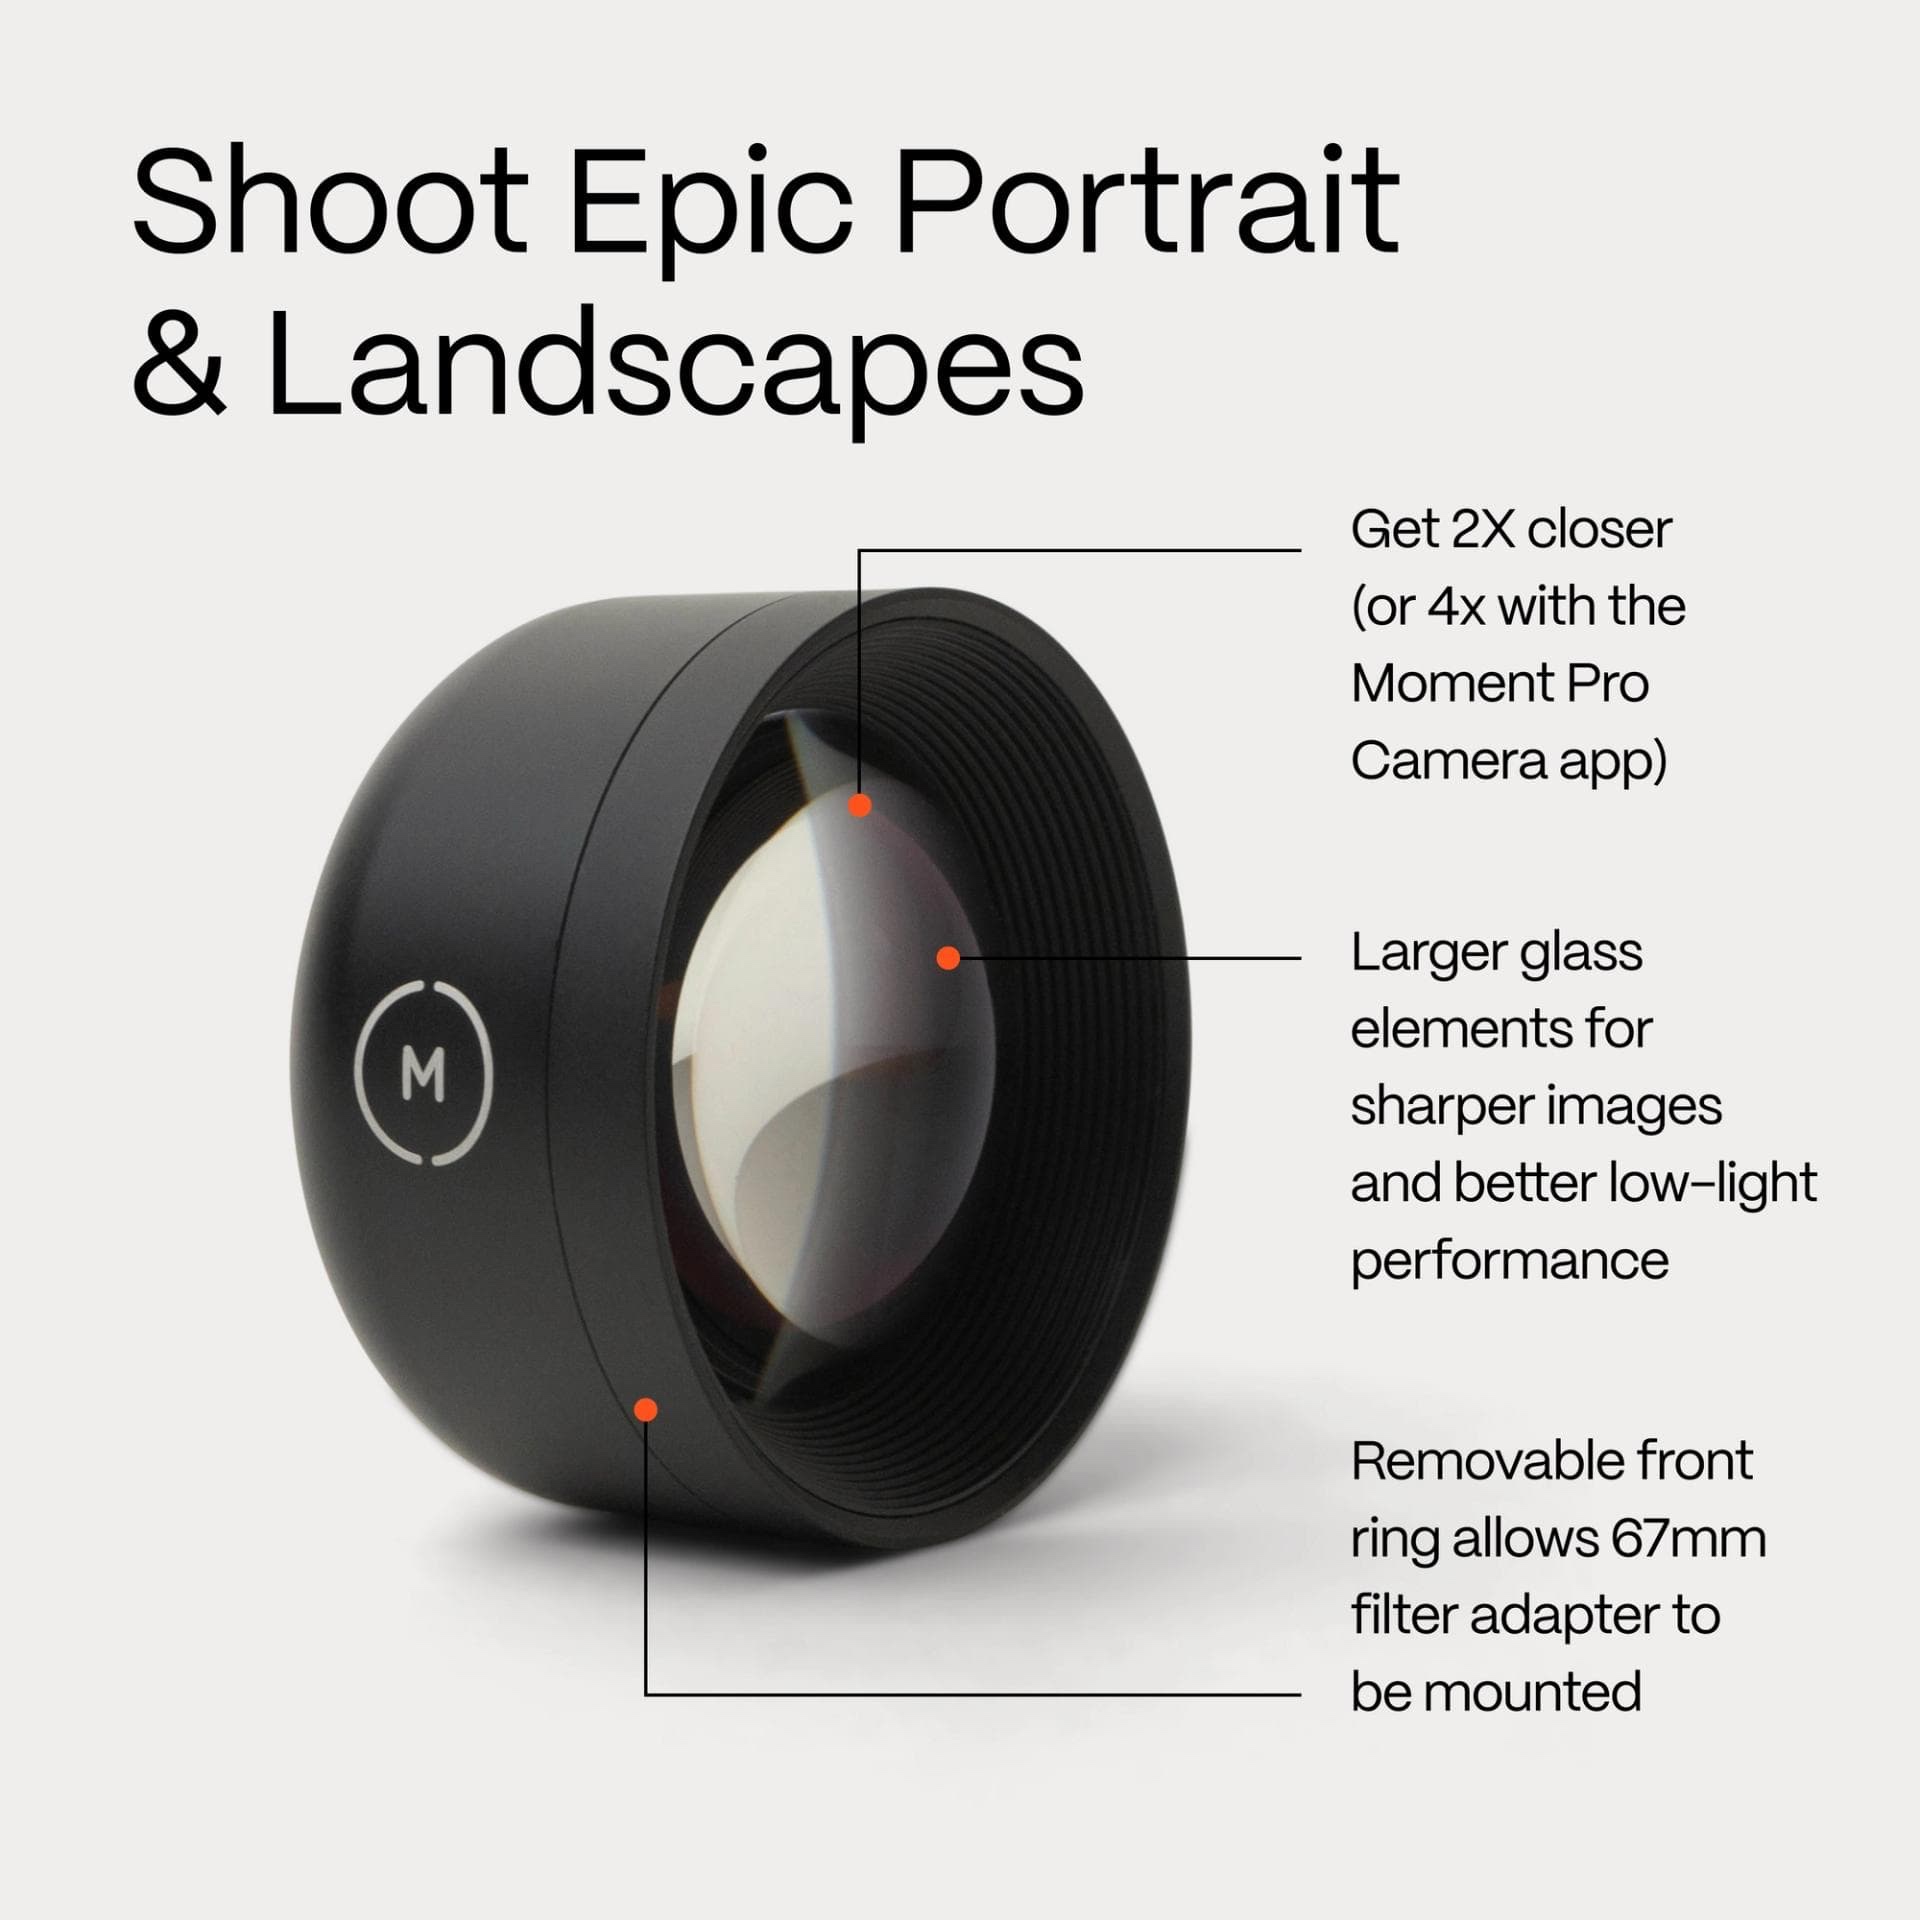
Tele 58mm Mobile Lens – $150
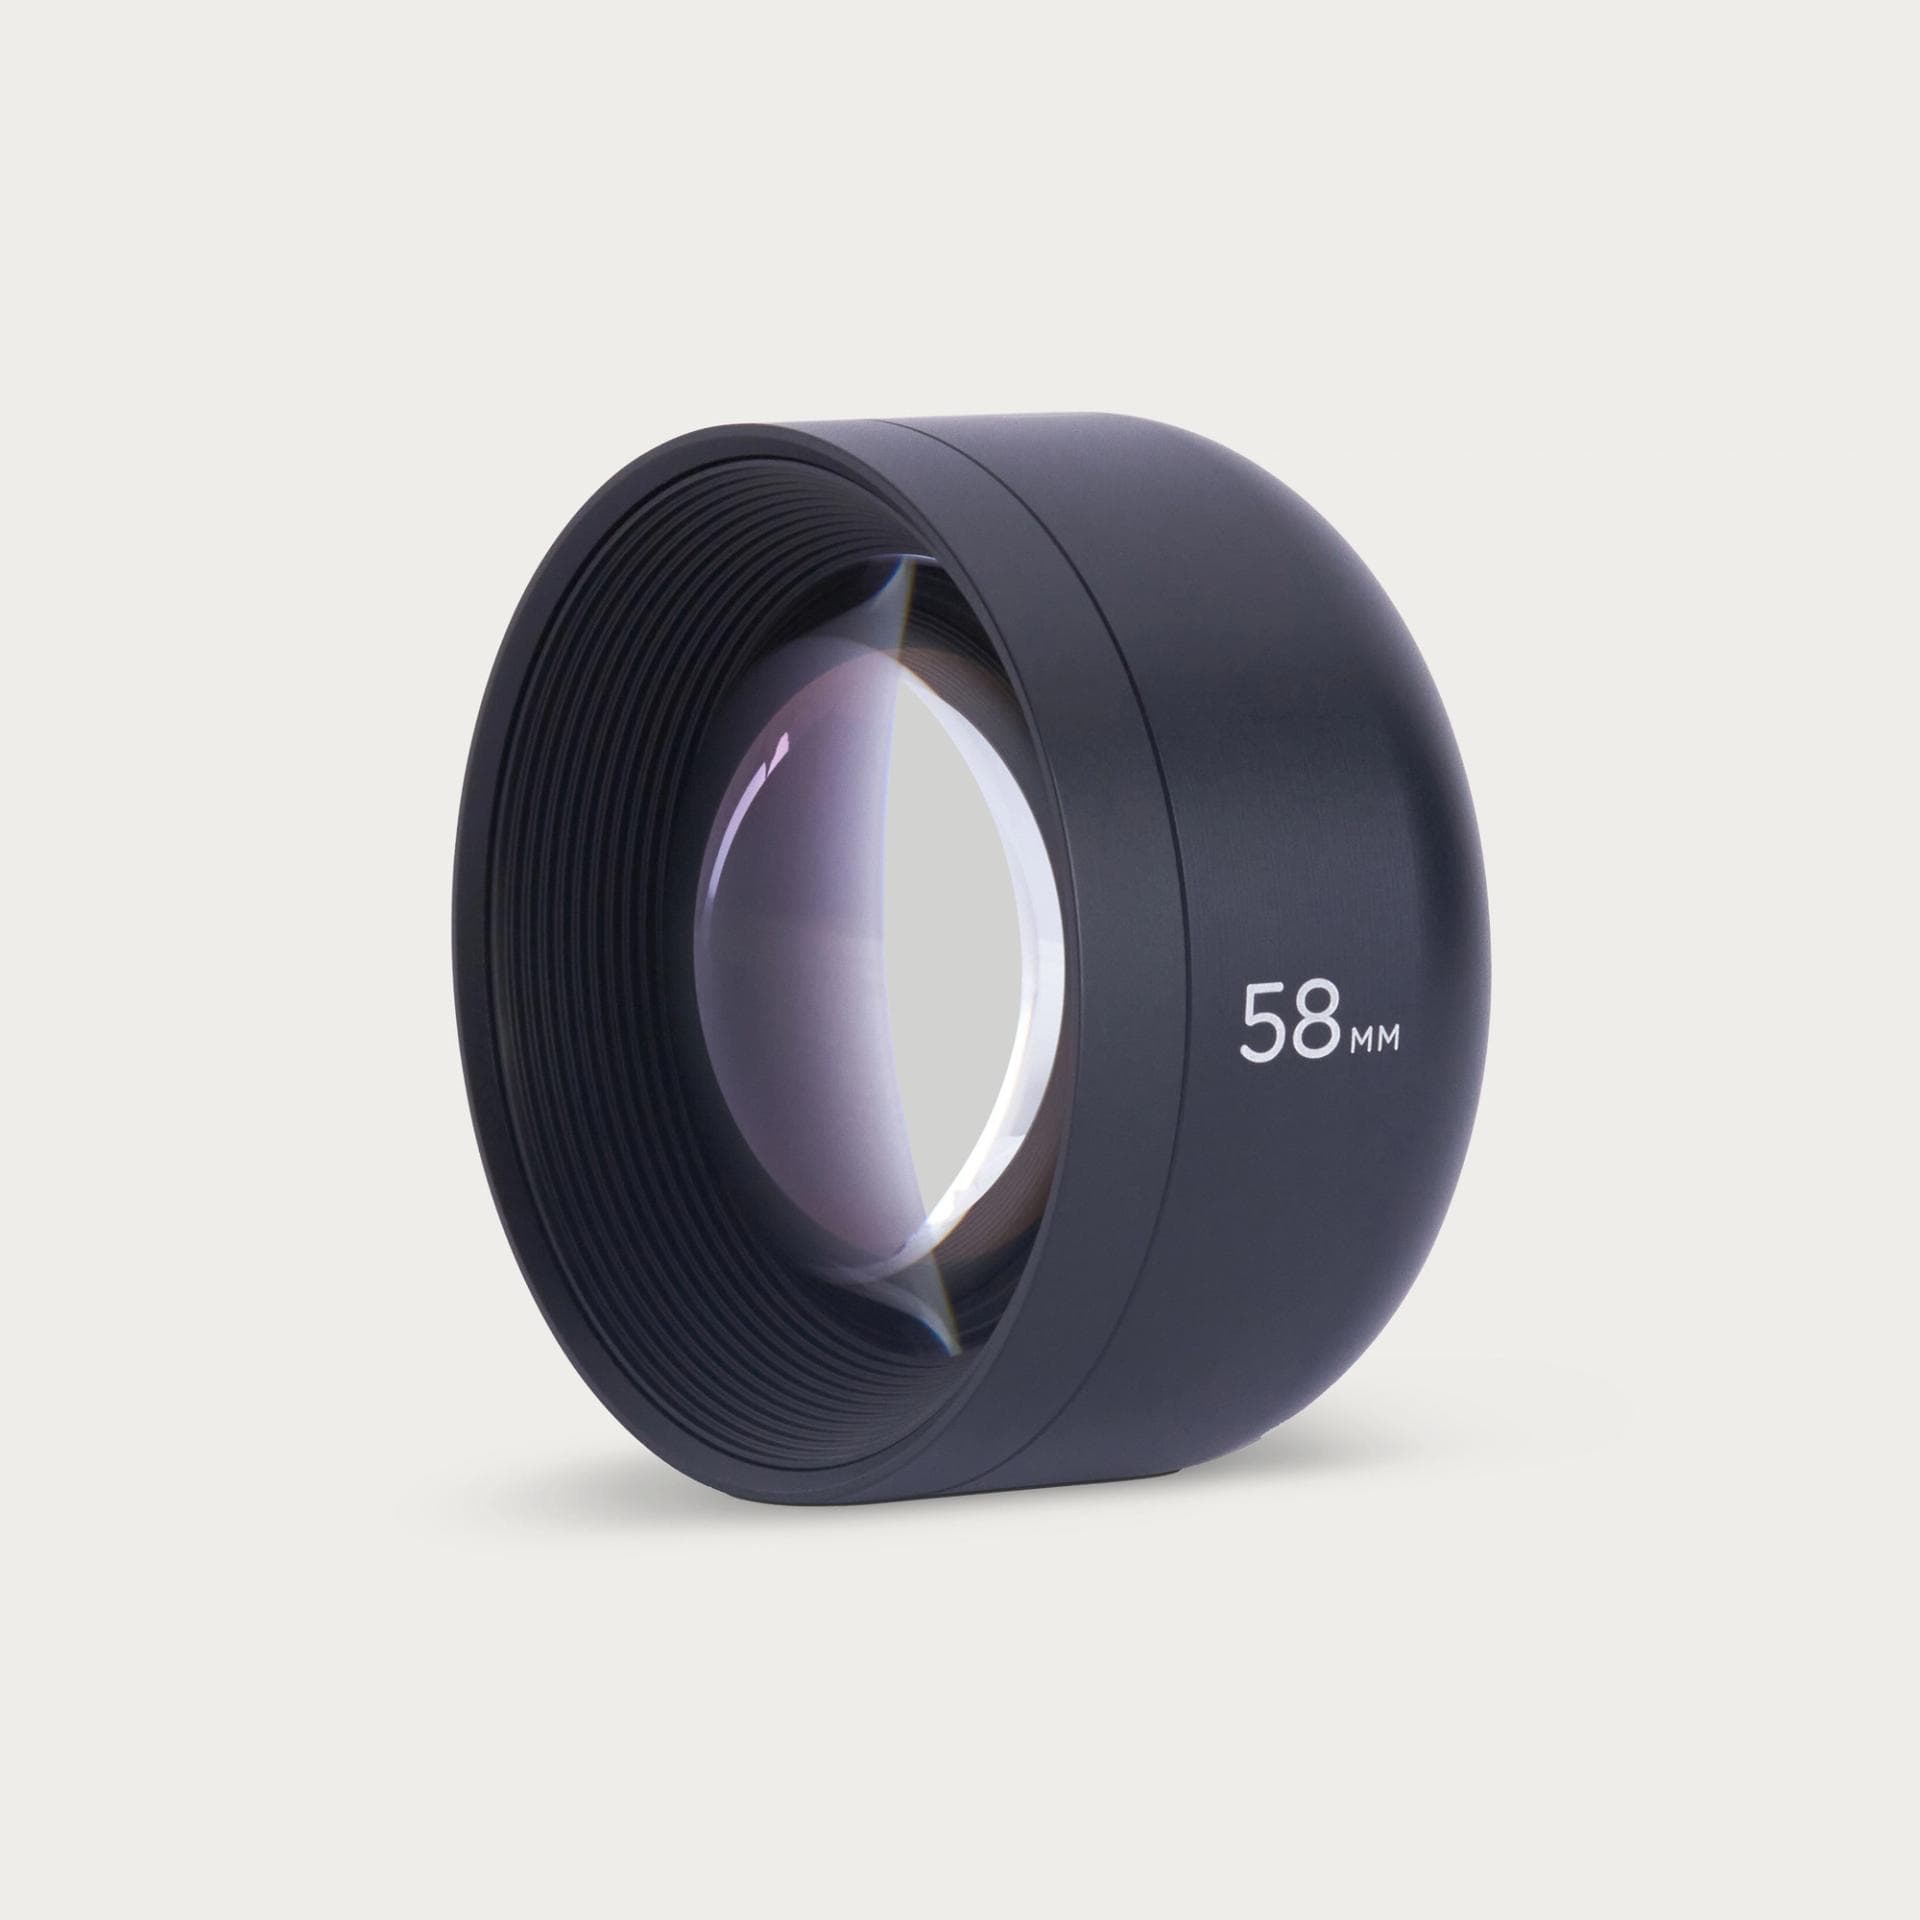
Purpose: Natural background compression and subject isolation.
Best for:
• Portraits with creamy bokeh.
• Event photography from a distance.
• Capturing candid street moments.
Expert Insight:
“When shooting street portraits, the 58mm lens helps me get intimate shots without intruding. The natural background blur makes subjects pop beautifully.”
🎯 Pro Tip: Pair with the CineBloom Diffusion Filter for dreamy, film-like portraits.
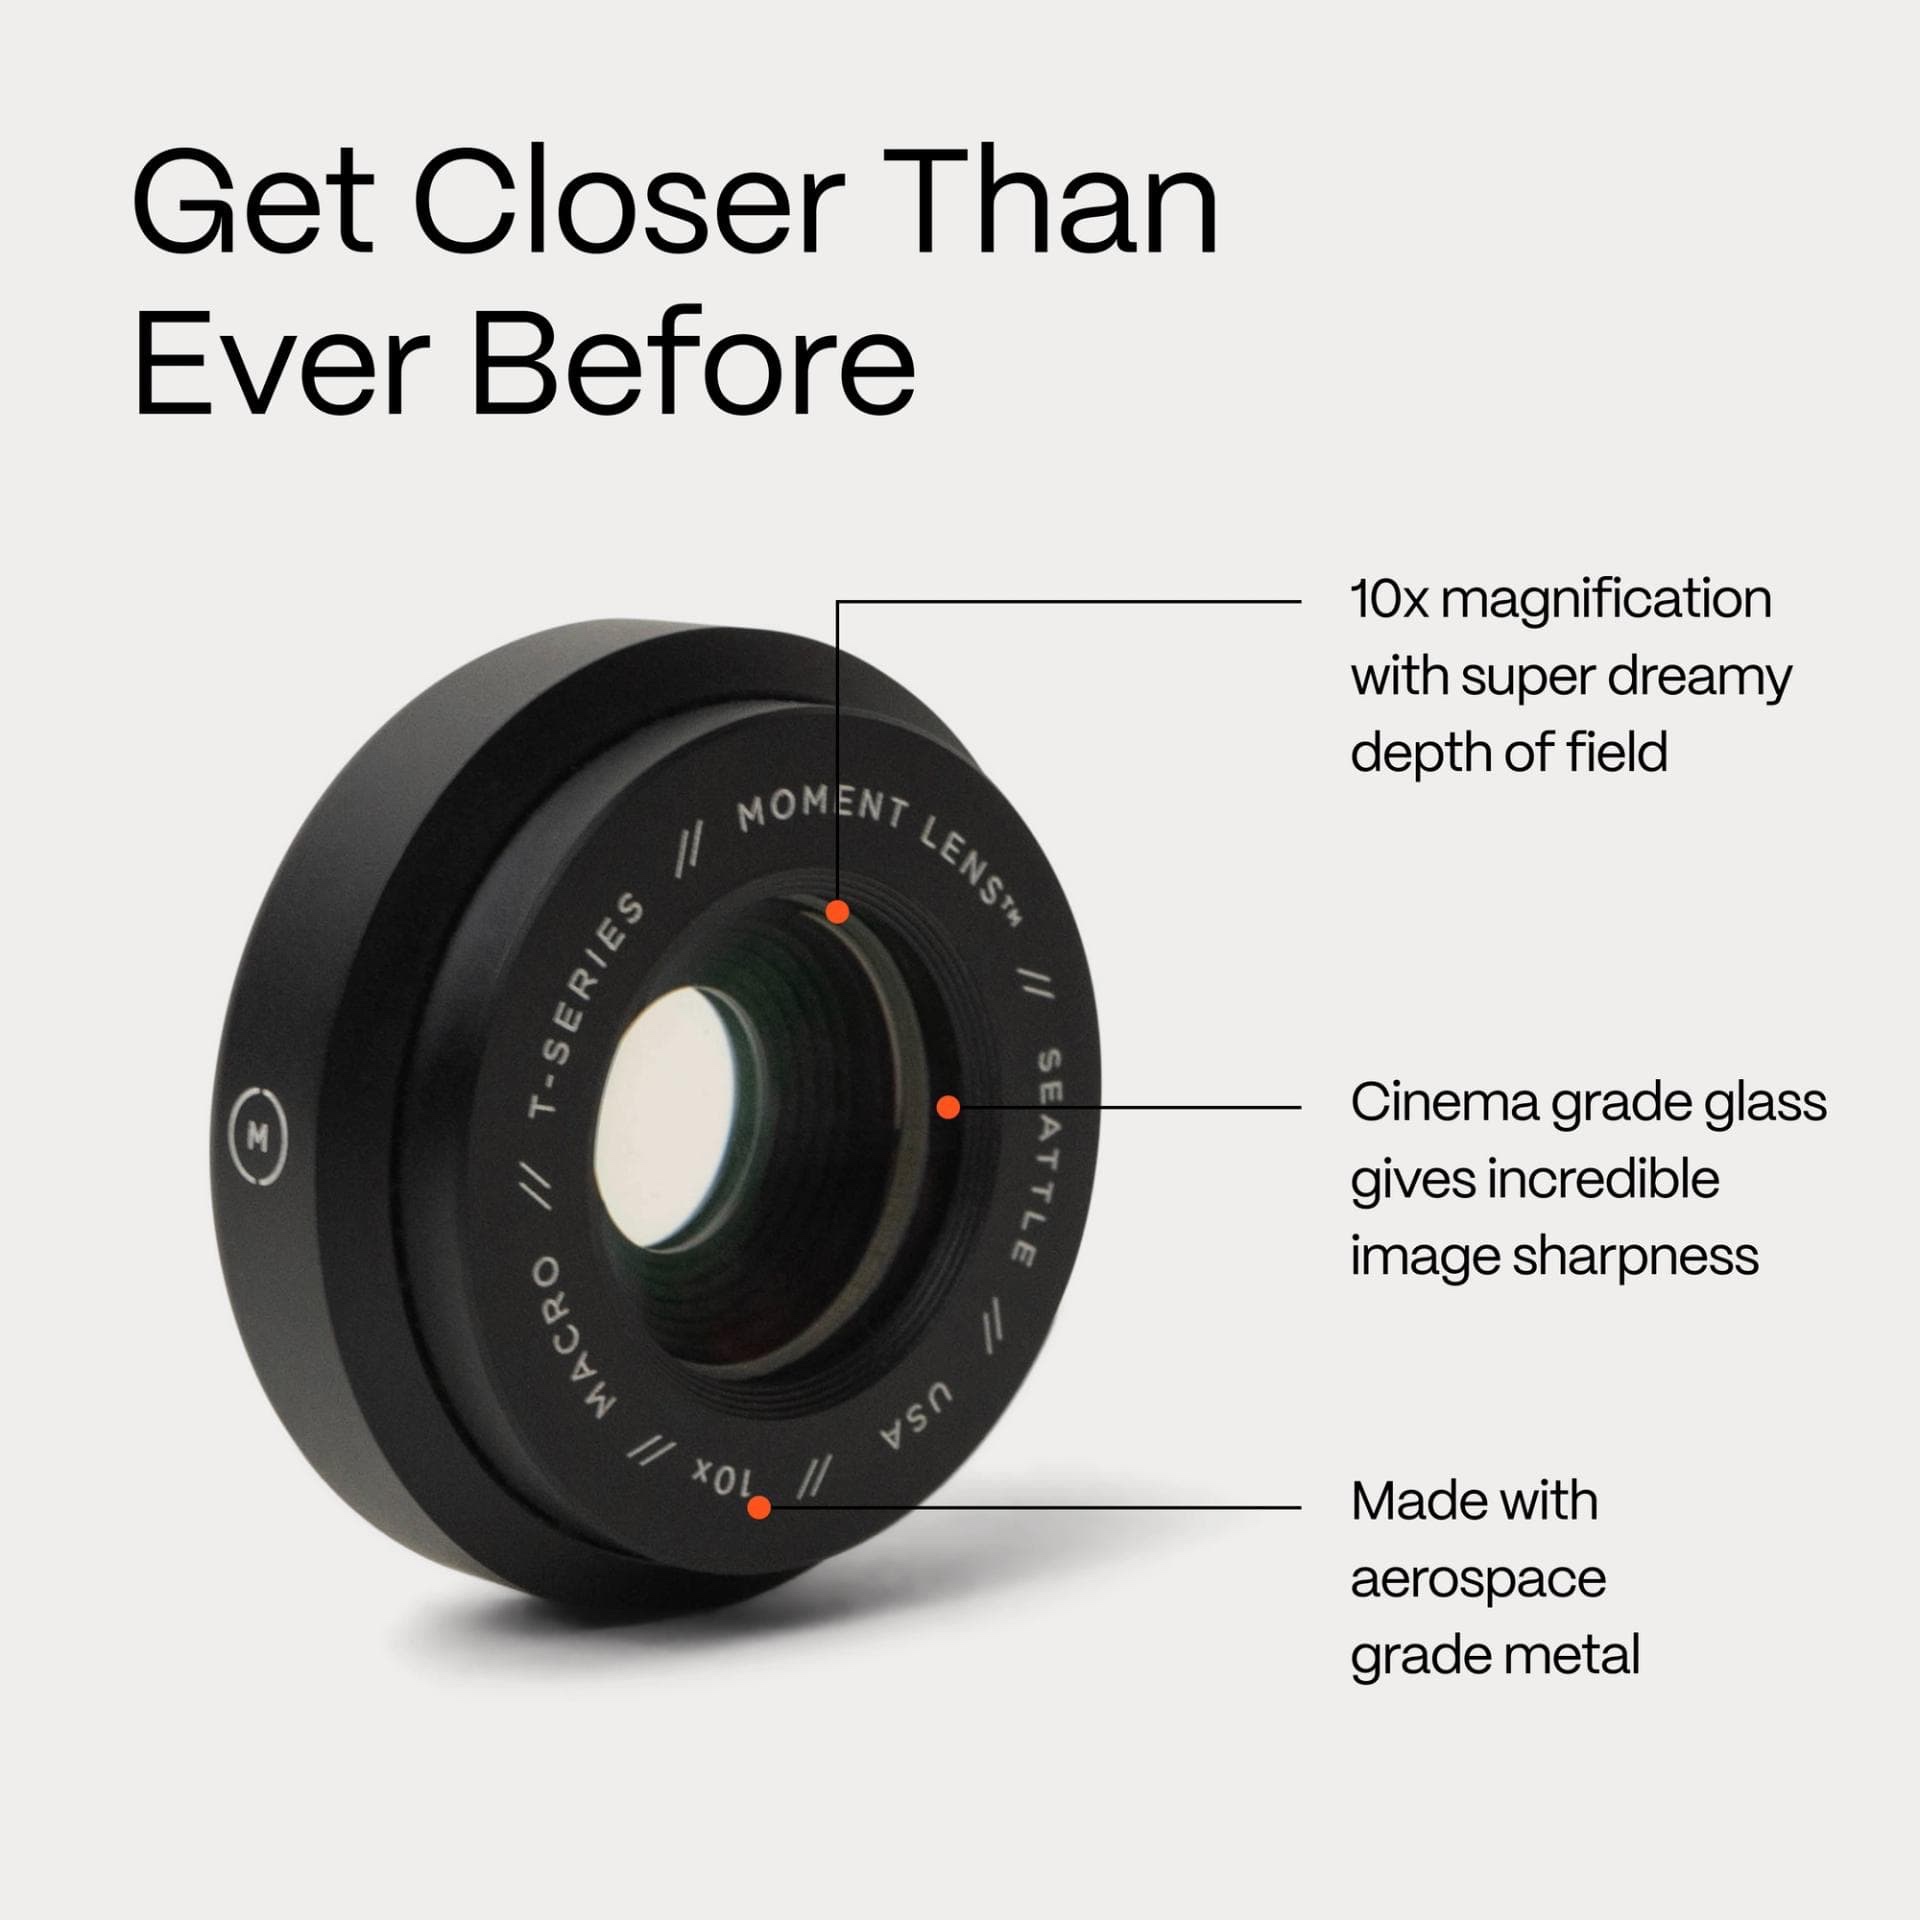
Macro 10x Mobile Lens – $150
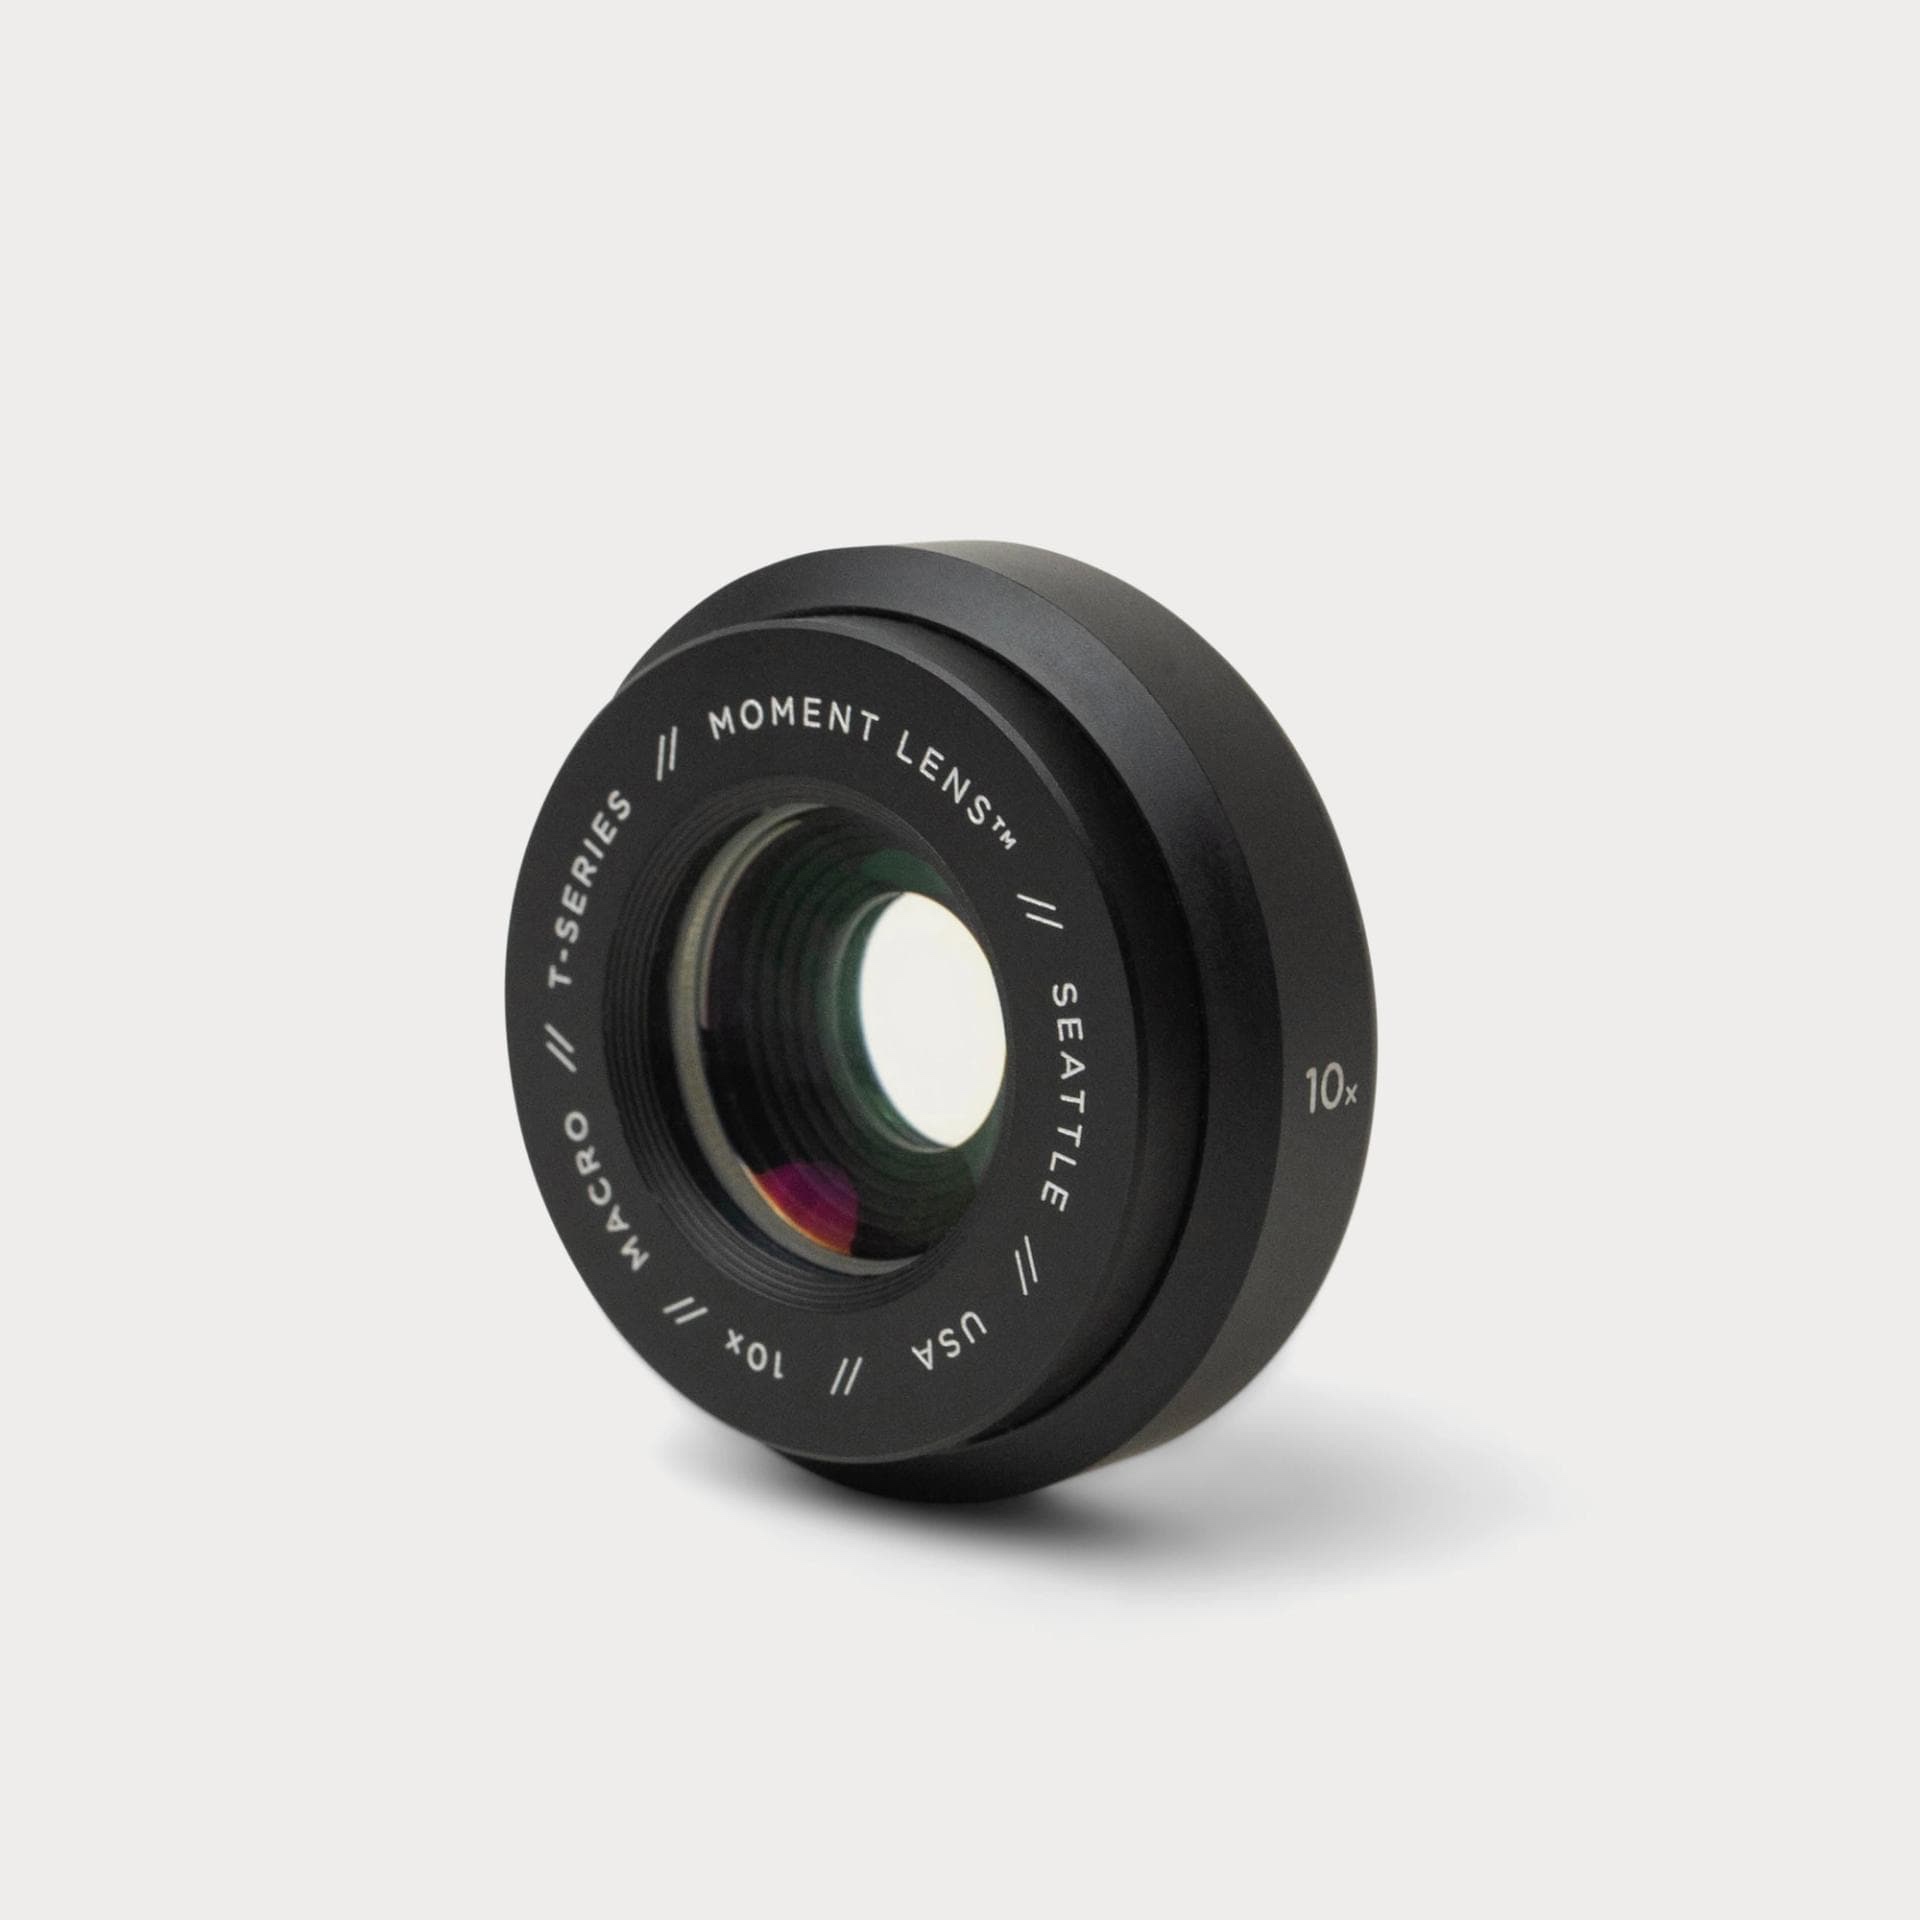
Purpose: Ultra-close-up shots with stunning detail.
Best for:
• Product photography (jewelry, gadgets).
• Nature shots (insects, flowers).
• DIY content focusing on textures and patterns.
Expert Insight:
“The built-in diffuser ring is a game-changer for even lighting in macro shots. For product photography, I shoot with natural side light and add a white reflector for extra softness.”
🎯 Pro Tip: Keep the subject parallel to the lens to maintain sharpness across the frame.
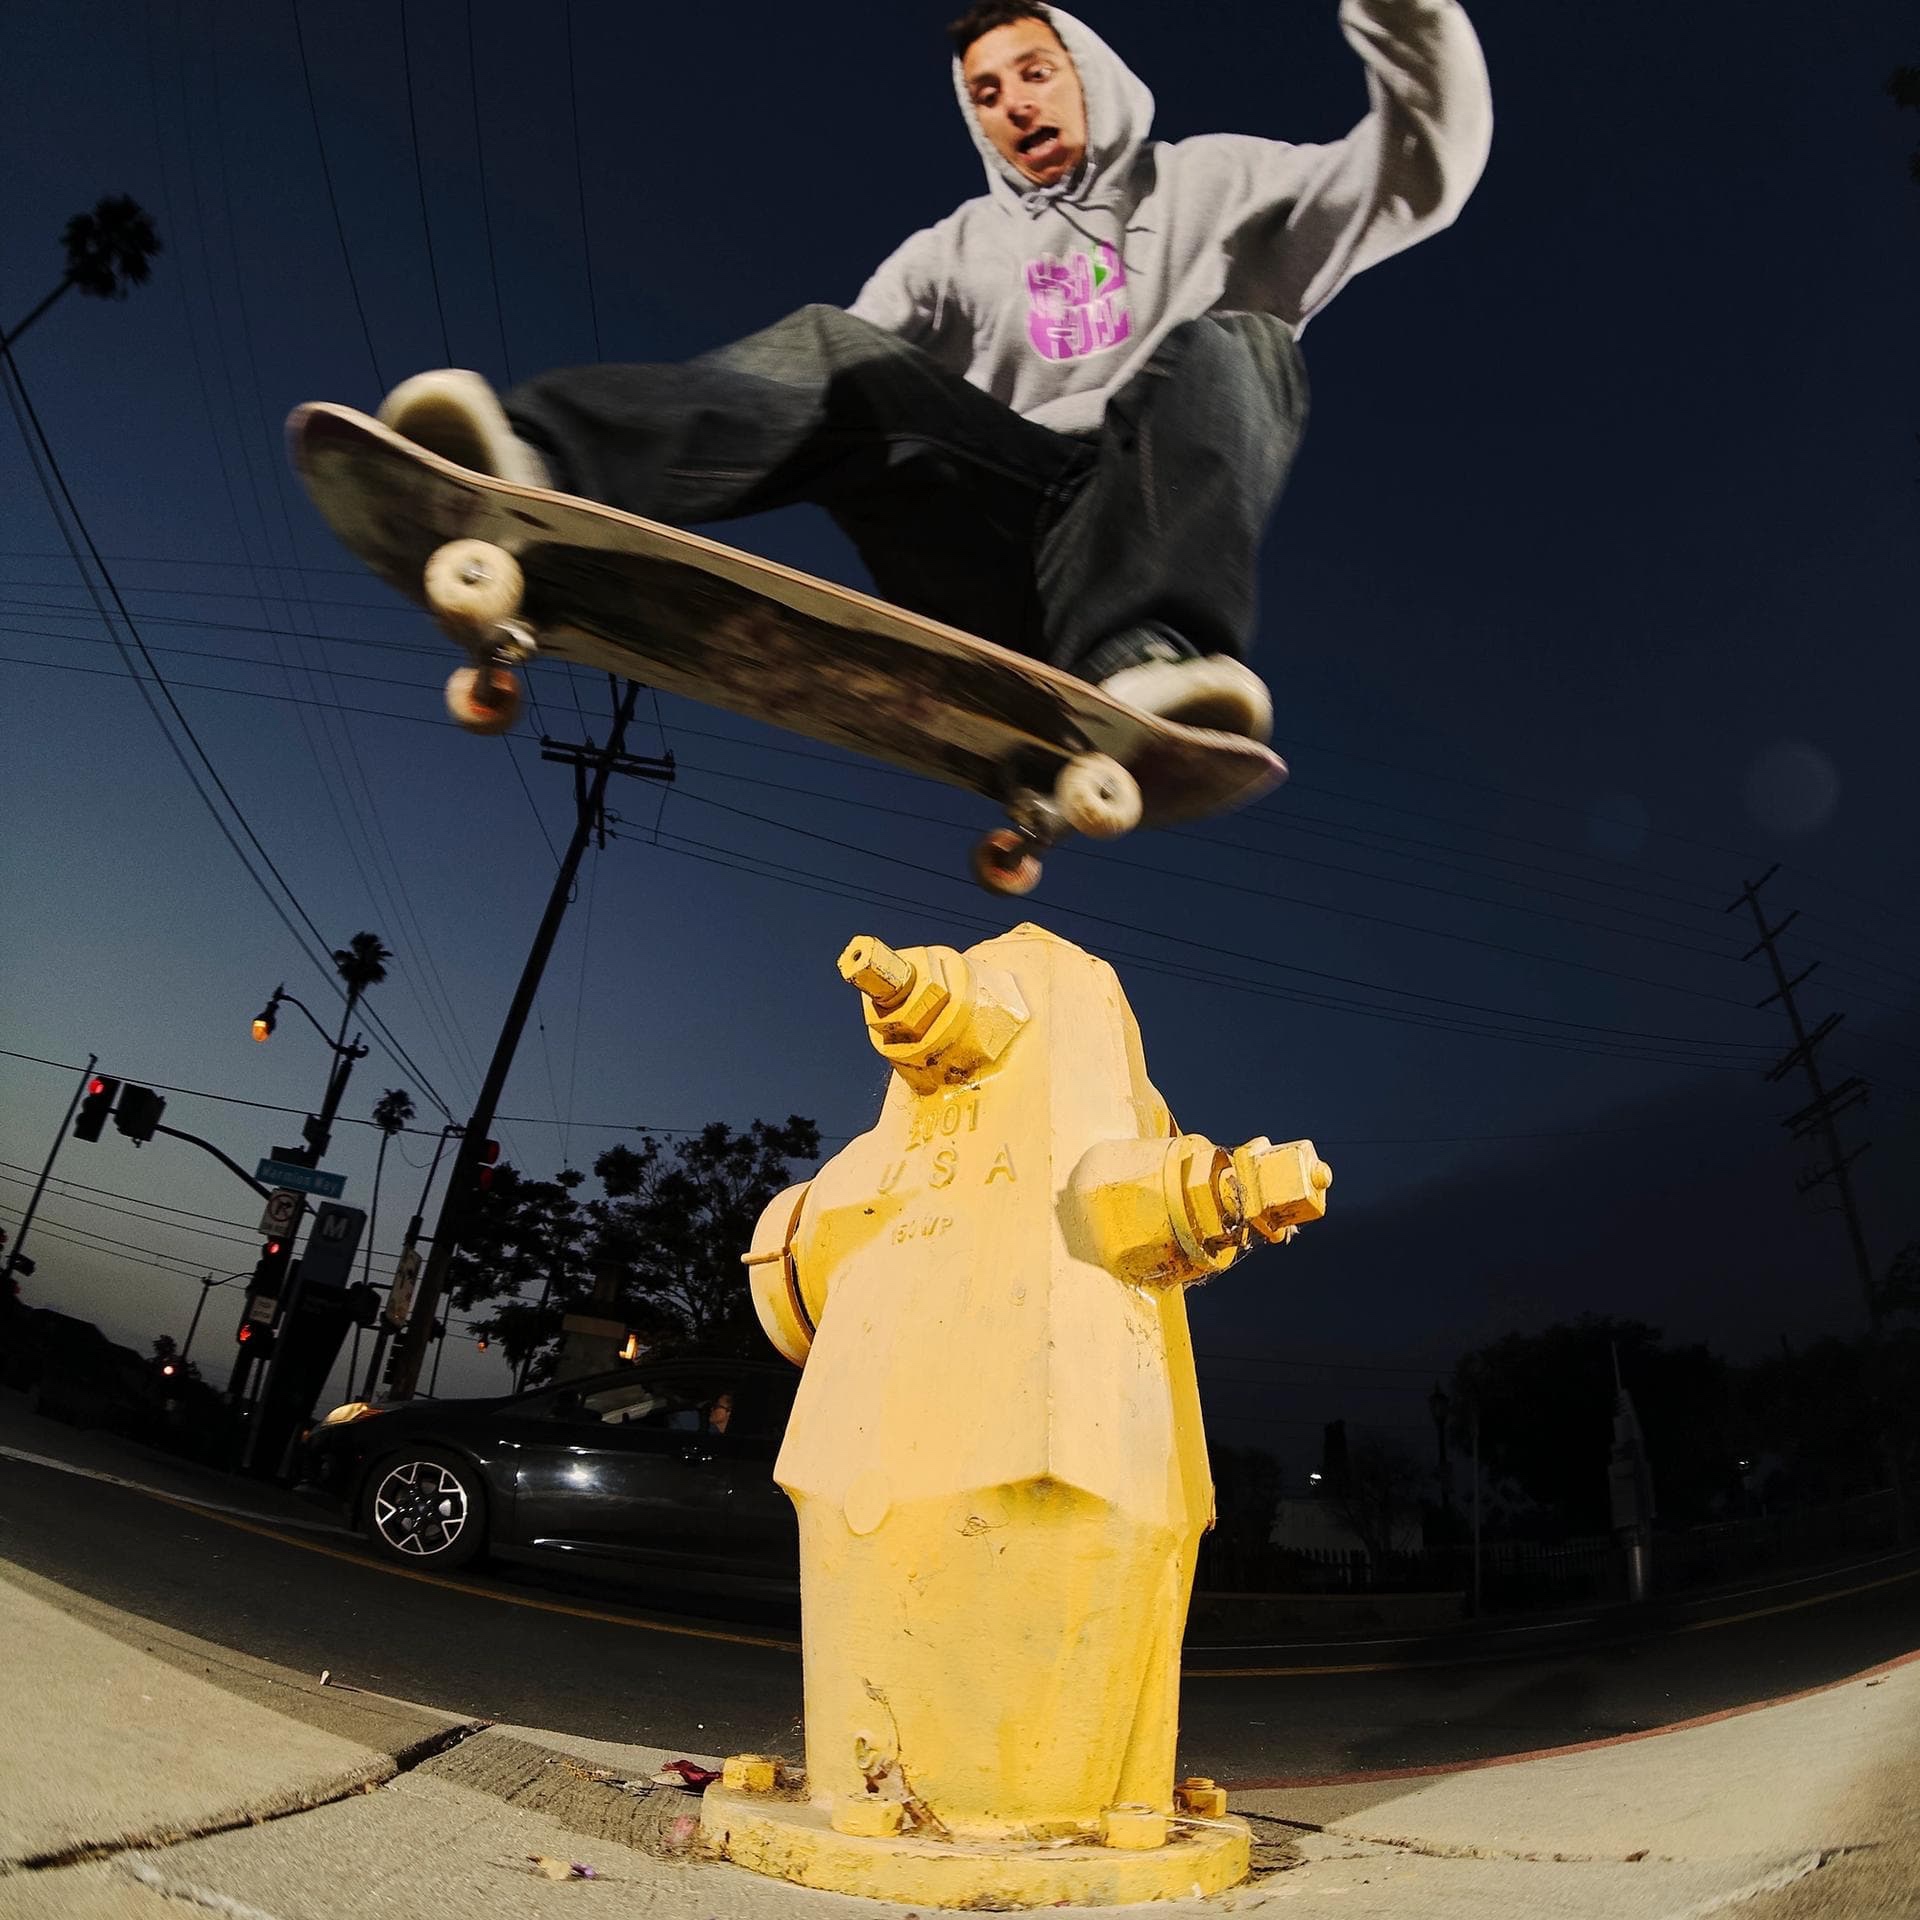
Fisheye 14mm Mobile Lens – $140

Purpose: Creative, ultra-wide shots with artistic distortion.
Best for:
• Action sports footage.
• Dynamic event coverage.
• Creative storytelling.
Expert Insight:
“The fisheye lens injects energy into action shots. Skating videos, concerts, or behind-the-scenes clips look more immersive with this lens.”
🎯 Pro Tip: Use this lens with handheld, low-angle shots for a unique, high-impact perspective.
Anamorphic 1.55x Blue Flare Lens – $150
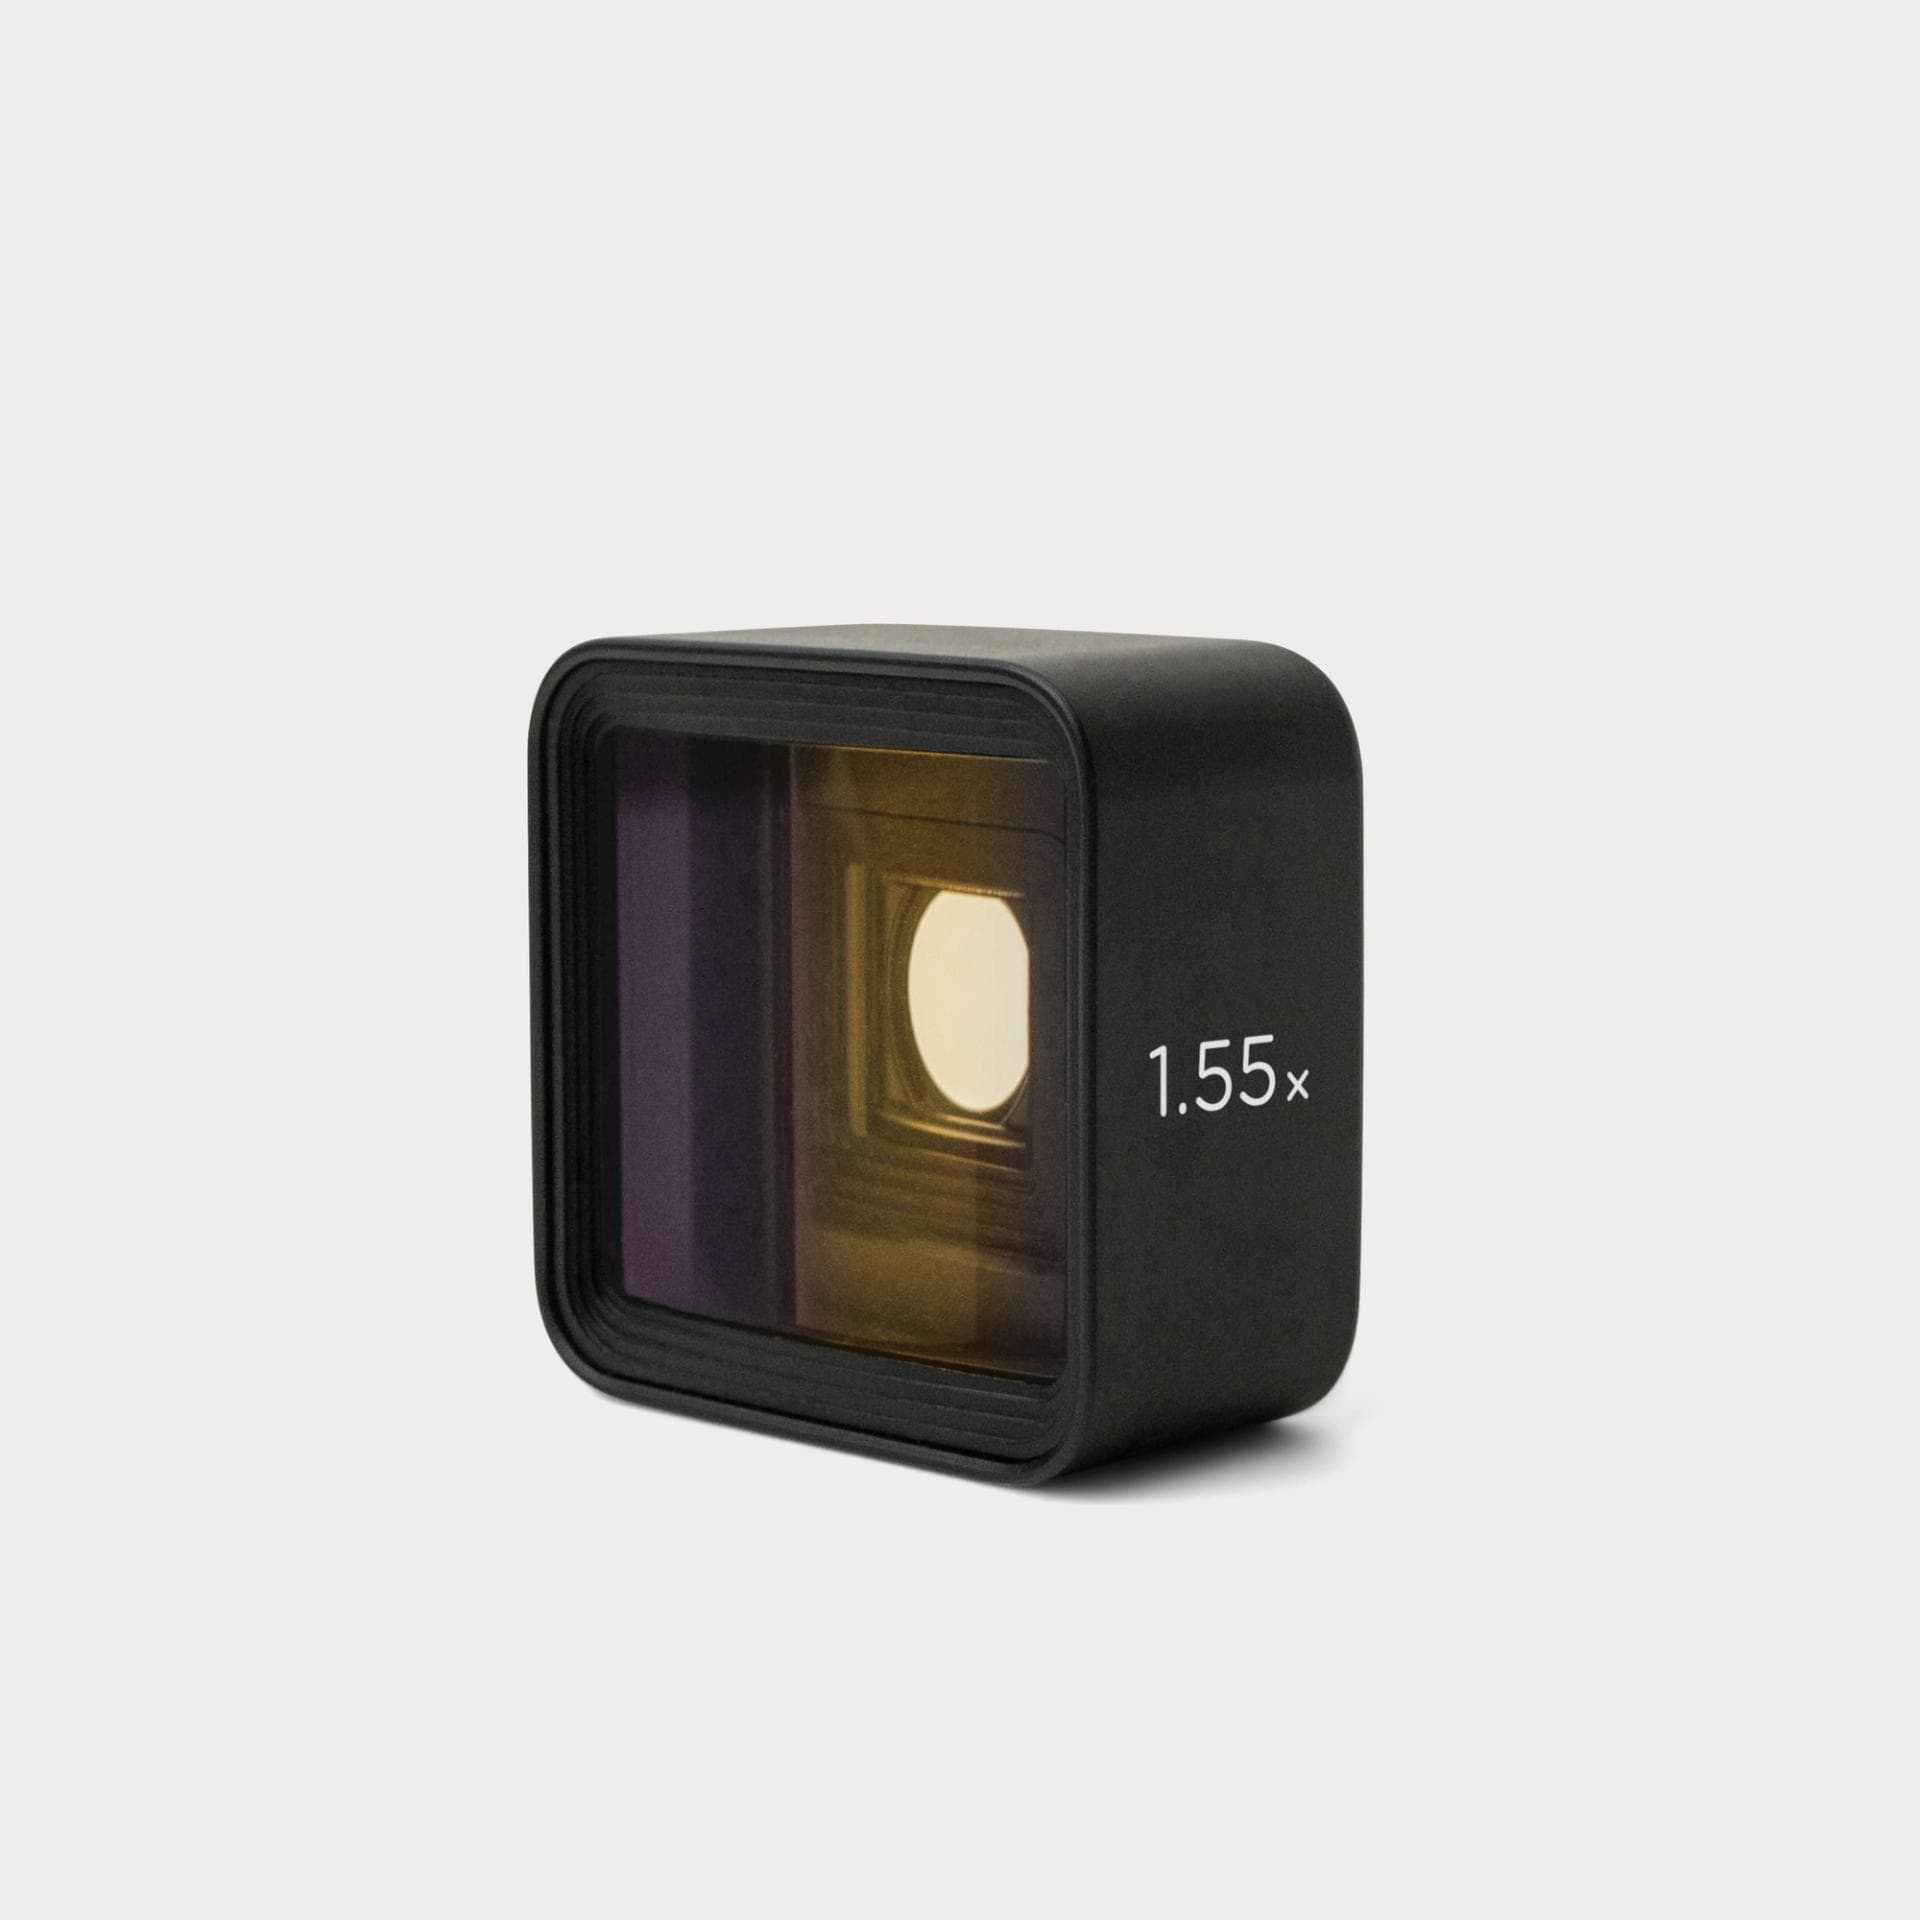
Purpose: Cinematic, widescreen footage with horizontal flares.
Best for:
• Short films and cinematic travel videos.
• Music videos with lens flare effects.
• Narrative storytelling.
Expert Insight:
“I use the Anamorphic Blue Flare lens for scenes at dusk or with practical light sources in the frame — car headlights, street lamps, or neon signs. The horizontal flares add instant Hollywood vibes.”
🎯 Pro Tip: Adjust white balance slightly warmer when using this lens at night to avoid overly cool tones.
2- Filters – Mastering Light and Atmosphere
Filters help manage light, enhance color, and add artistic effects.
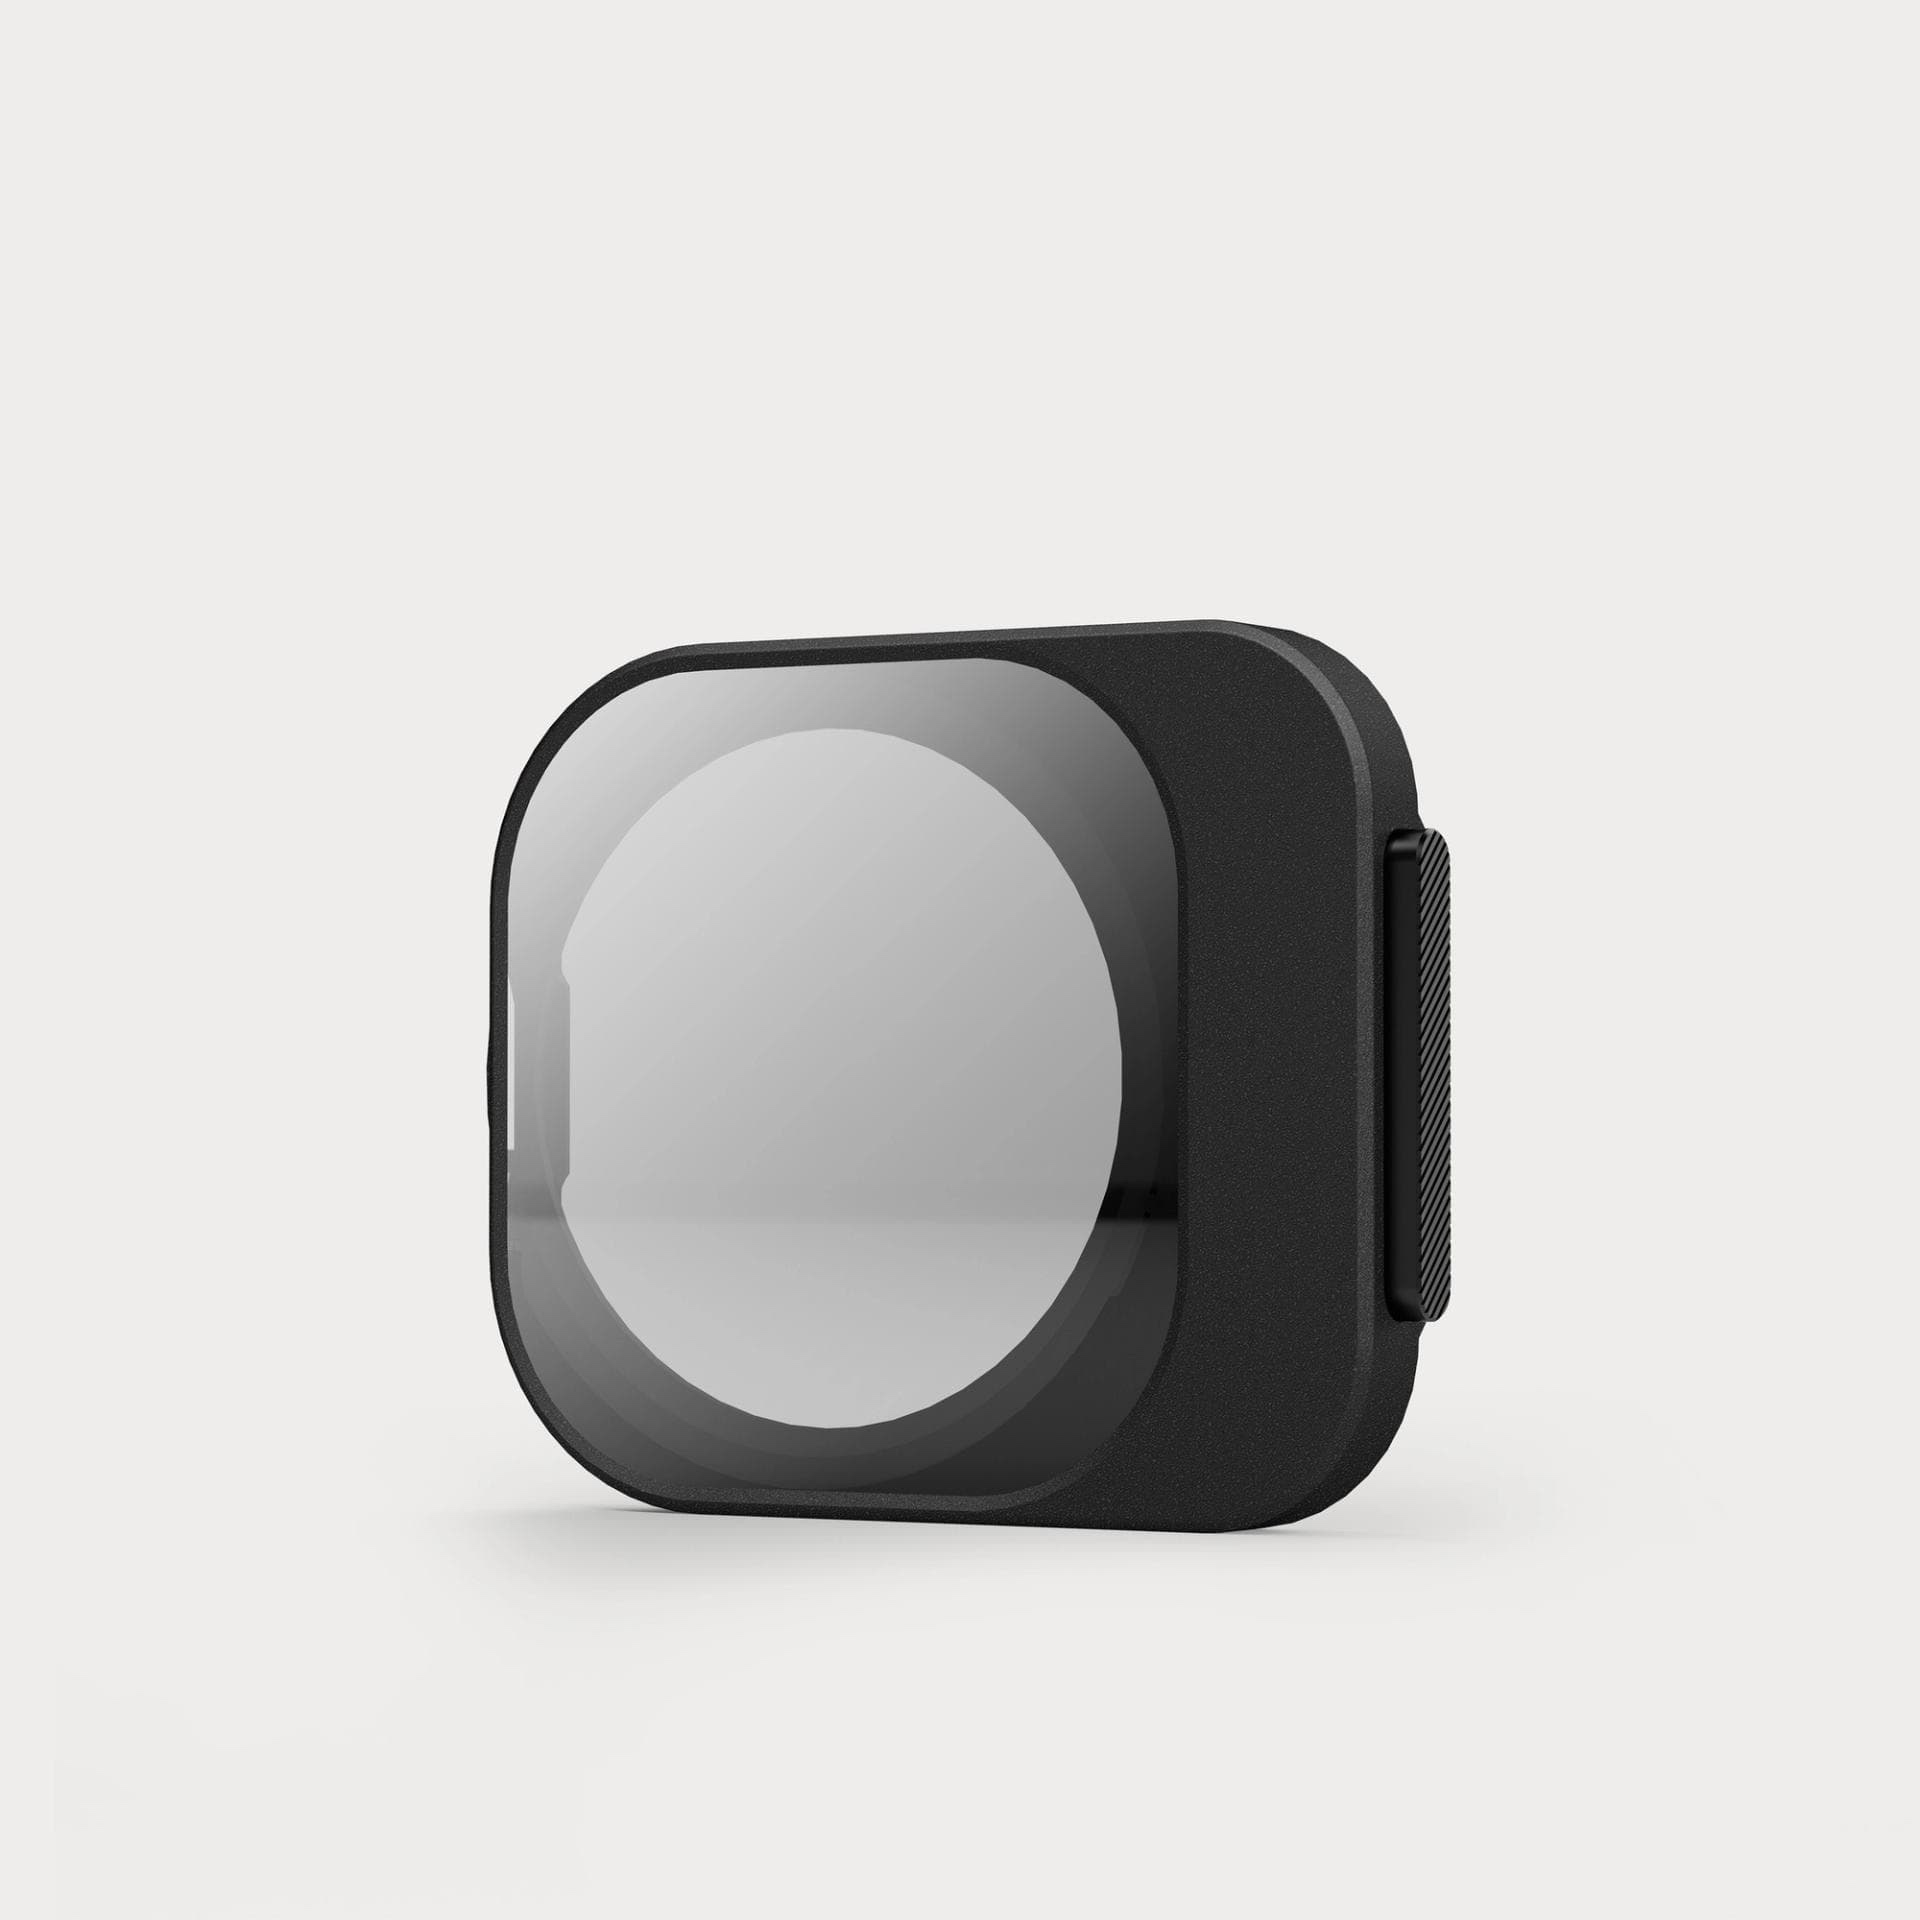
Variable ND Filter (67mm, 2–5 Stops) – $159 (discounted from $199)
Purpose: Control light for correct motion blur in videos.
Best for:
• Outdoor filming on sunny days.
• Long-exposure photography.
• Maintaining cinematic shutter speed (1/48 for 24fps).
Expert Insight:
“The ND filter is indispensable when shooting at midday. Without it, footage becomes overexposed. I adjust it to 3 stops when filming with wide apertures for that shallow depth of field.”
🎯 Pro Tip: Start with 2 stops and increase gradually to avoid vignetting.

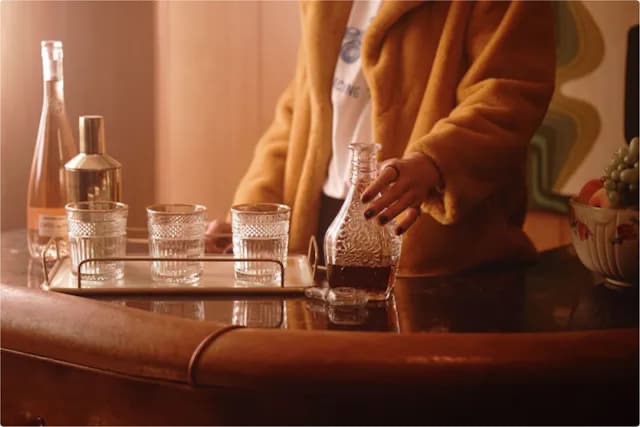
CineBloom Diffusion Filter (10%, 67mm) – $90
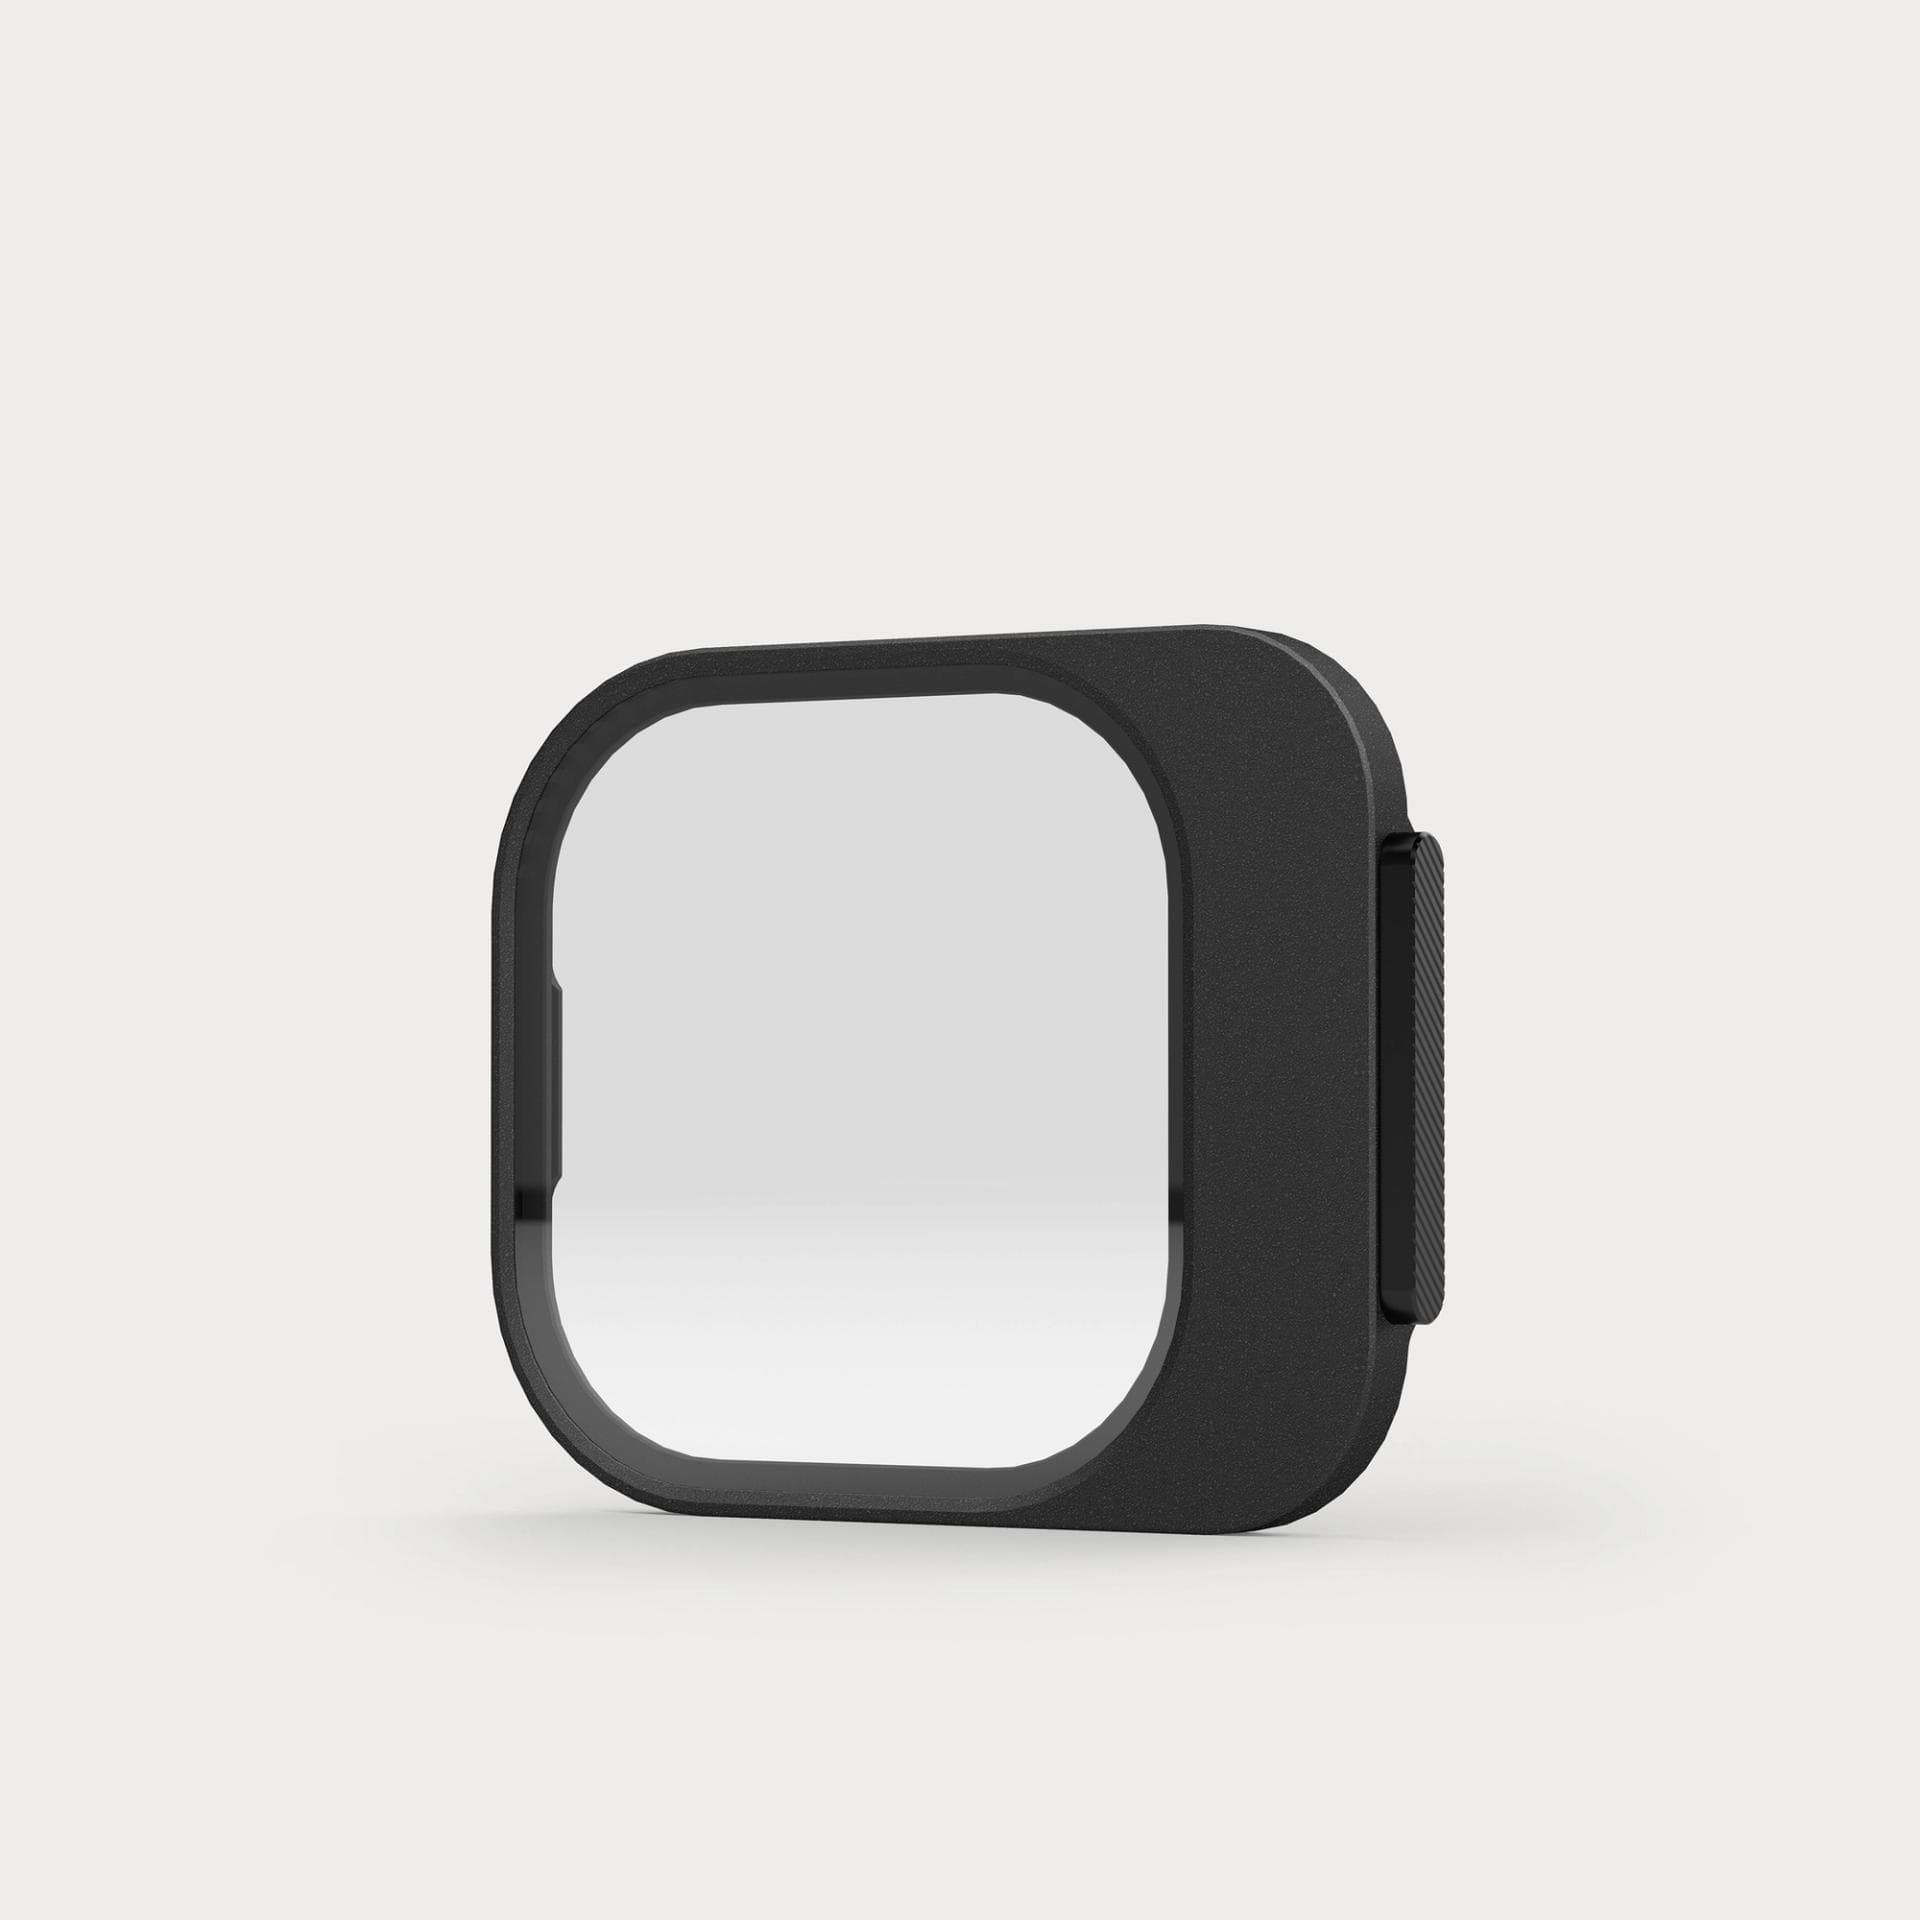
Purpose: Softens digital sharpness and enhances light glow.
Best for:
• Portrait videos for interviews.
• Vintage-style lifestyle shoots.
• Night scenes with artificial lights.
Expert Insight:
“This filter transforms modern digital footage into something timeless. The subtle glow around streetlights at night looks cinematic without overexposing.”
🎯 Pro Tip: Use at golden hour for dreamy, atmospheric visuals.
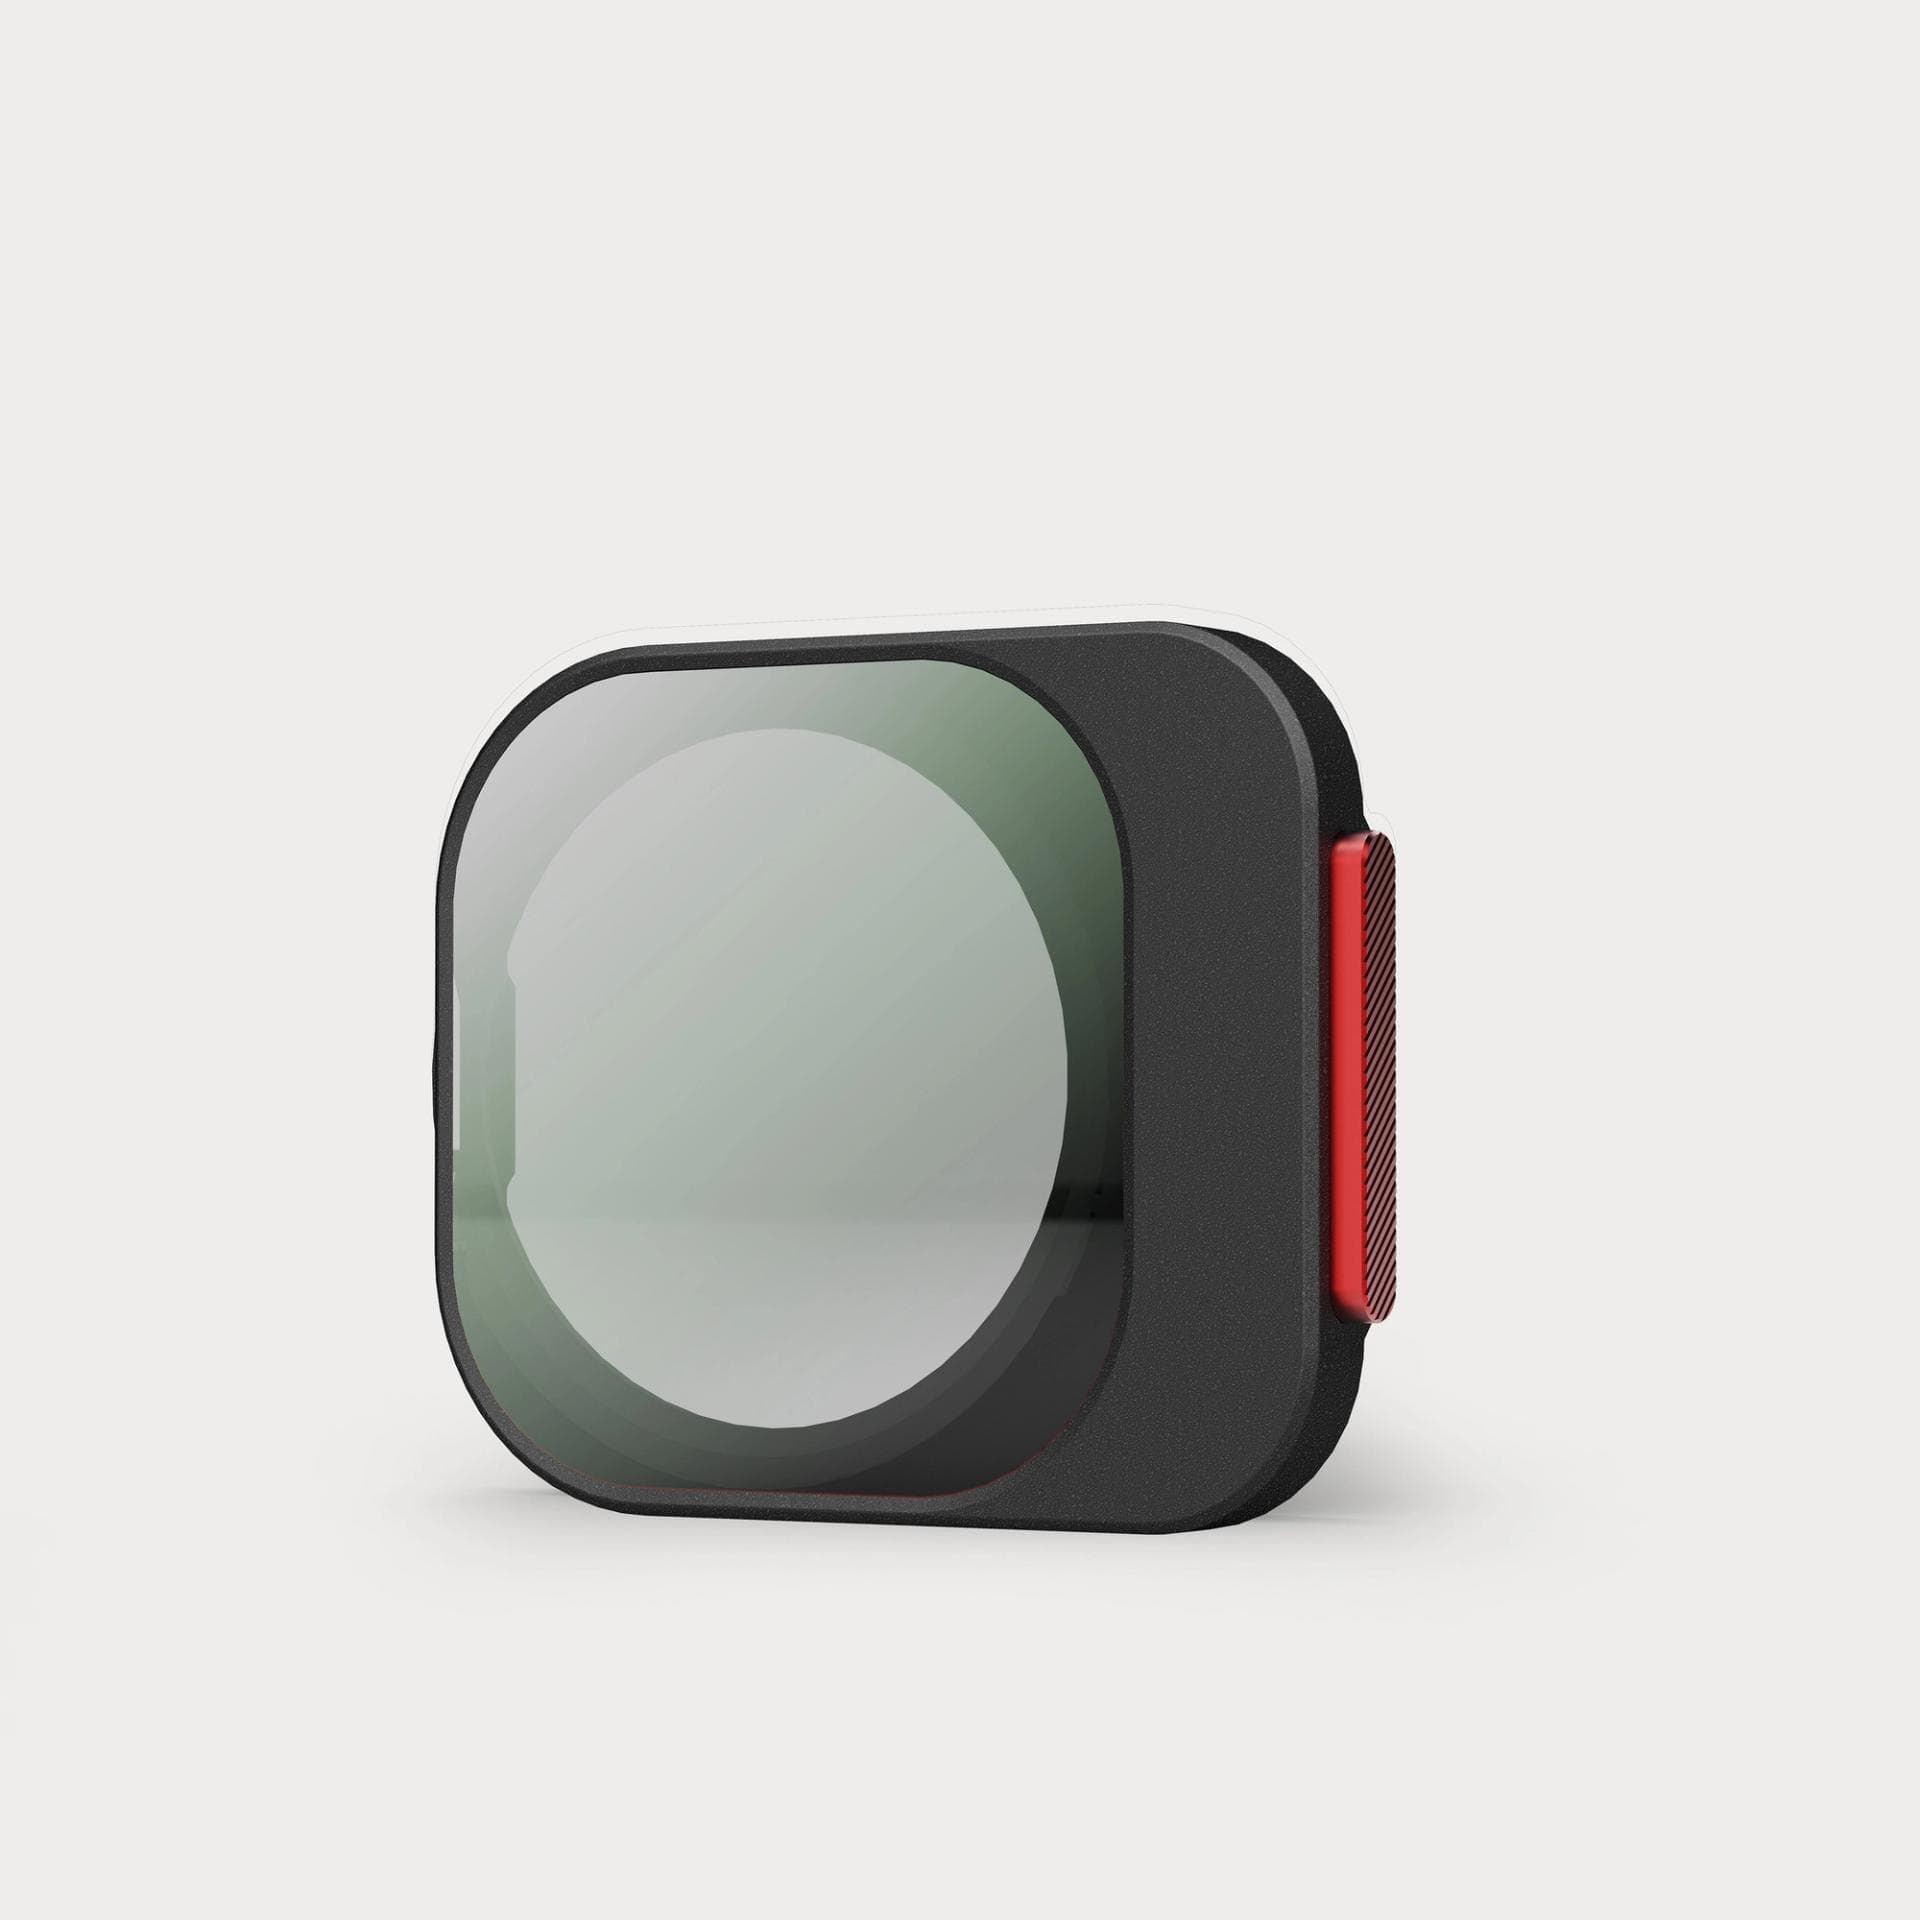
Anti-Glare CPL Filter (67mm) – $85
Purpose: Reduce reflections and enhance contrast.
Best for:
• Shooting through glass or water.
• Landscapes with vibrant skies.
• Automotive photography.
Expert Insight:
“A CPL filter is crucial for outdoor shoots. When filming at the beach, it cuts through water reflections, revealing the seafloor.”
🎯 Pro Tip: Rotate the filter while looking through the screen until the reflection disappears.
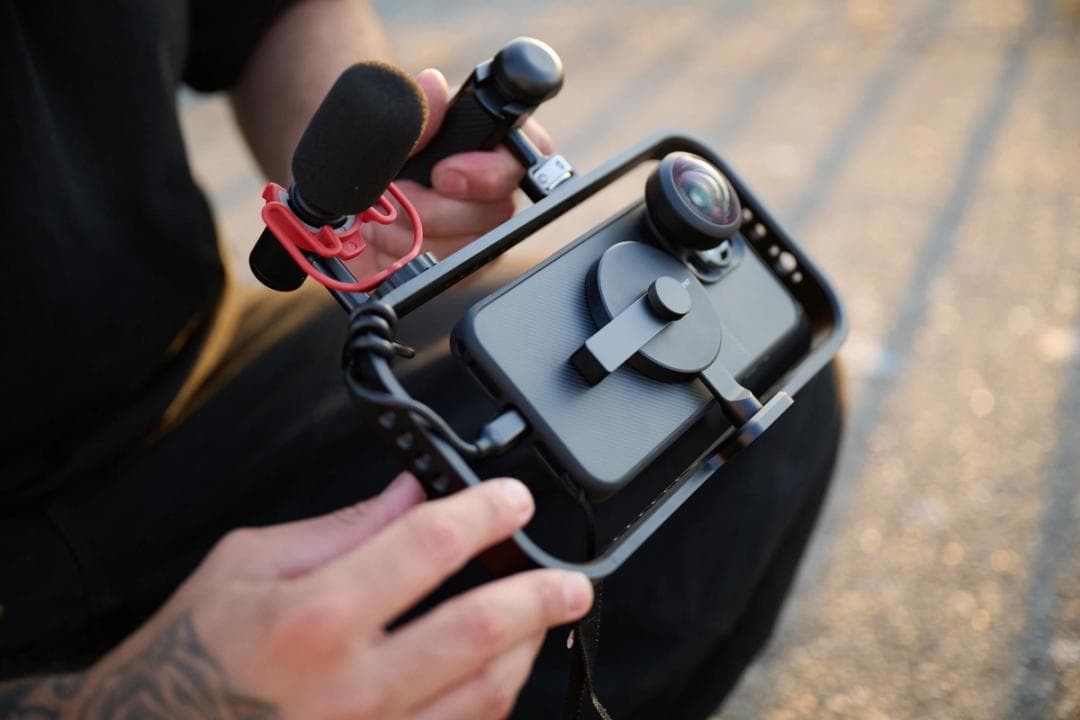
3- Mounting & Rigging
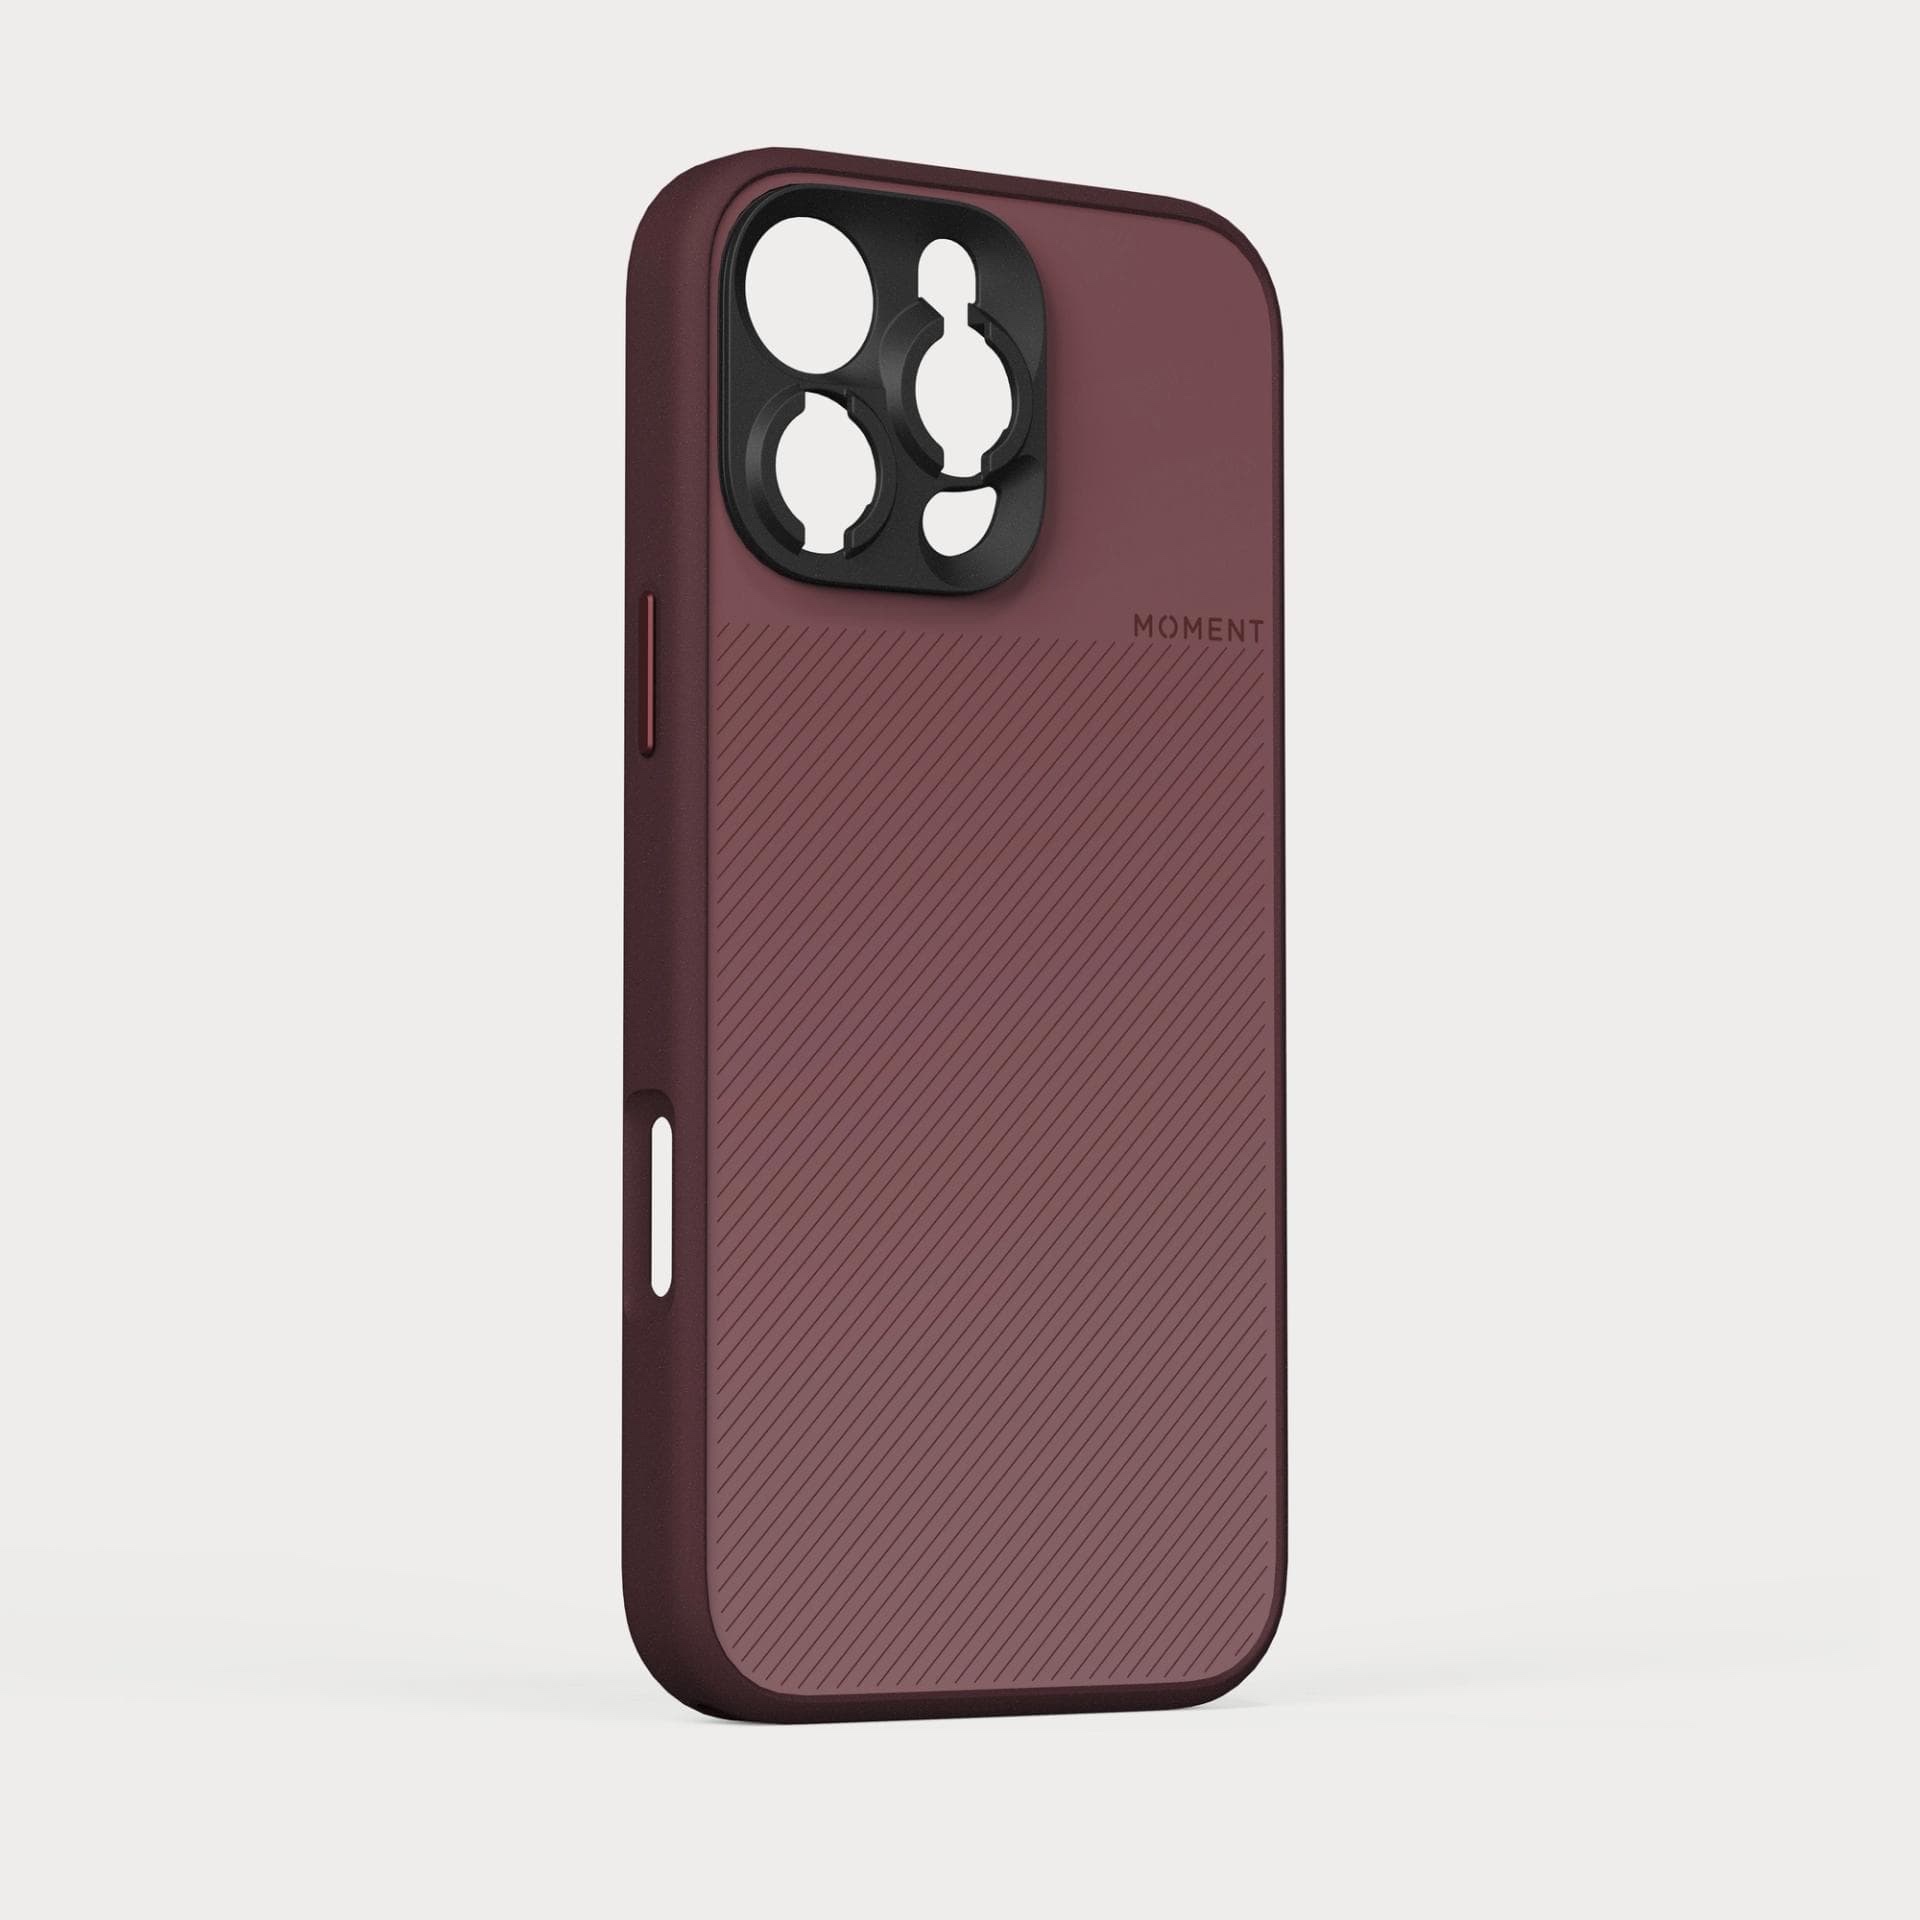
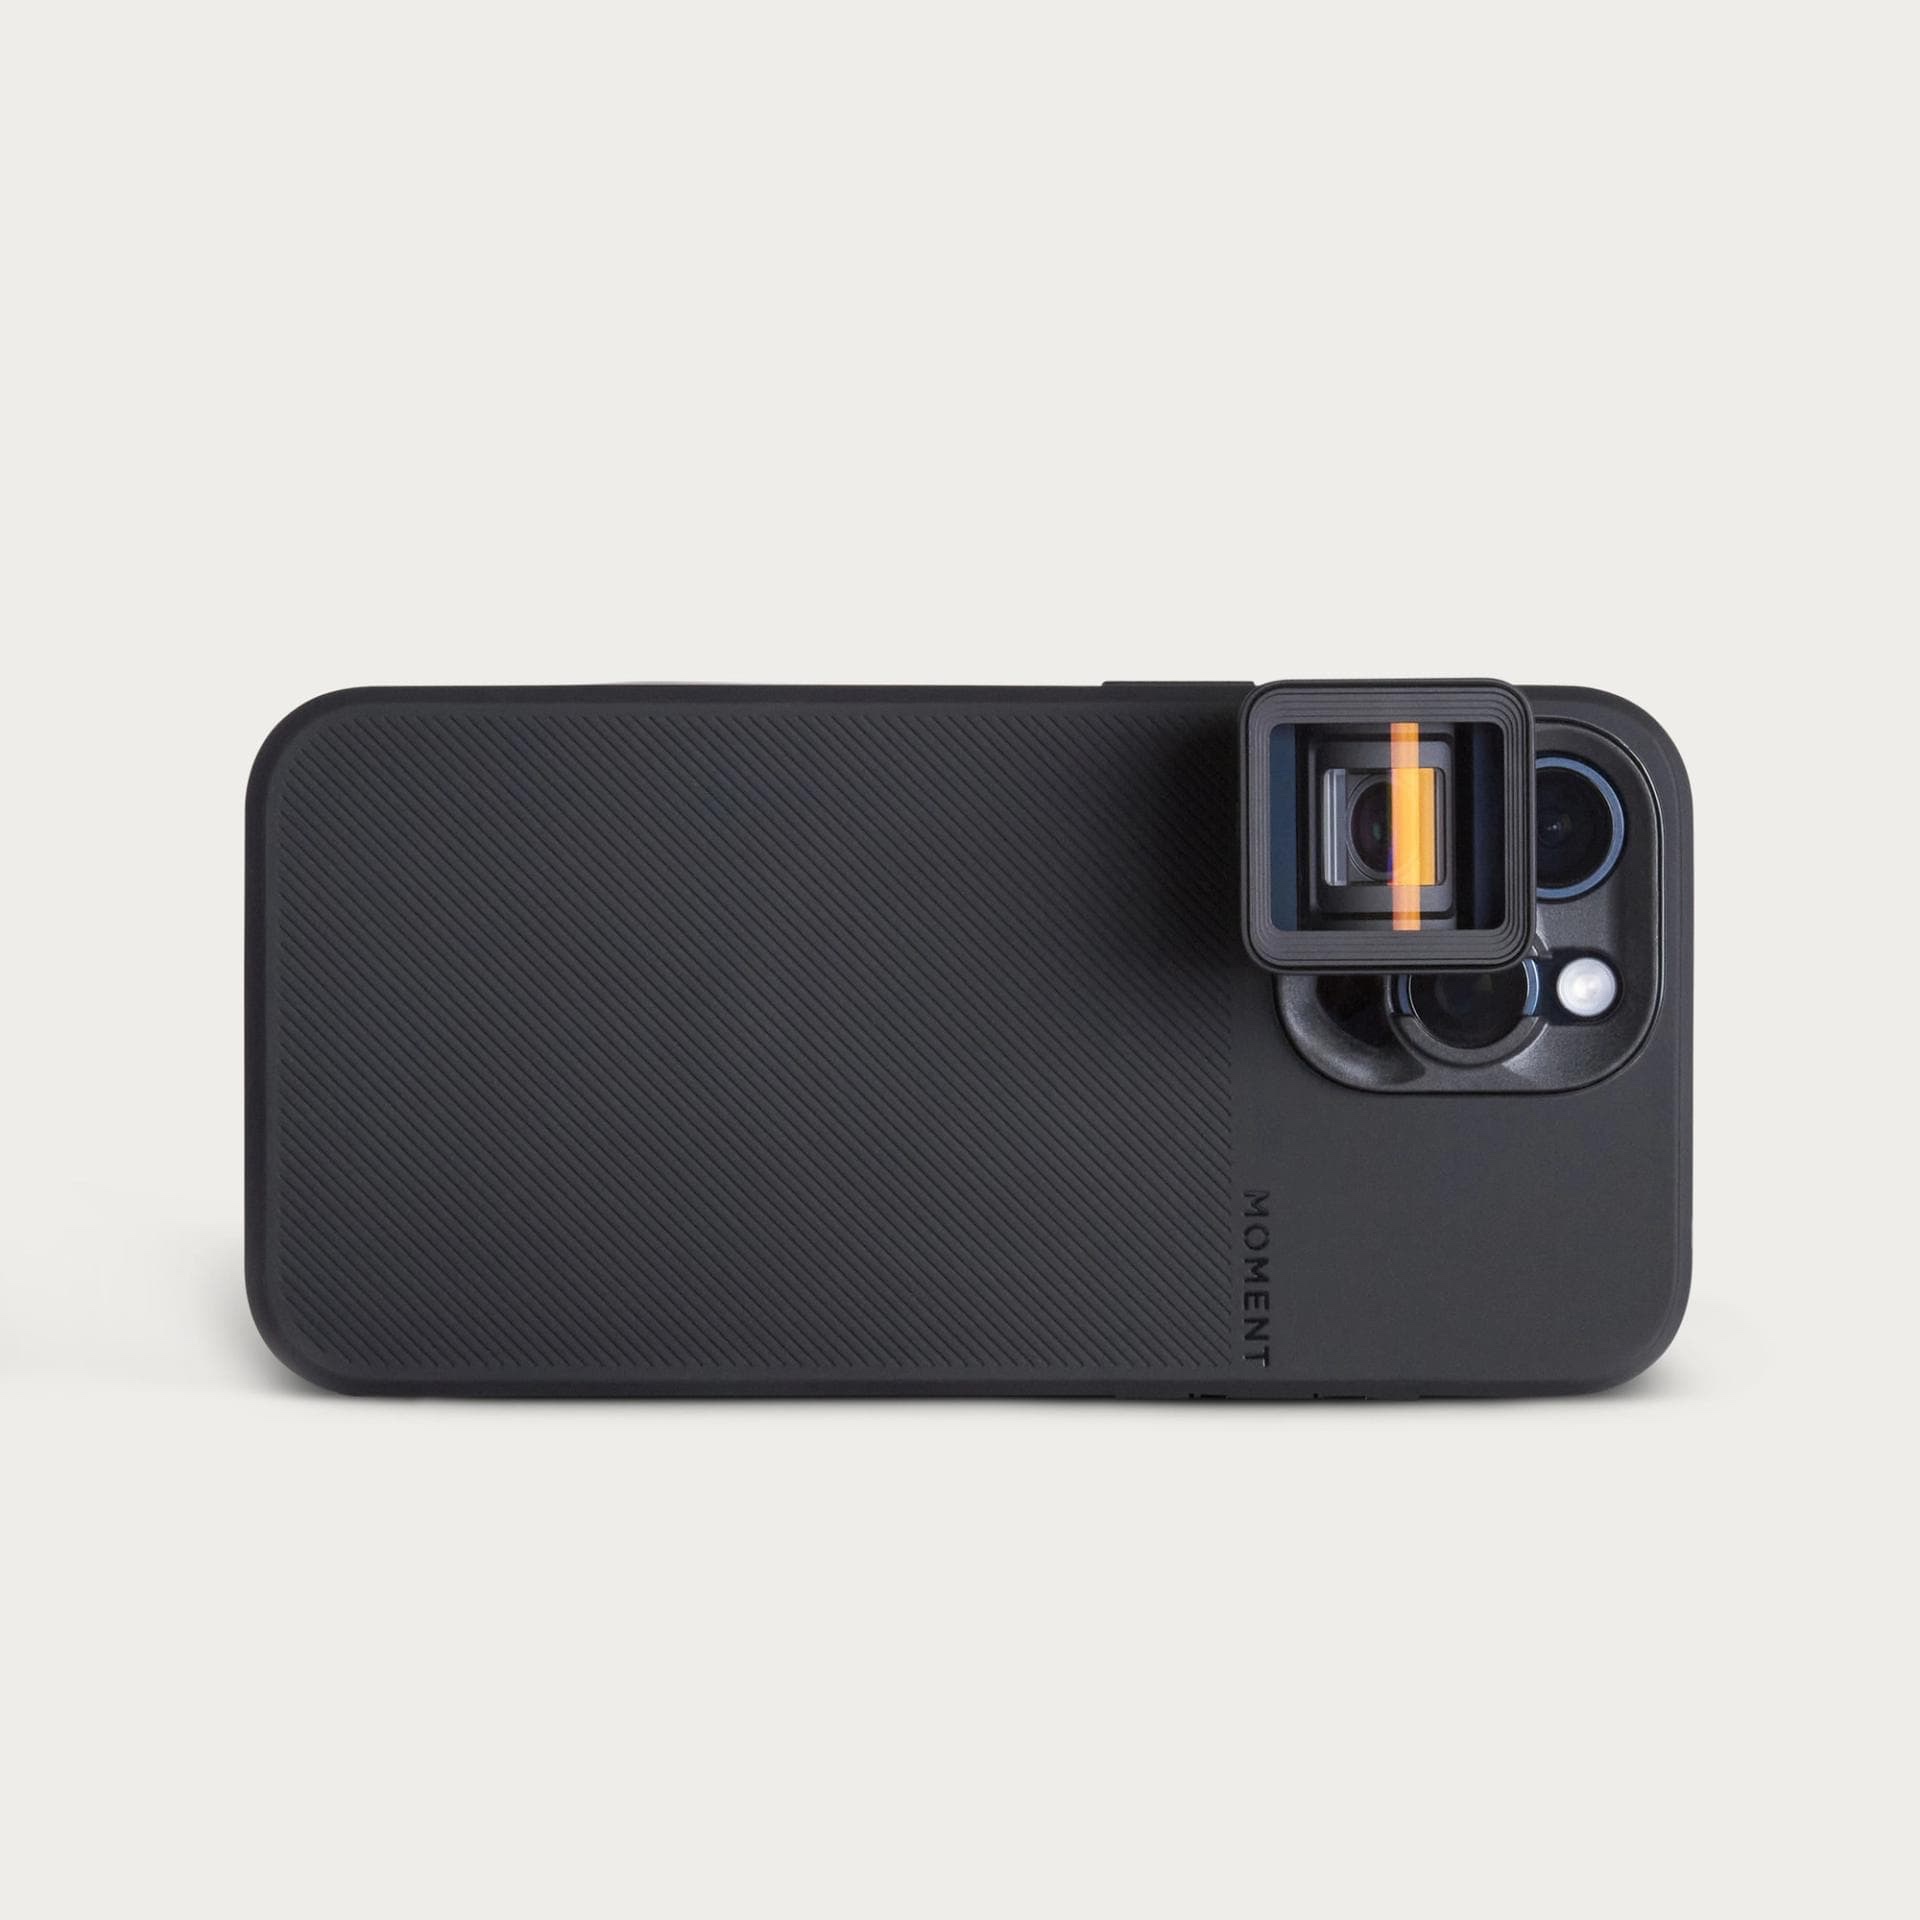
Camera Case for iPhone 16 (Red Clay) – $55
• Provides lens compatibility and device protection.
• The integrated T-Series mount allows quick lens changes.
Expert Insight:
“The Moment case is more than protection — it’s the hub for your mobile rig. I switch between lenses mid-shoot without fumbling.”
🎯 Pro Tip: Pair with a wrist strap for extra security during handheld work.
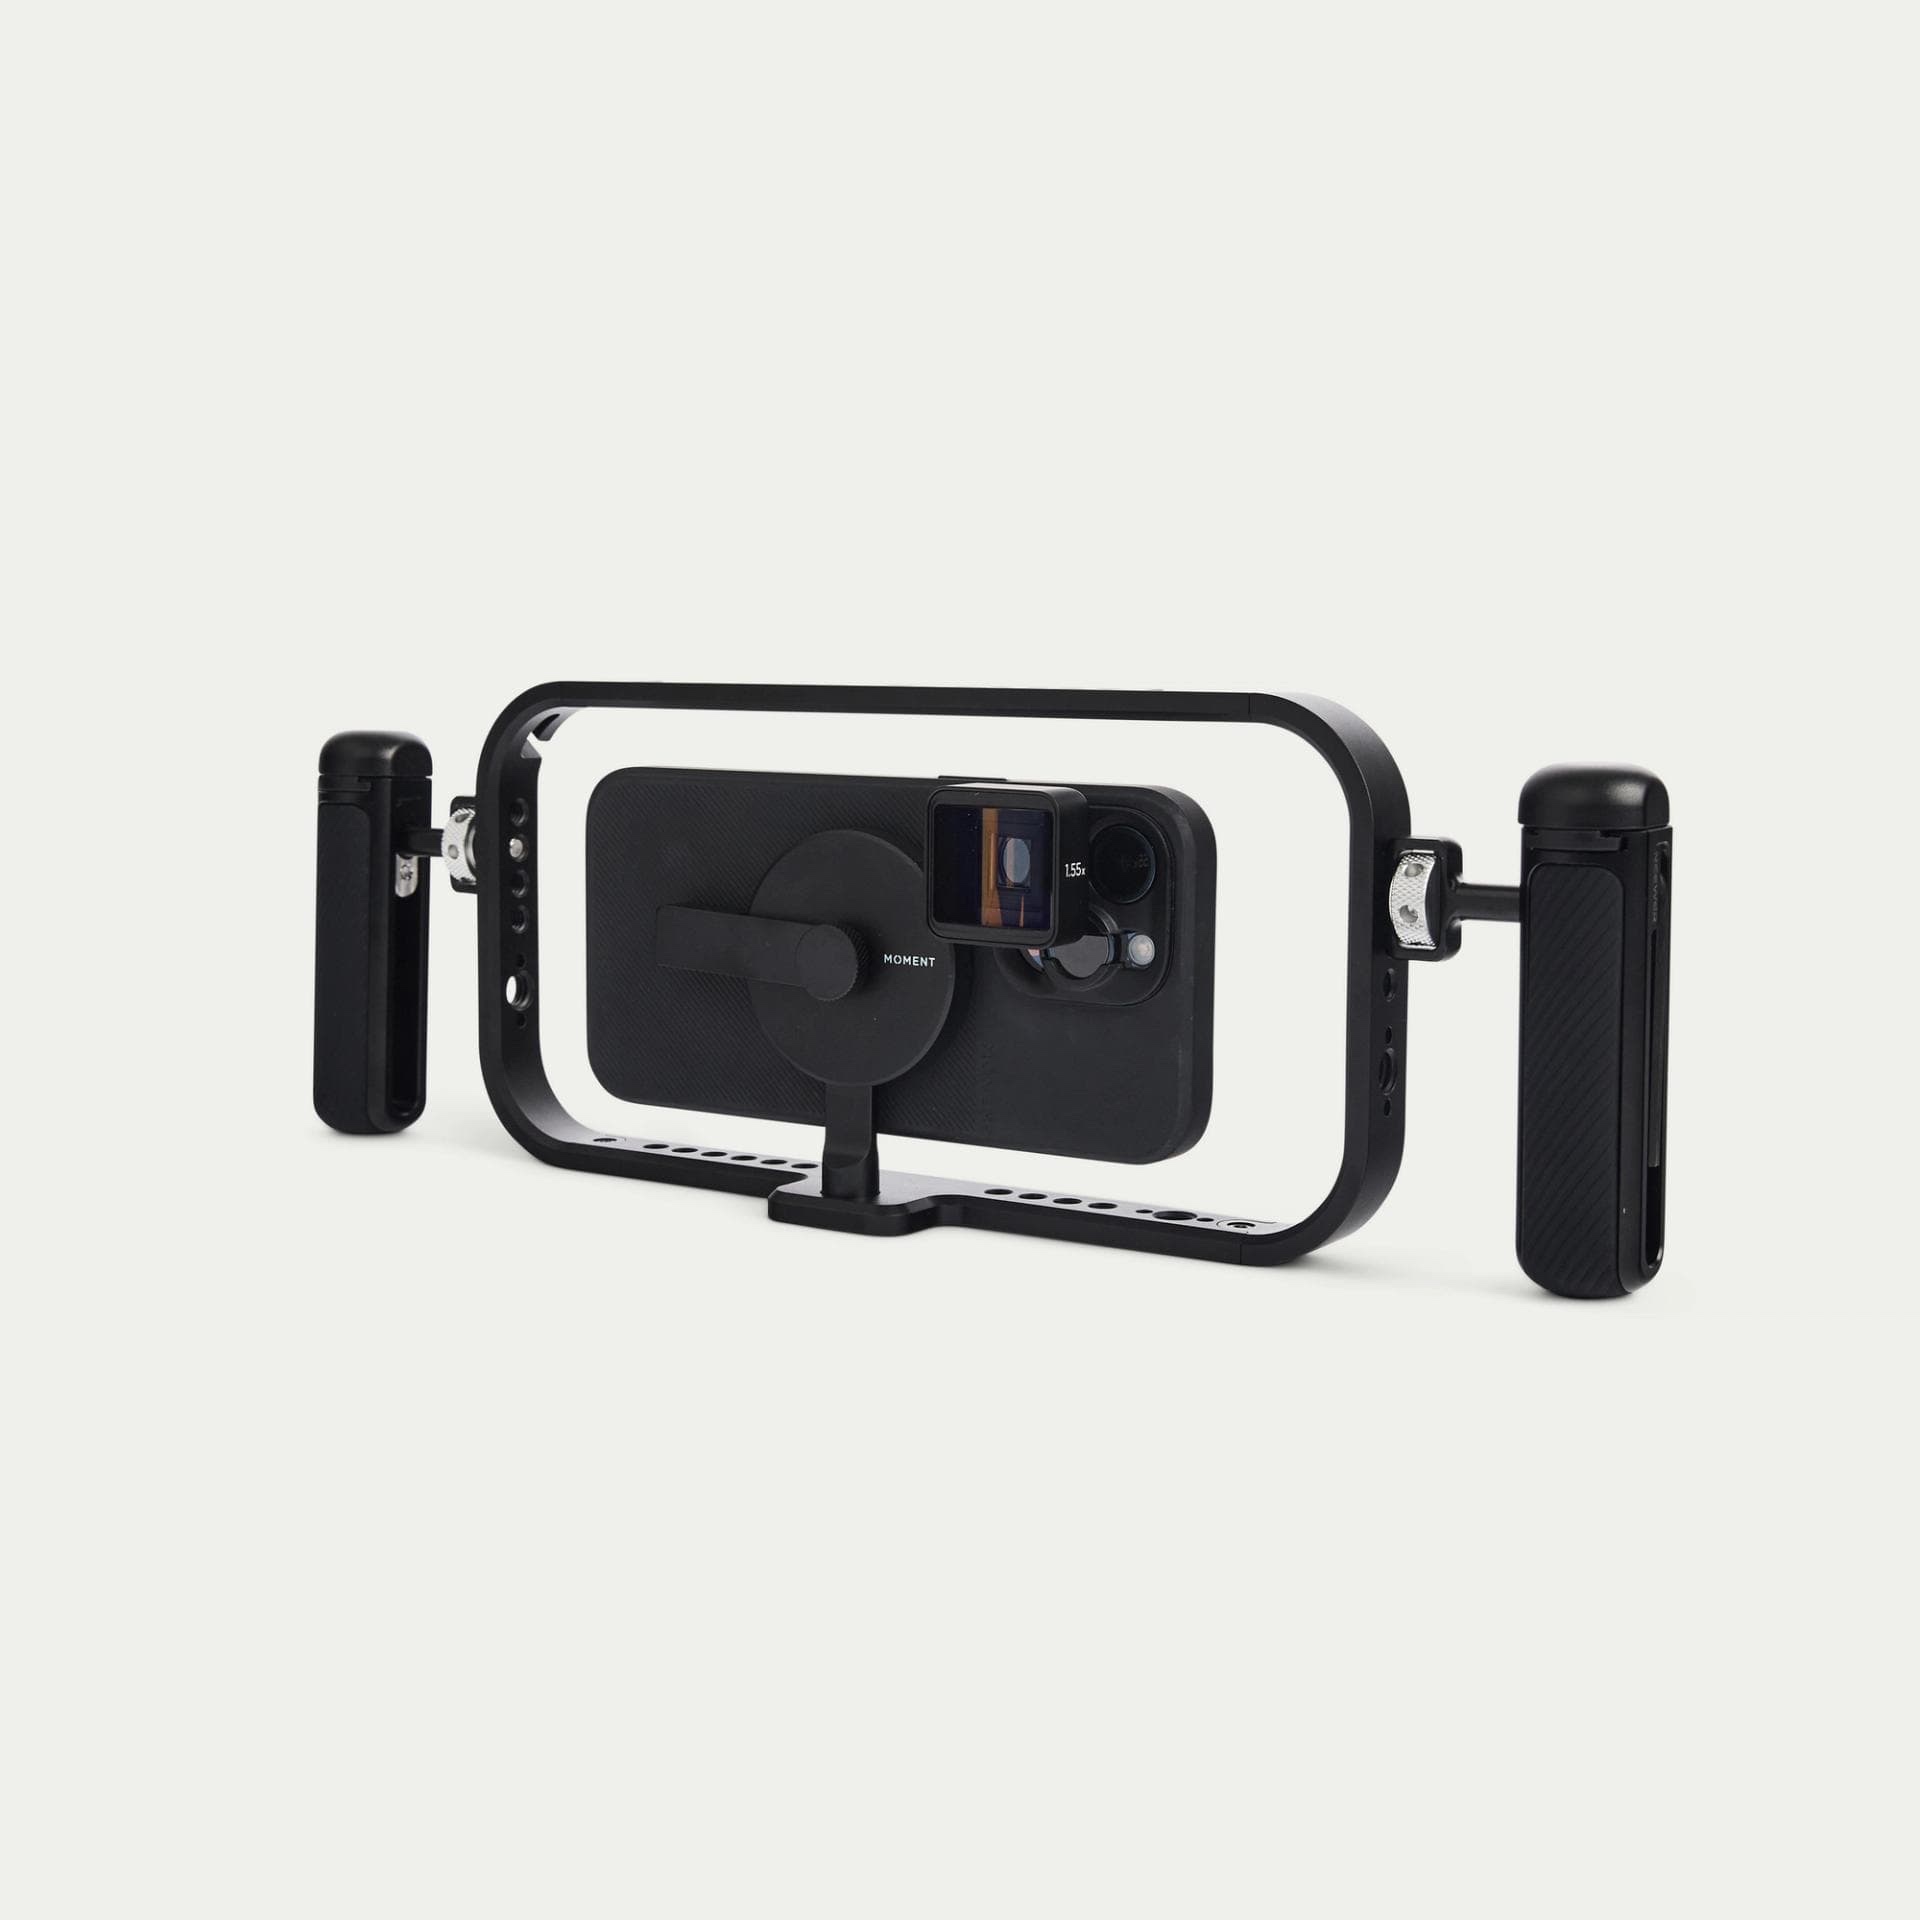
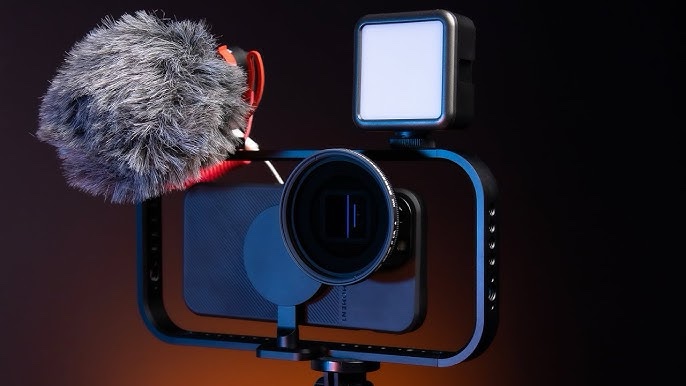
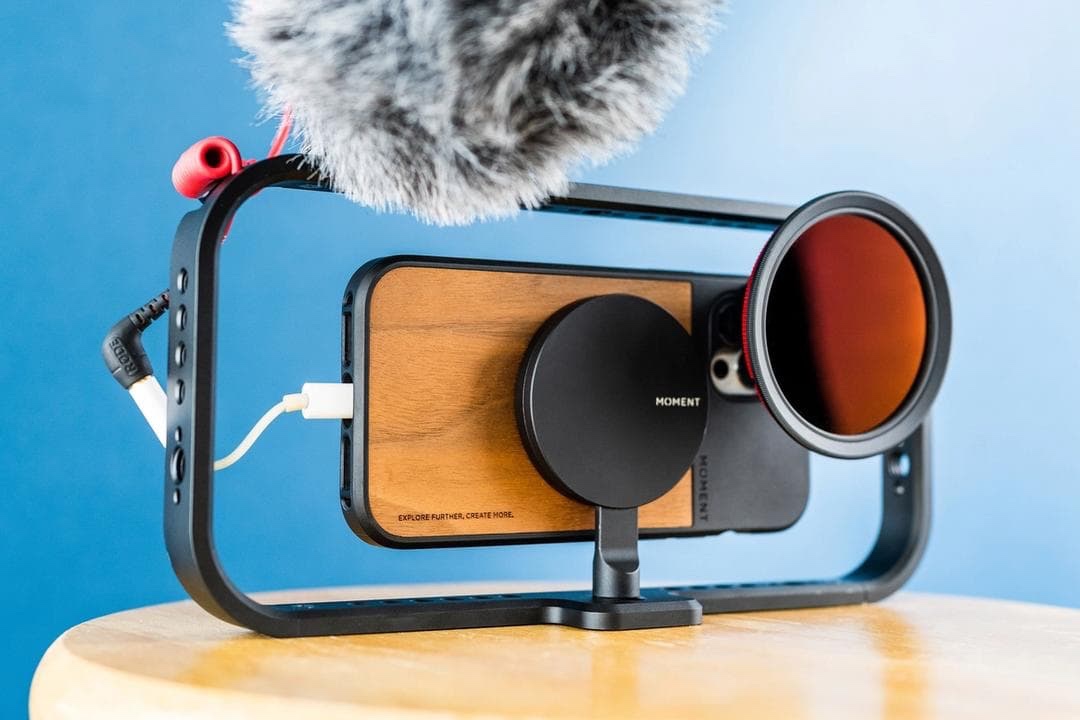
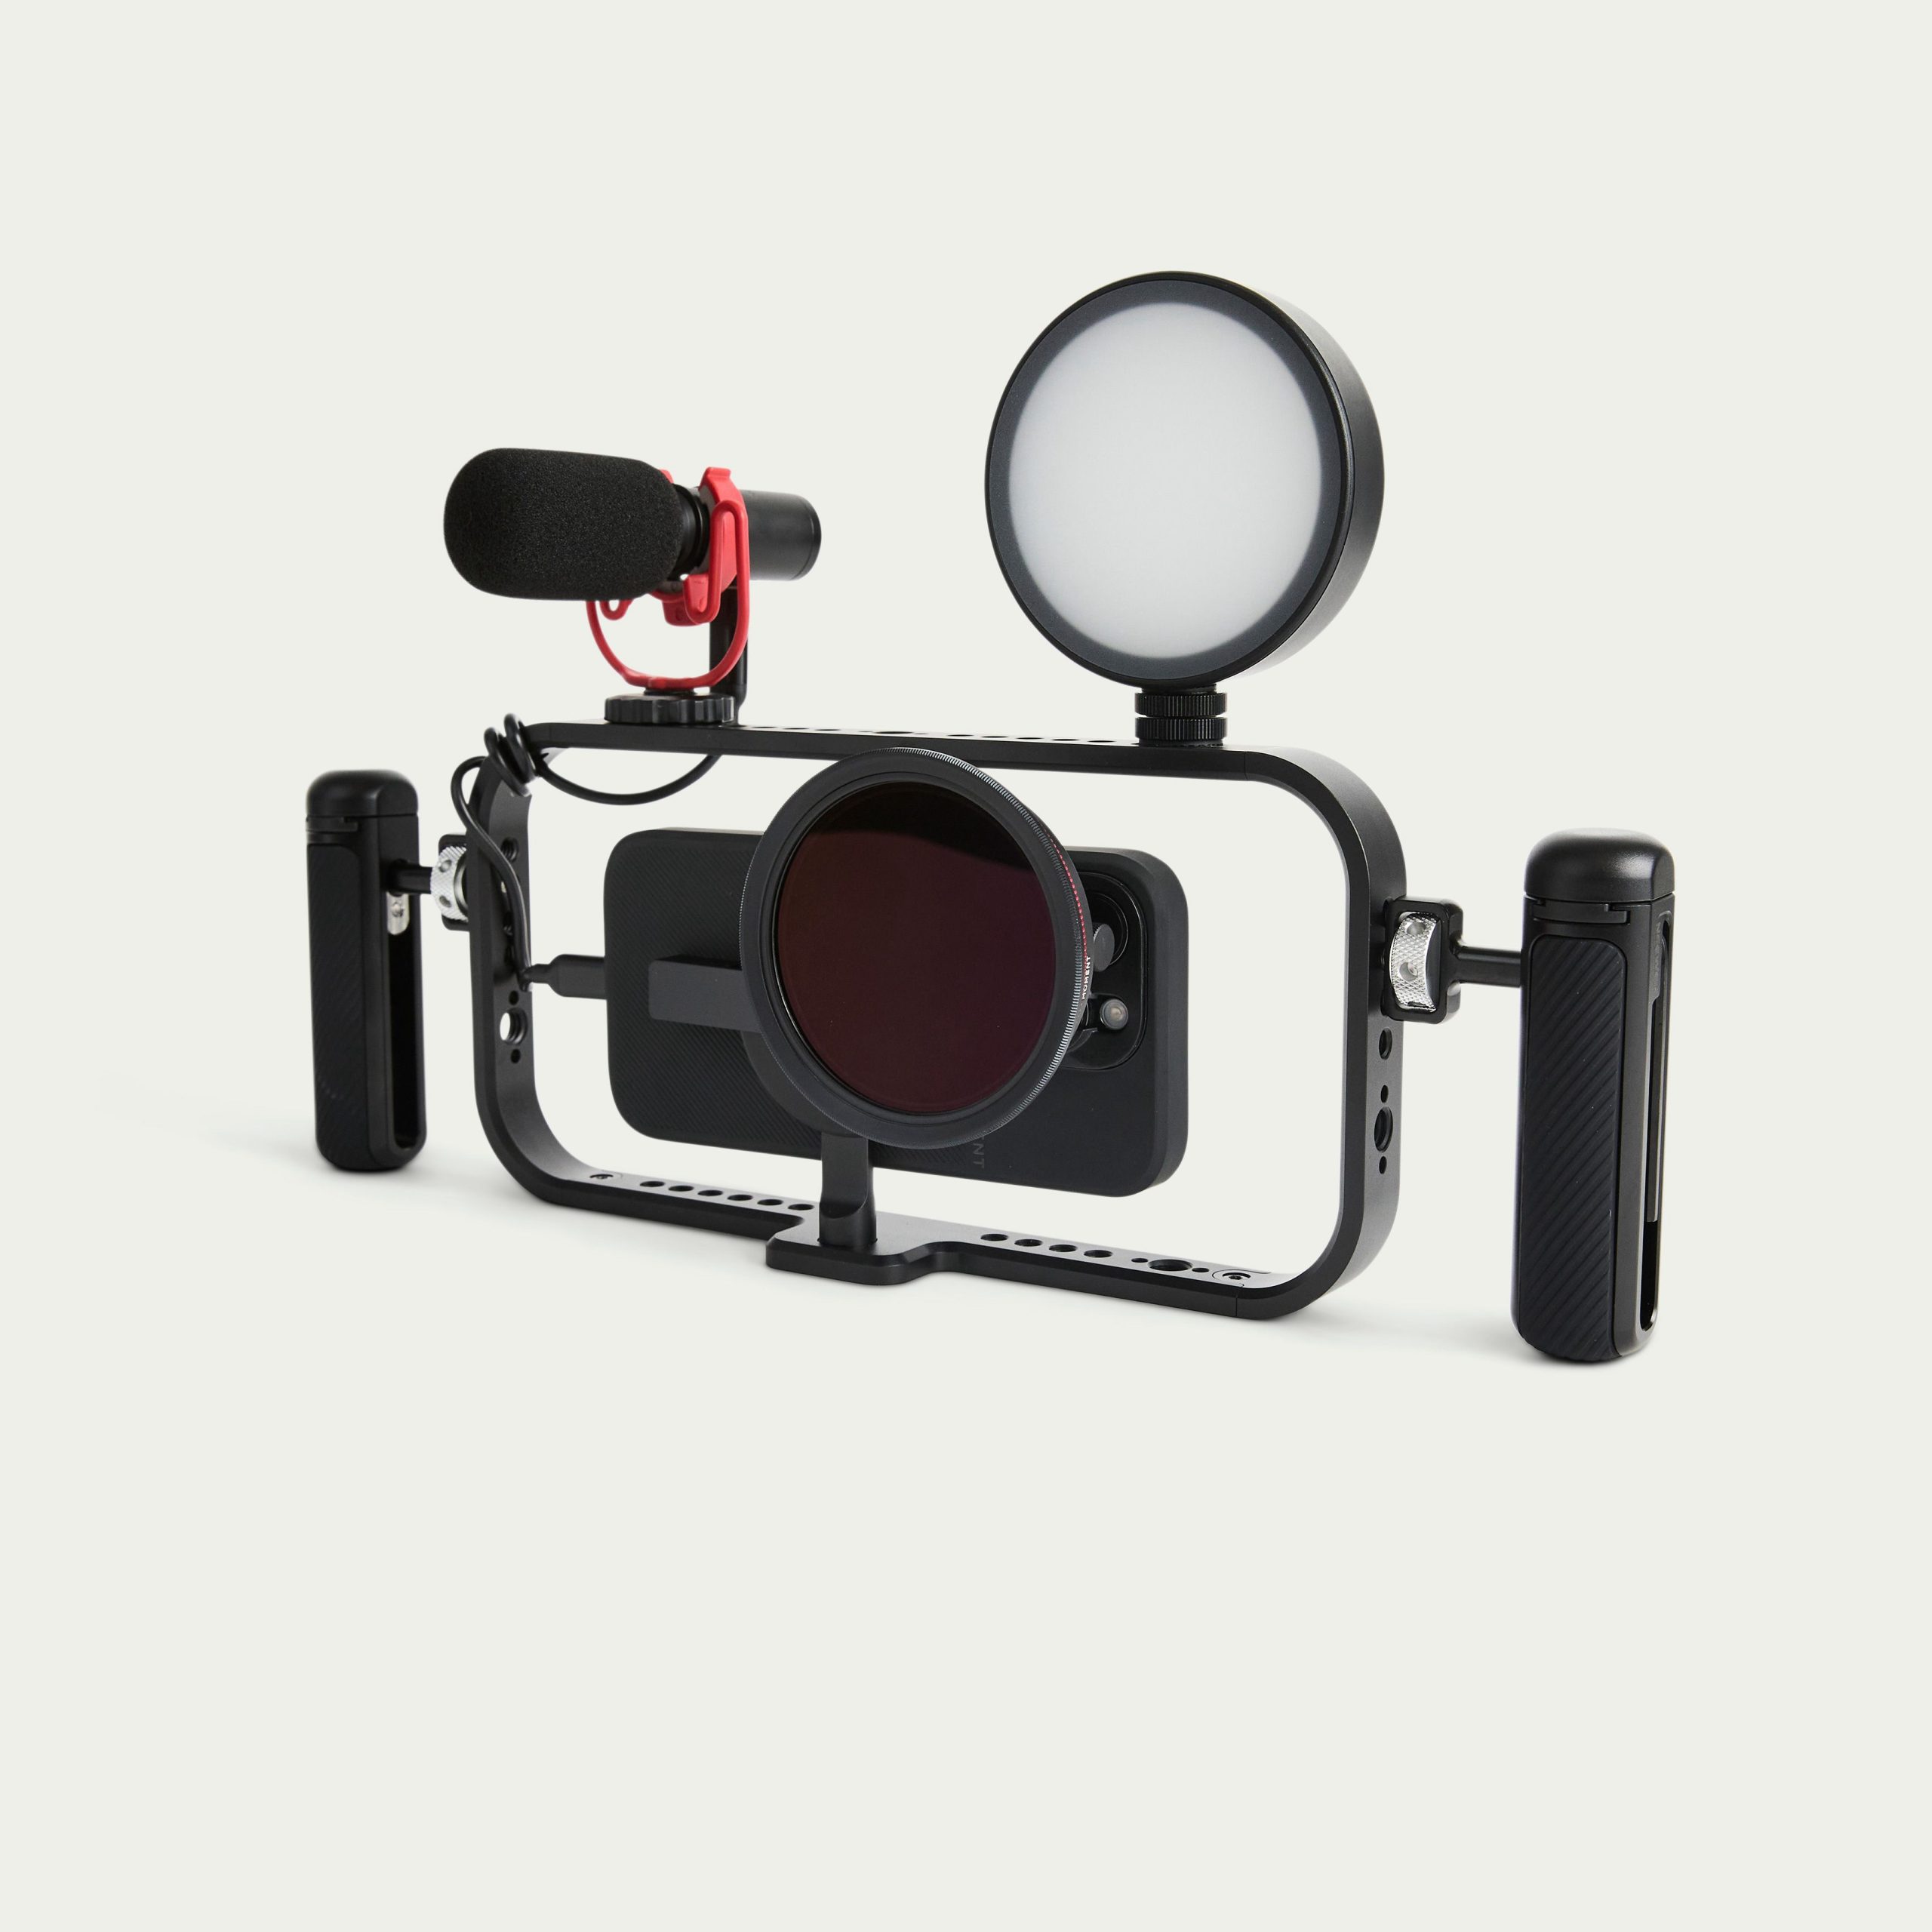
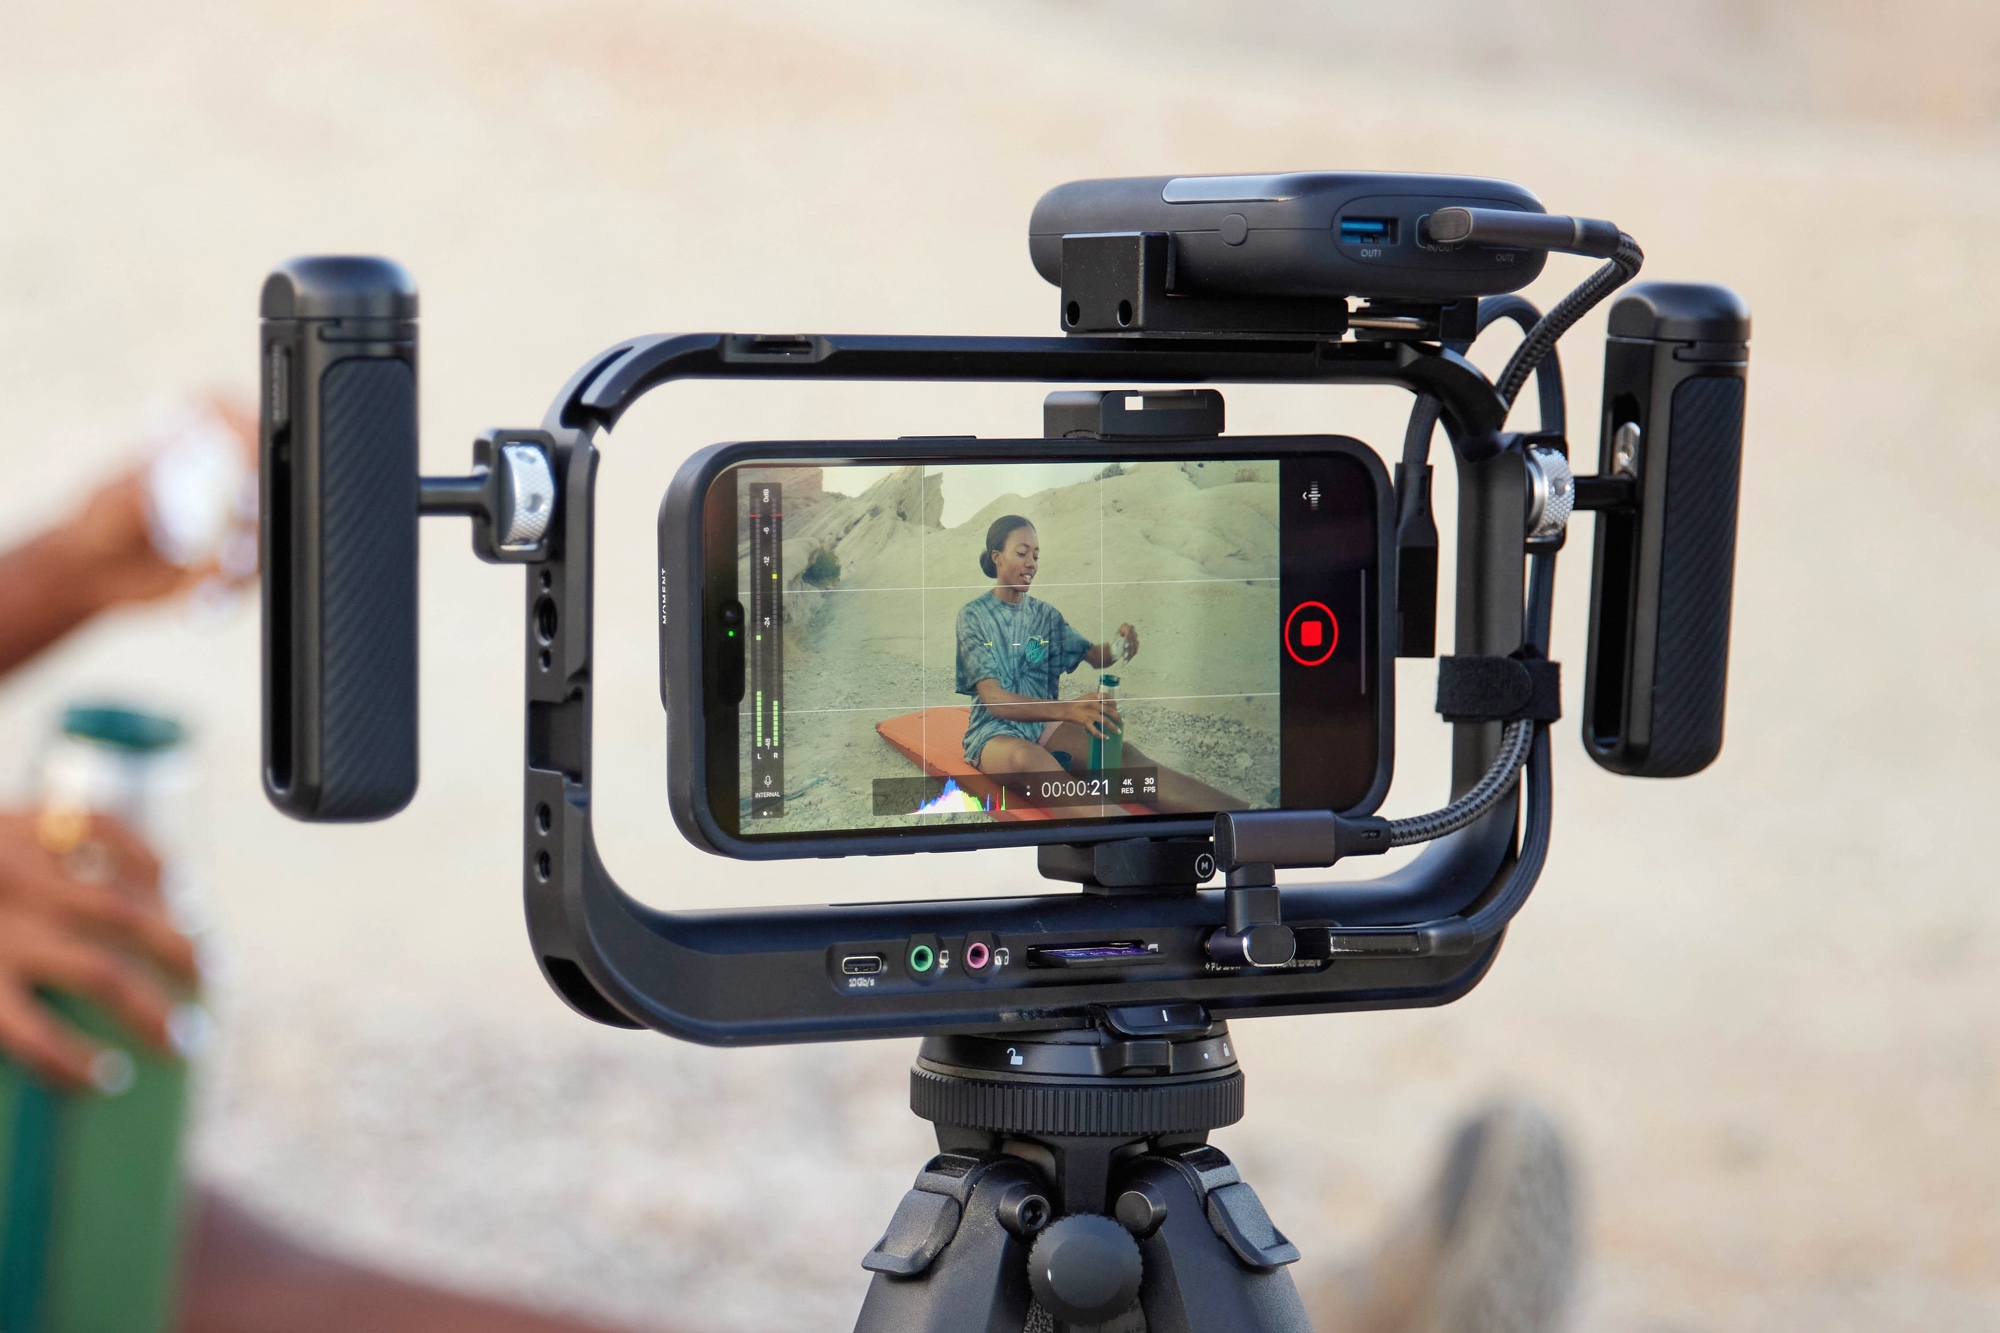
Cage with Grip and Wireless Grip – $111 (discounted from $139)
• Adds stability and multiple cold shoe mounts.
• Ideal for attaching mics, lights, and monitors.
Expert Insight:
“The cage turns your phone into a true camera rig. For handheld tracking shots, the ergonomic grip helps reduce micro jitters.”
🎯 Pro Tip: Mount the microphone above and a small LED light below for optimal balance
Lighting – The Unsung Hero of Mobile Filmmaking
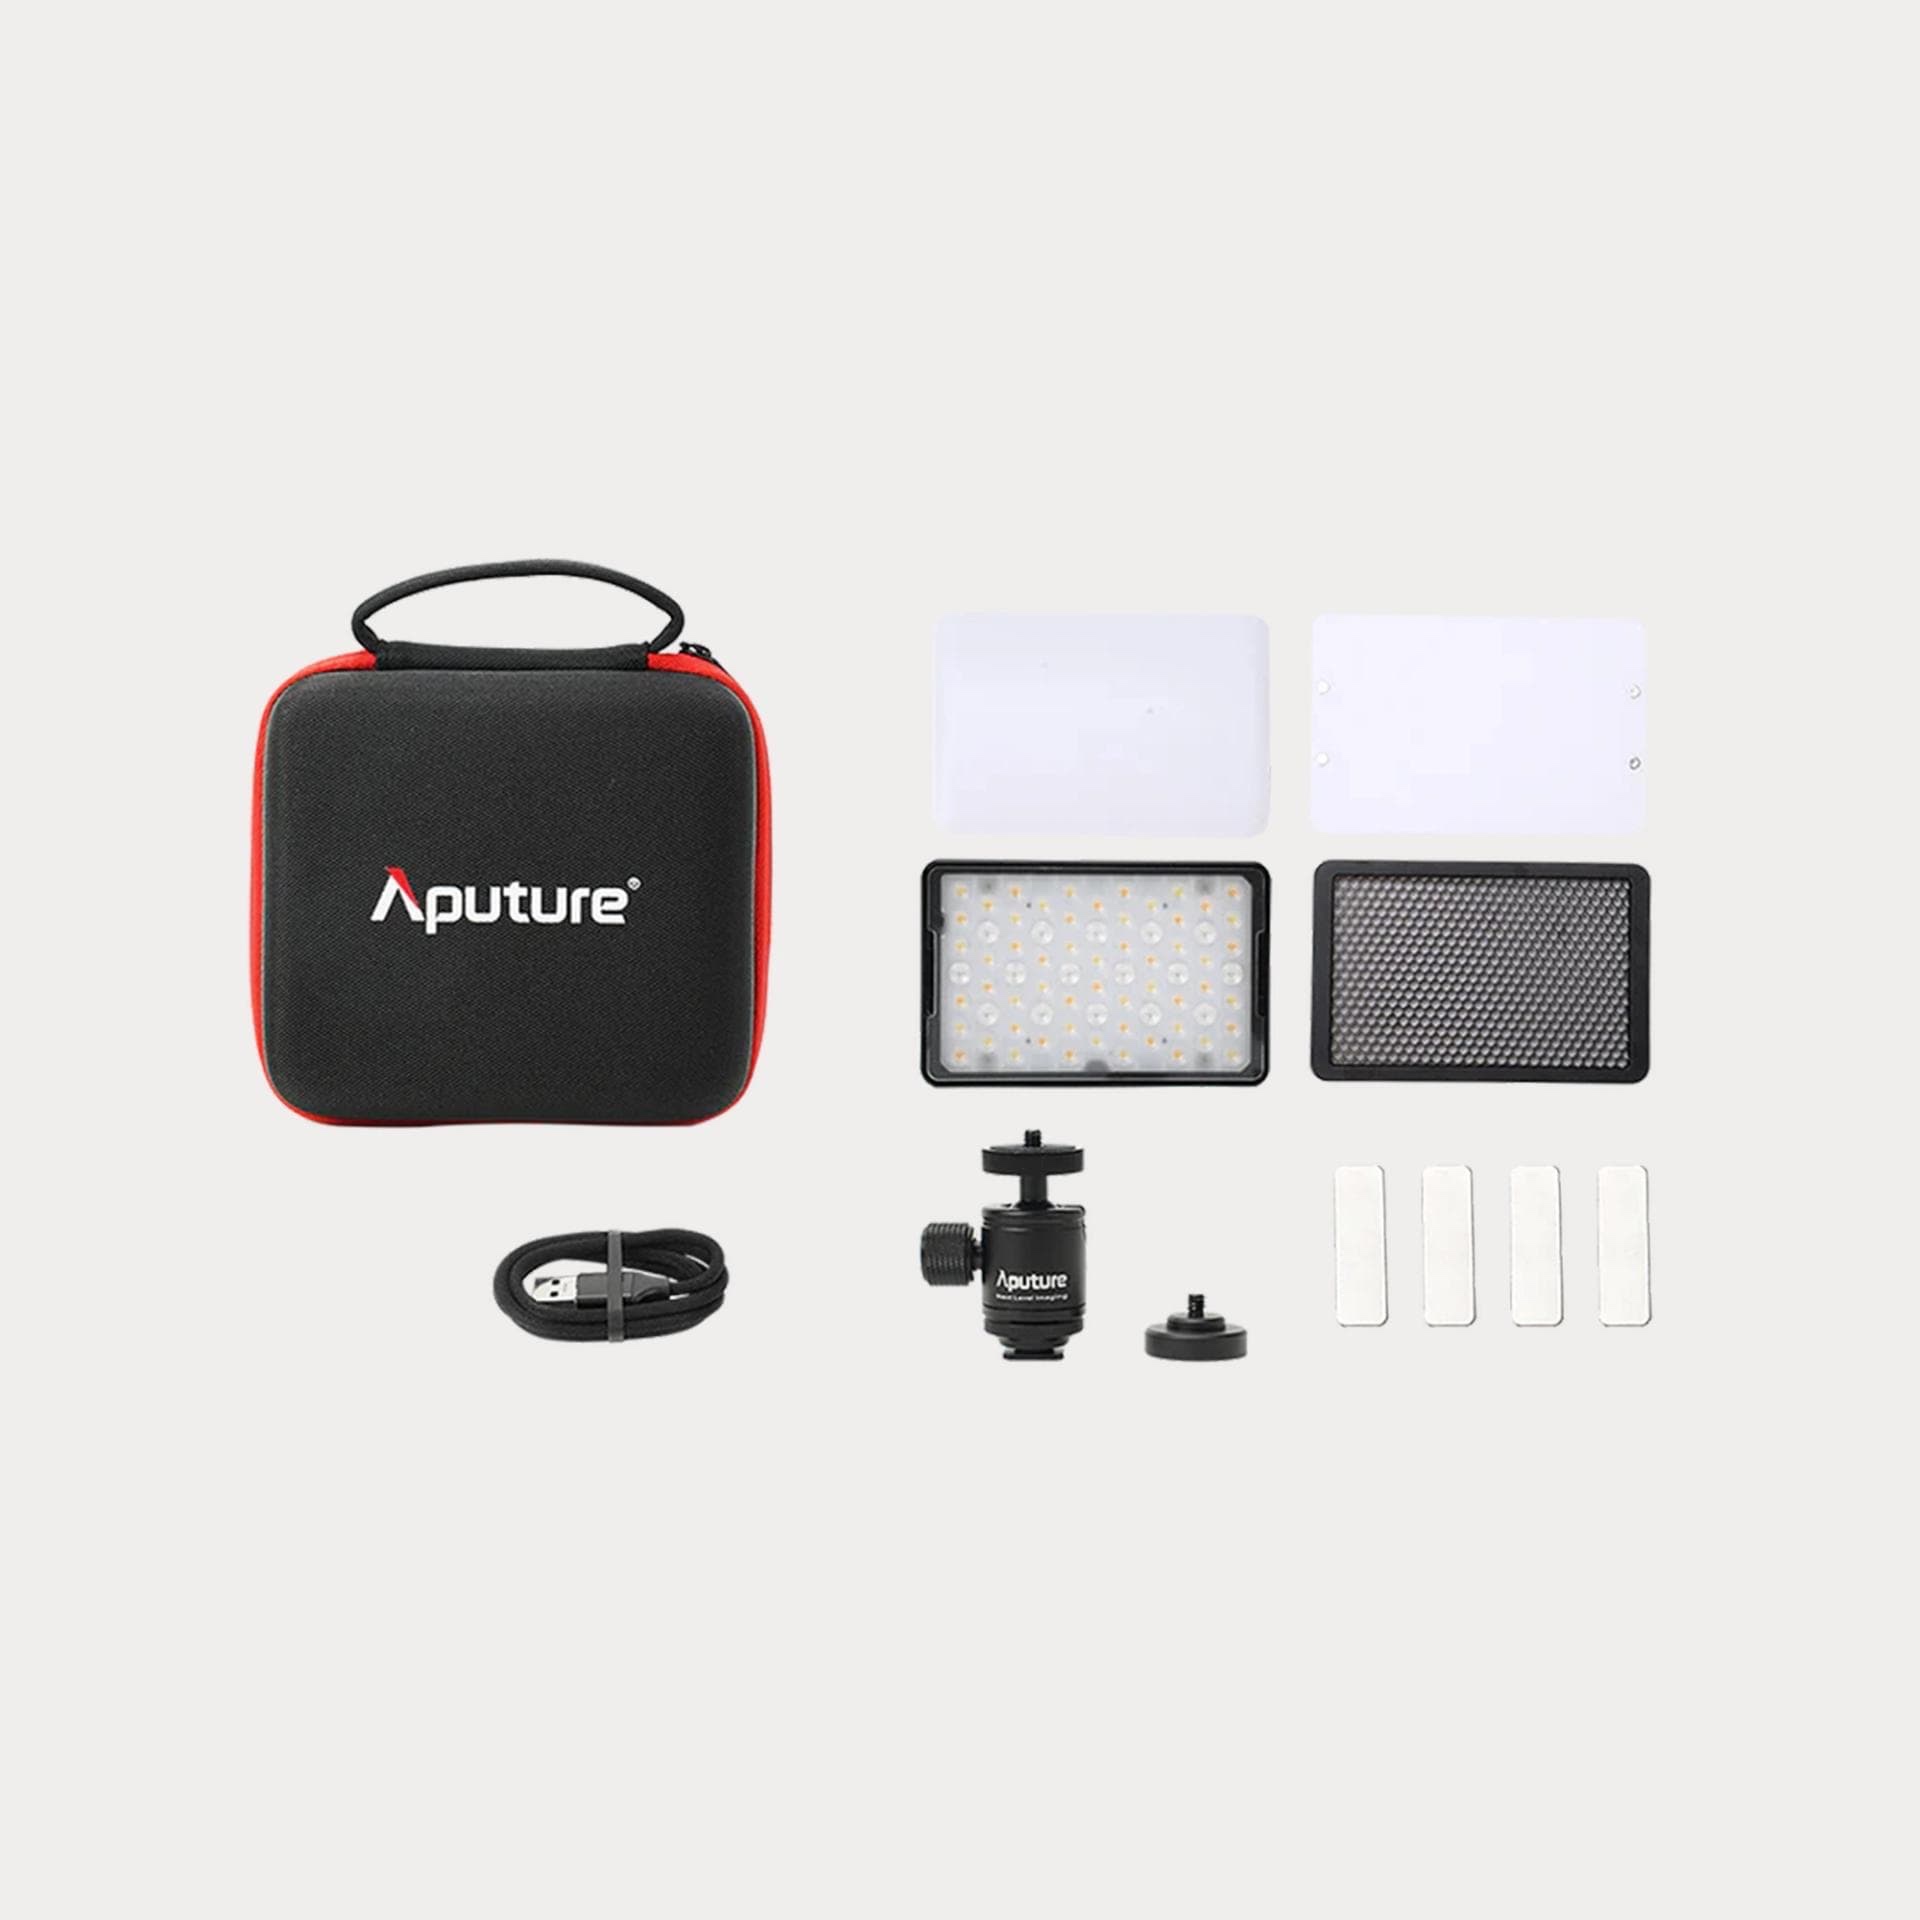
Moment Mobile LED Light – $79
• Compact, portable, and easily attaches to the Moment Cage.
• Adjustable brightness and color temperature.
• Rechargeable battery for long shoots.
Why It Matters:
Lighting can make or break a shot. The built-in iPhone flash isn’t sufficient for professional video. Moment’s mobile LED light adds soft, natural illumination.
Expert Insight:
“Lighting is storytelling. When I shoot interviews on the go, I use the Moment LED with a soft diffuser to create natural shadows — essential for adding depth to your subject.”
🎯 Pro Tip: Position the light slightly above eye level to mimic natural sunlight.
4. Audio – Capturing Clean, Crisp Sound
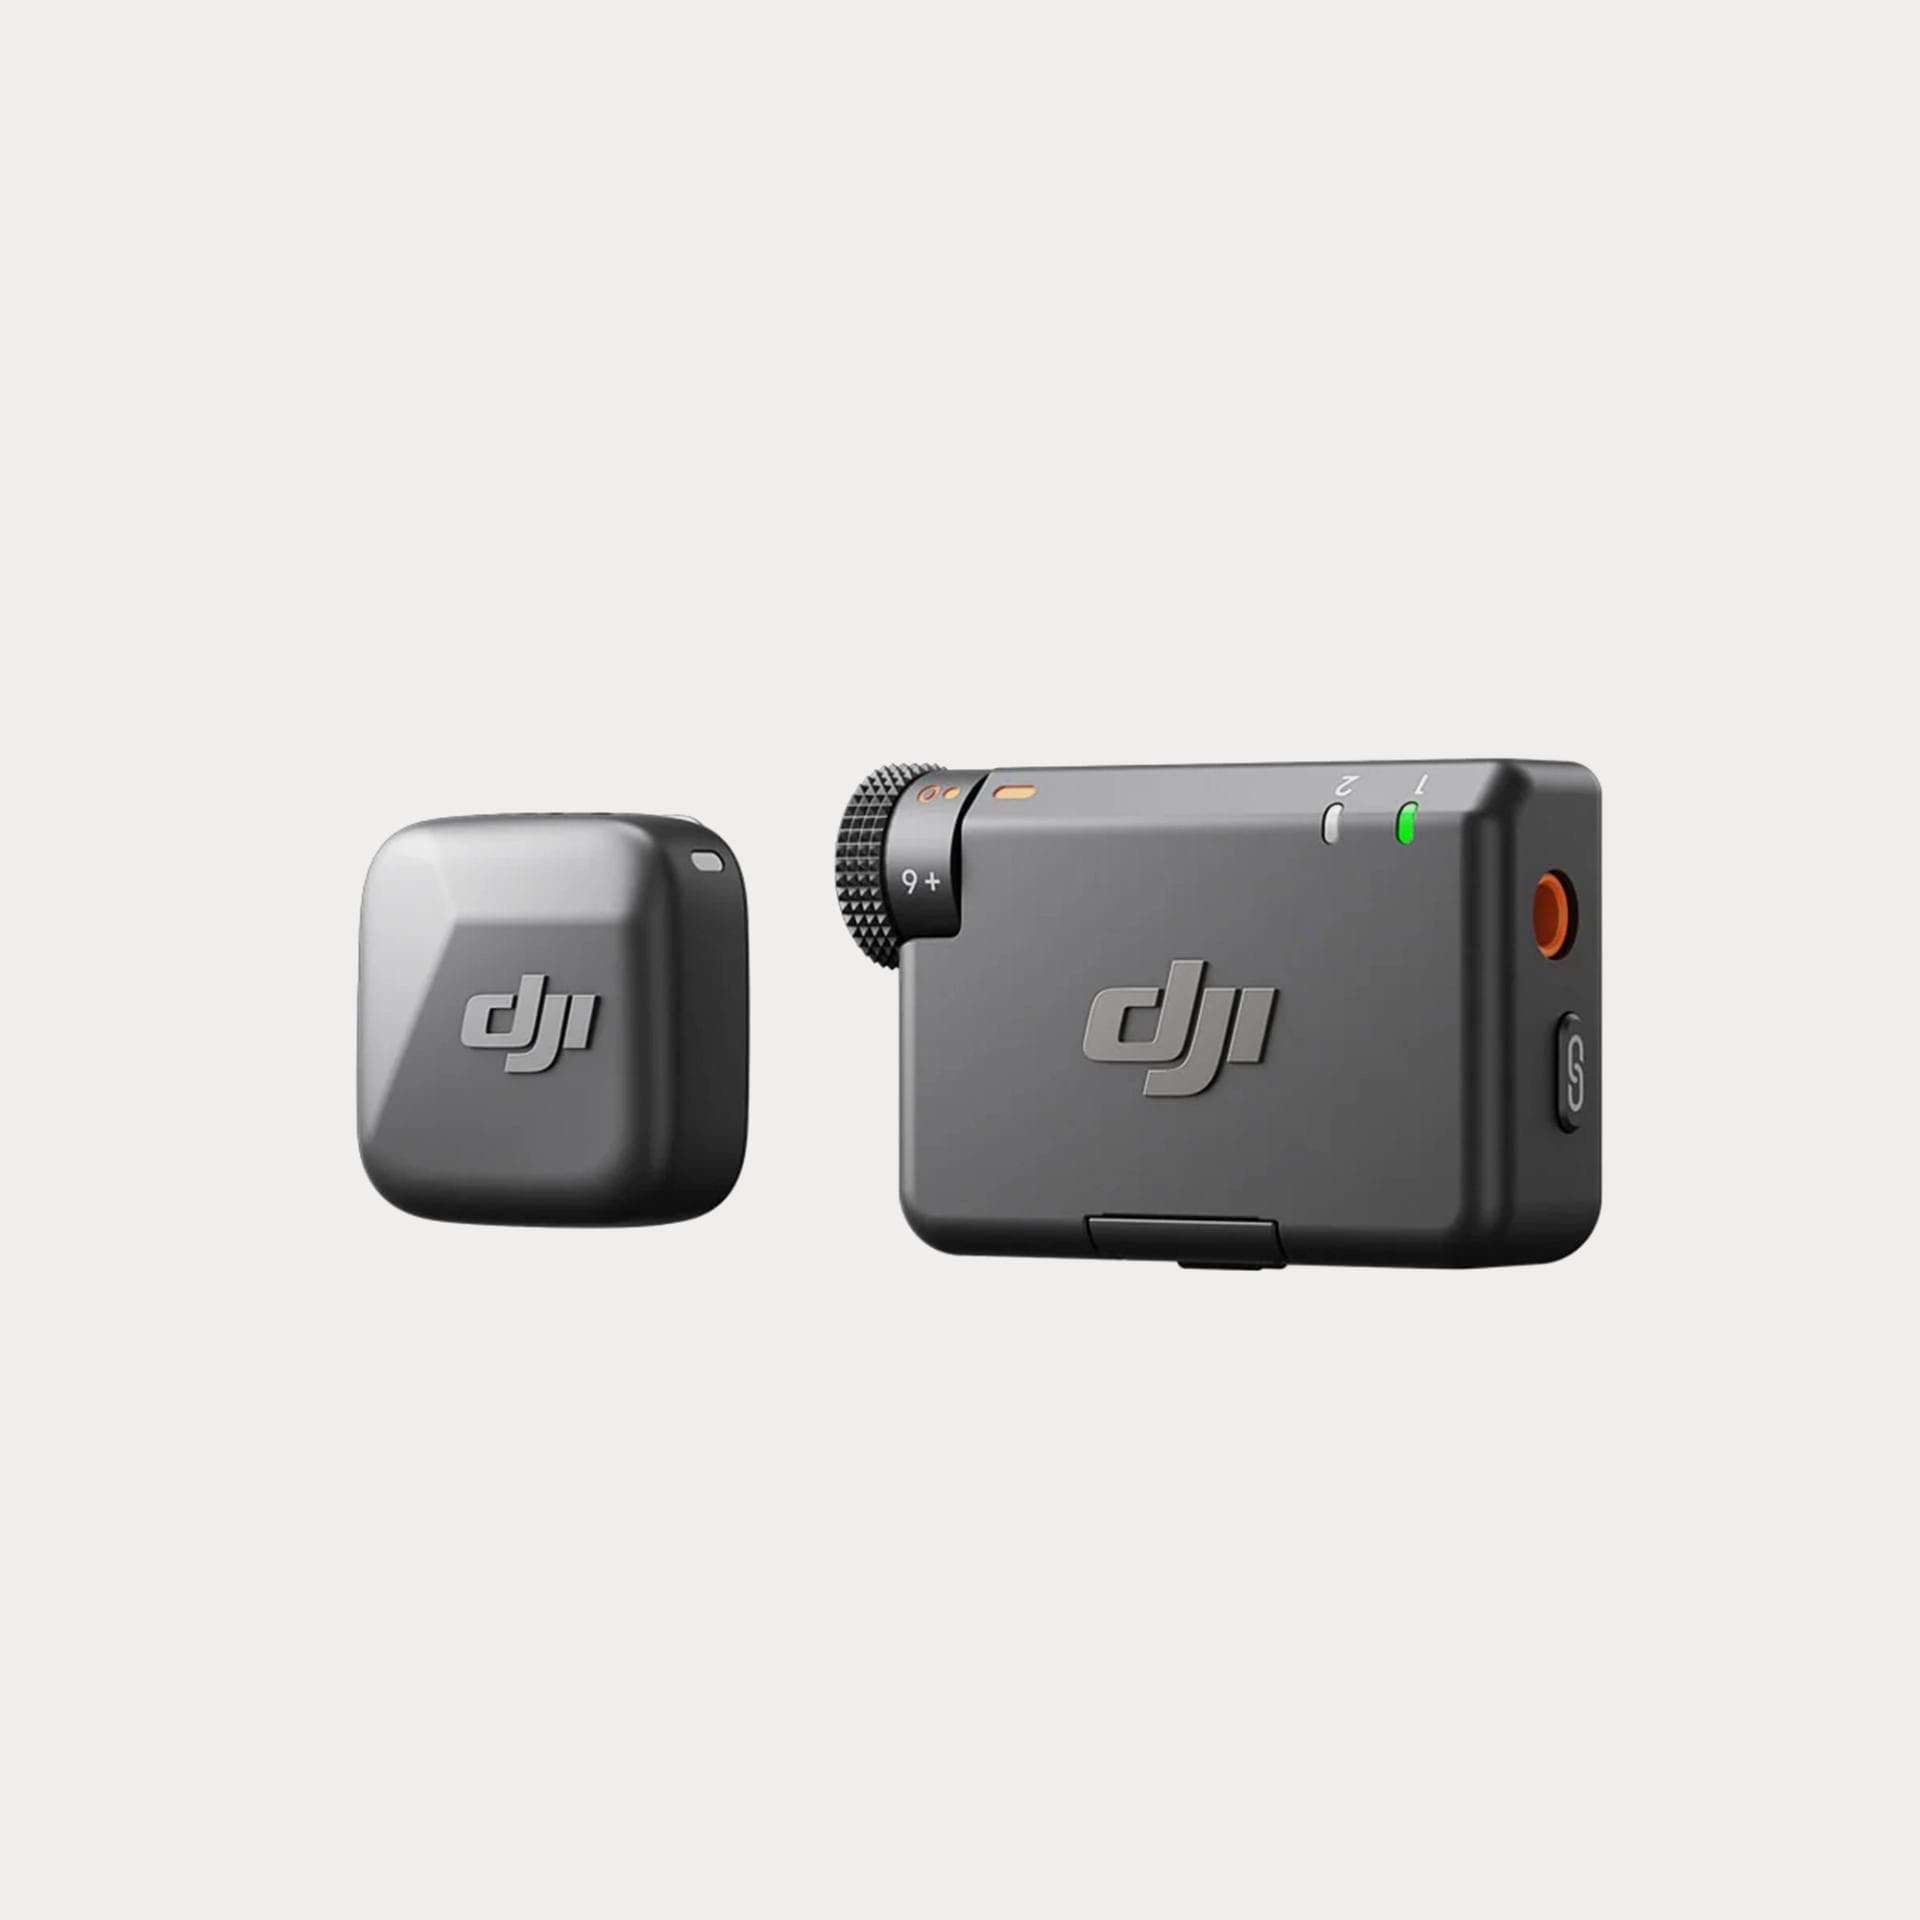
Mic Mini Wireless Microphone System – $89
• Compact, wireless, and plug-and-play.
• Essential for interviews and vlogging.
Expert Insight:
“Good audio is half the video experience. I use the Moment wireless mic for impromptu interviews — it’s reliable even in noisy streets.”
🎯 Pro Tip: Clip the mic slightly below the subject’s chin for optimal clarity.
High-Performance SSD Drive – The Essential Backbone of Your Workflow
In professional filmmaking and photography, having reliable, high-speed storage is crucial — especially when capturing ProRAW photos and Apple Log videos. These files are significantly larger than standard formats and require robust, fast, and dependable storage to handle them efficiently.
Recommended SSD:
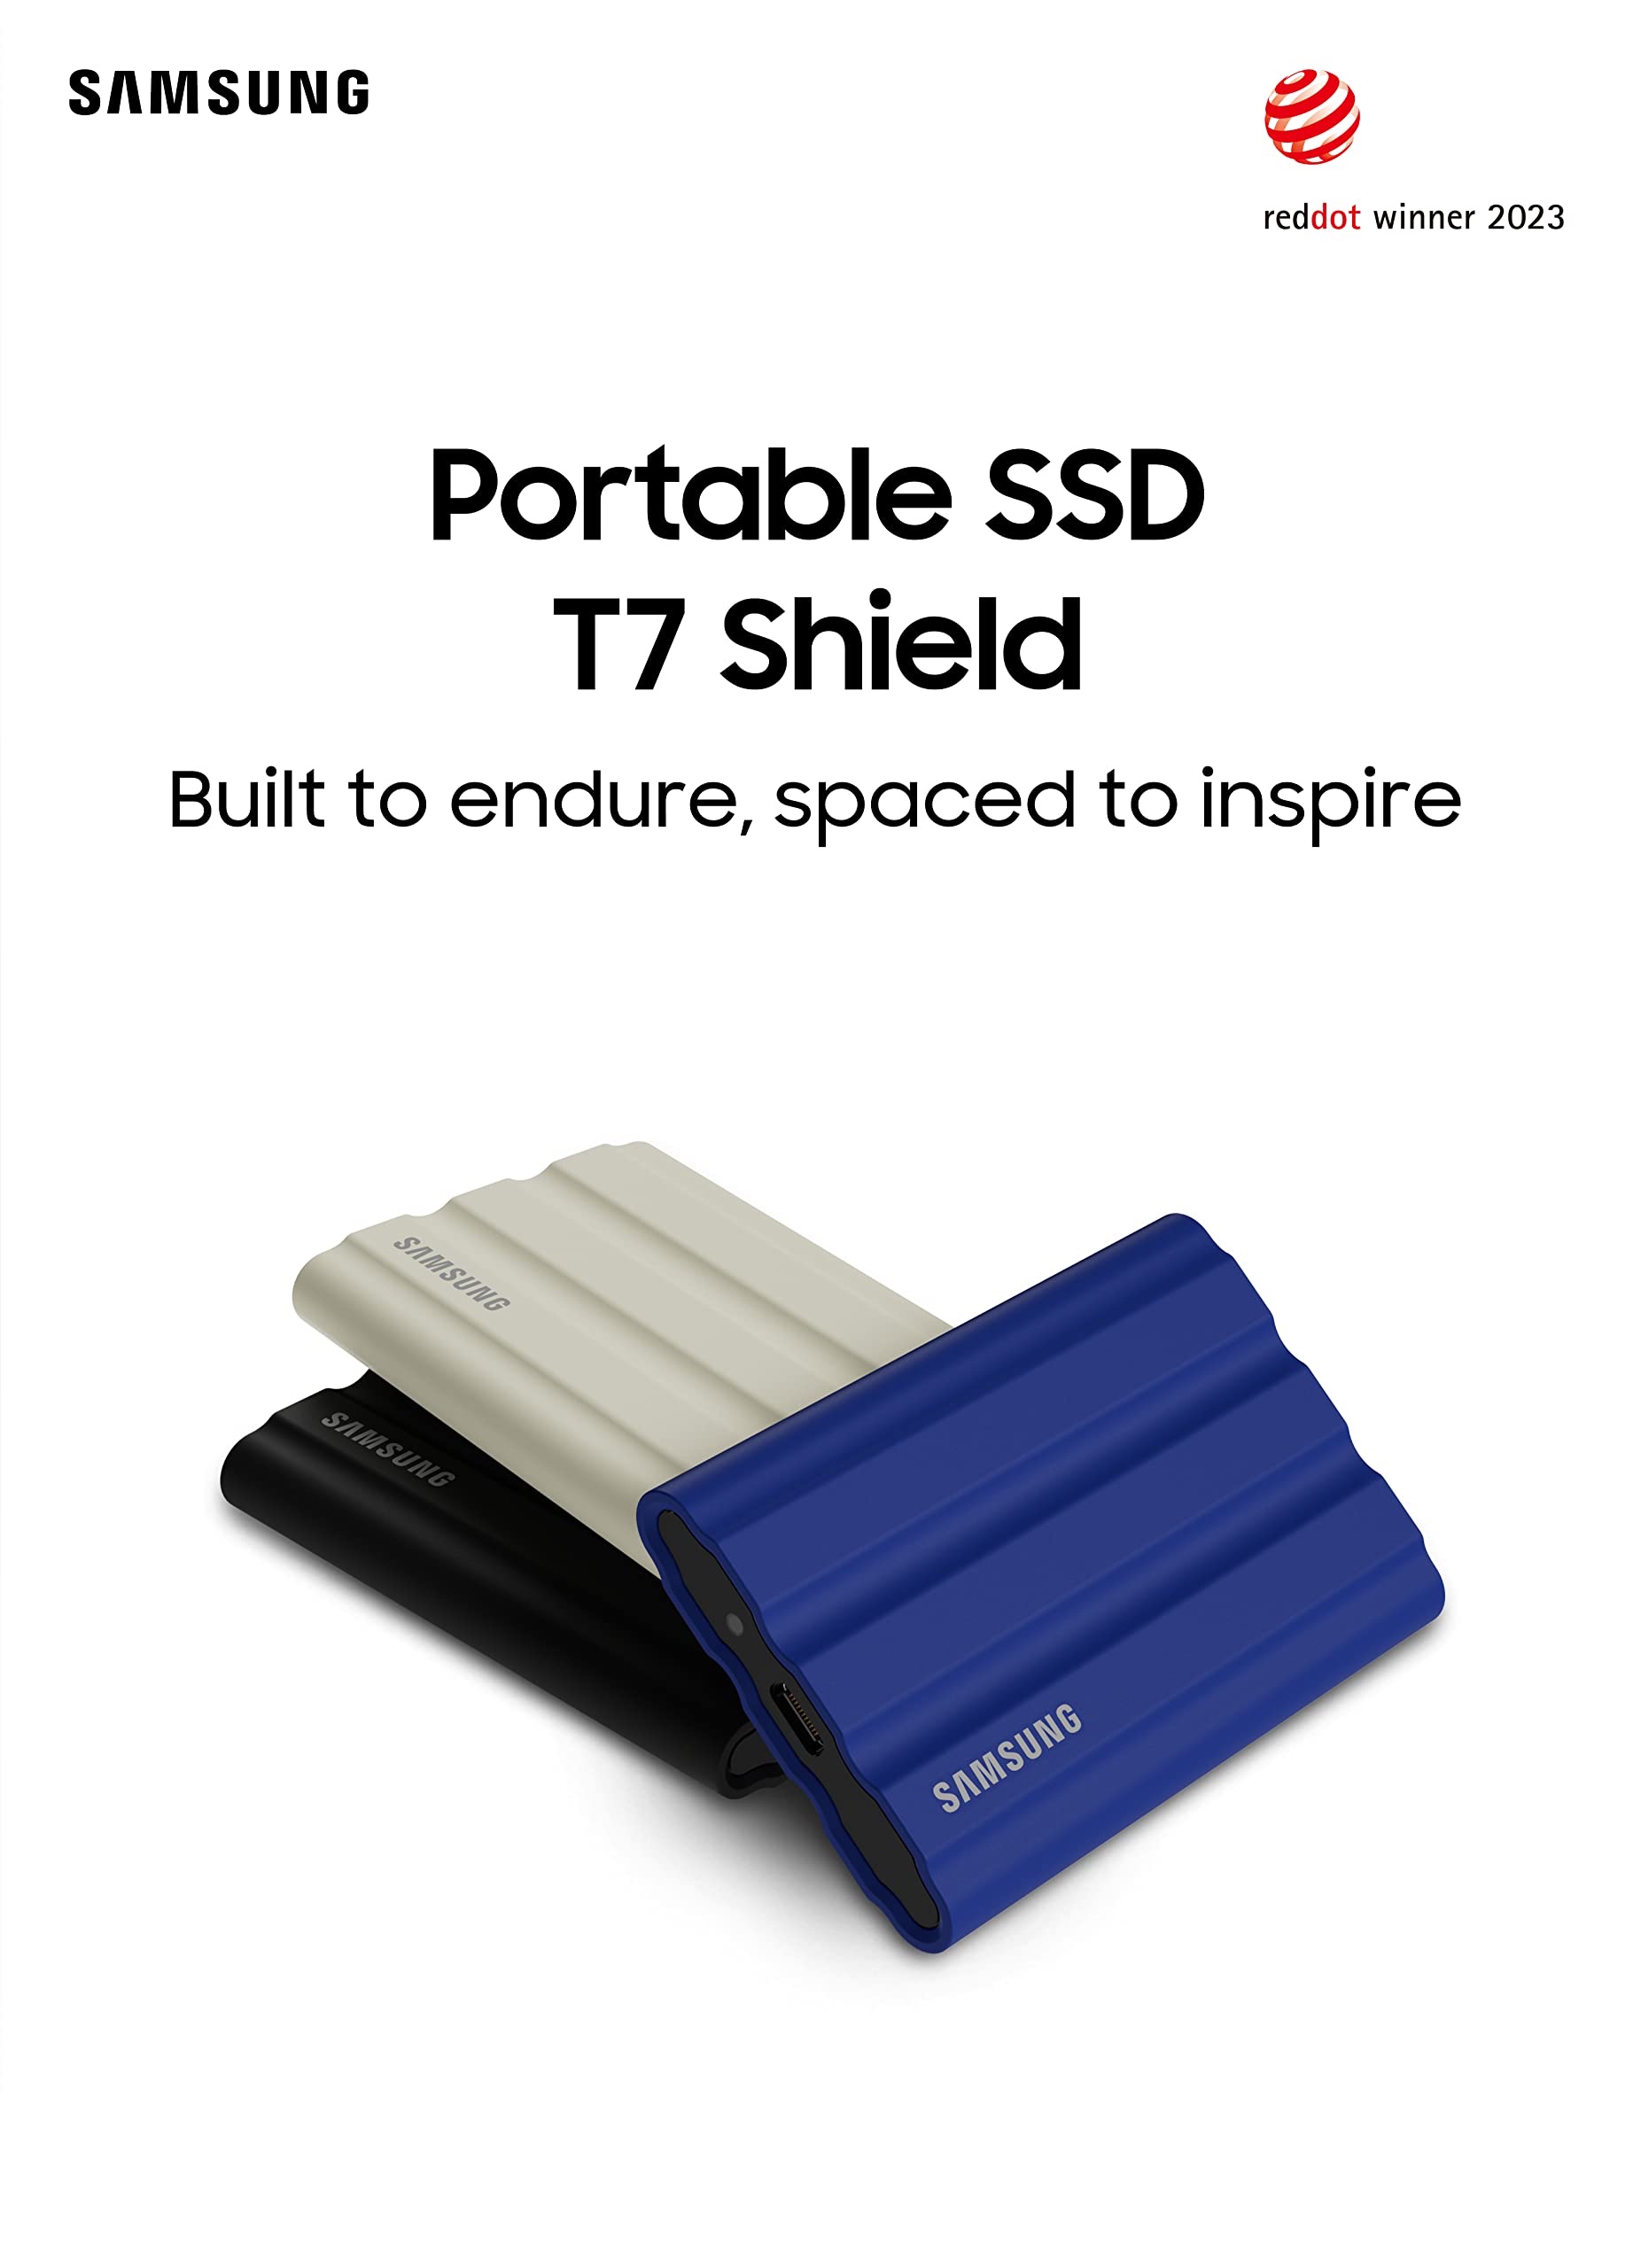
Samsung T7 Shield (1TB or 2TB)
• Speed: Up to 1050 MB/s read and 1000 MB/s write speeds — perfect for transferring RAW footage.
• Design: Compact, stylish, and available in several colors to complement your sleek Moment rig.
• Durability: Rugged, shock-resistant, and IP65 water and dust-resistant — ideal for on-location shoots.
• Compatibility: Plug-and-play with iPhone (using a USB-C to Lightning adapter if needed) and seamless integration with DaVinci Resolve.
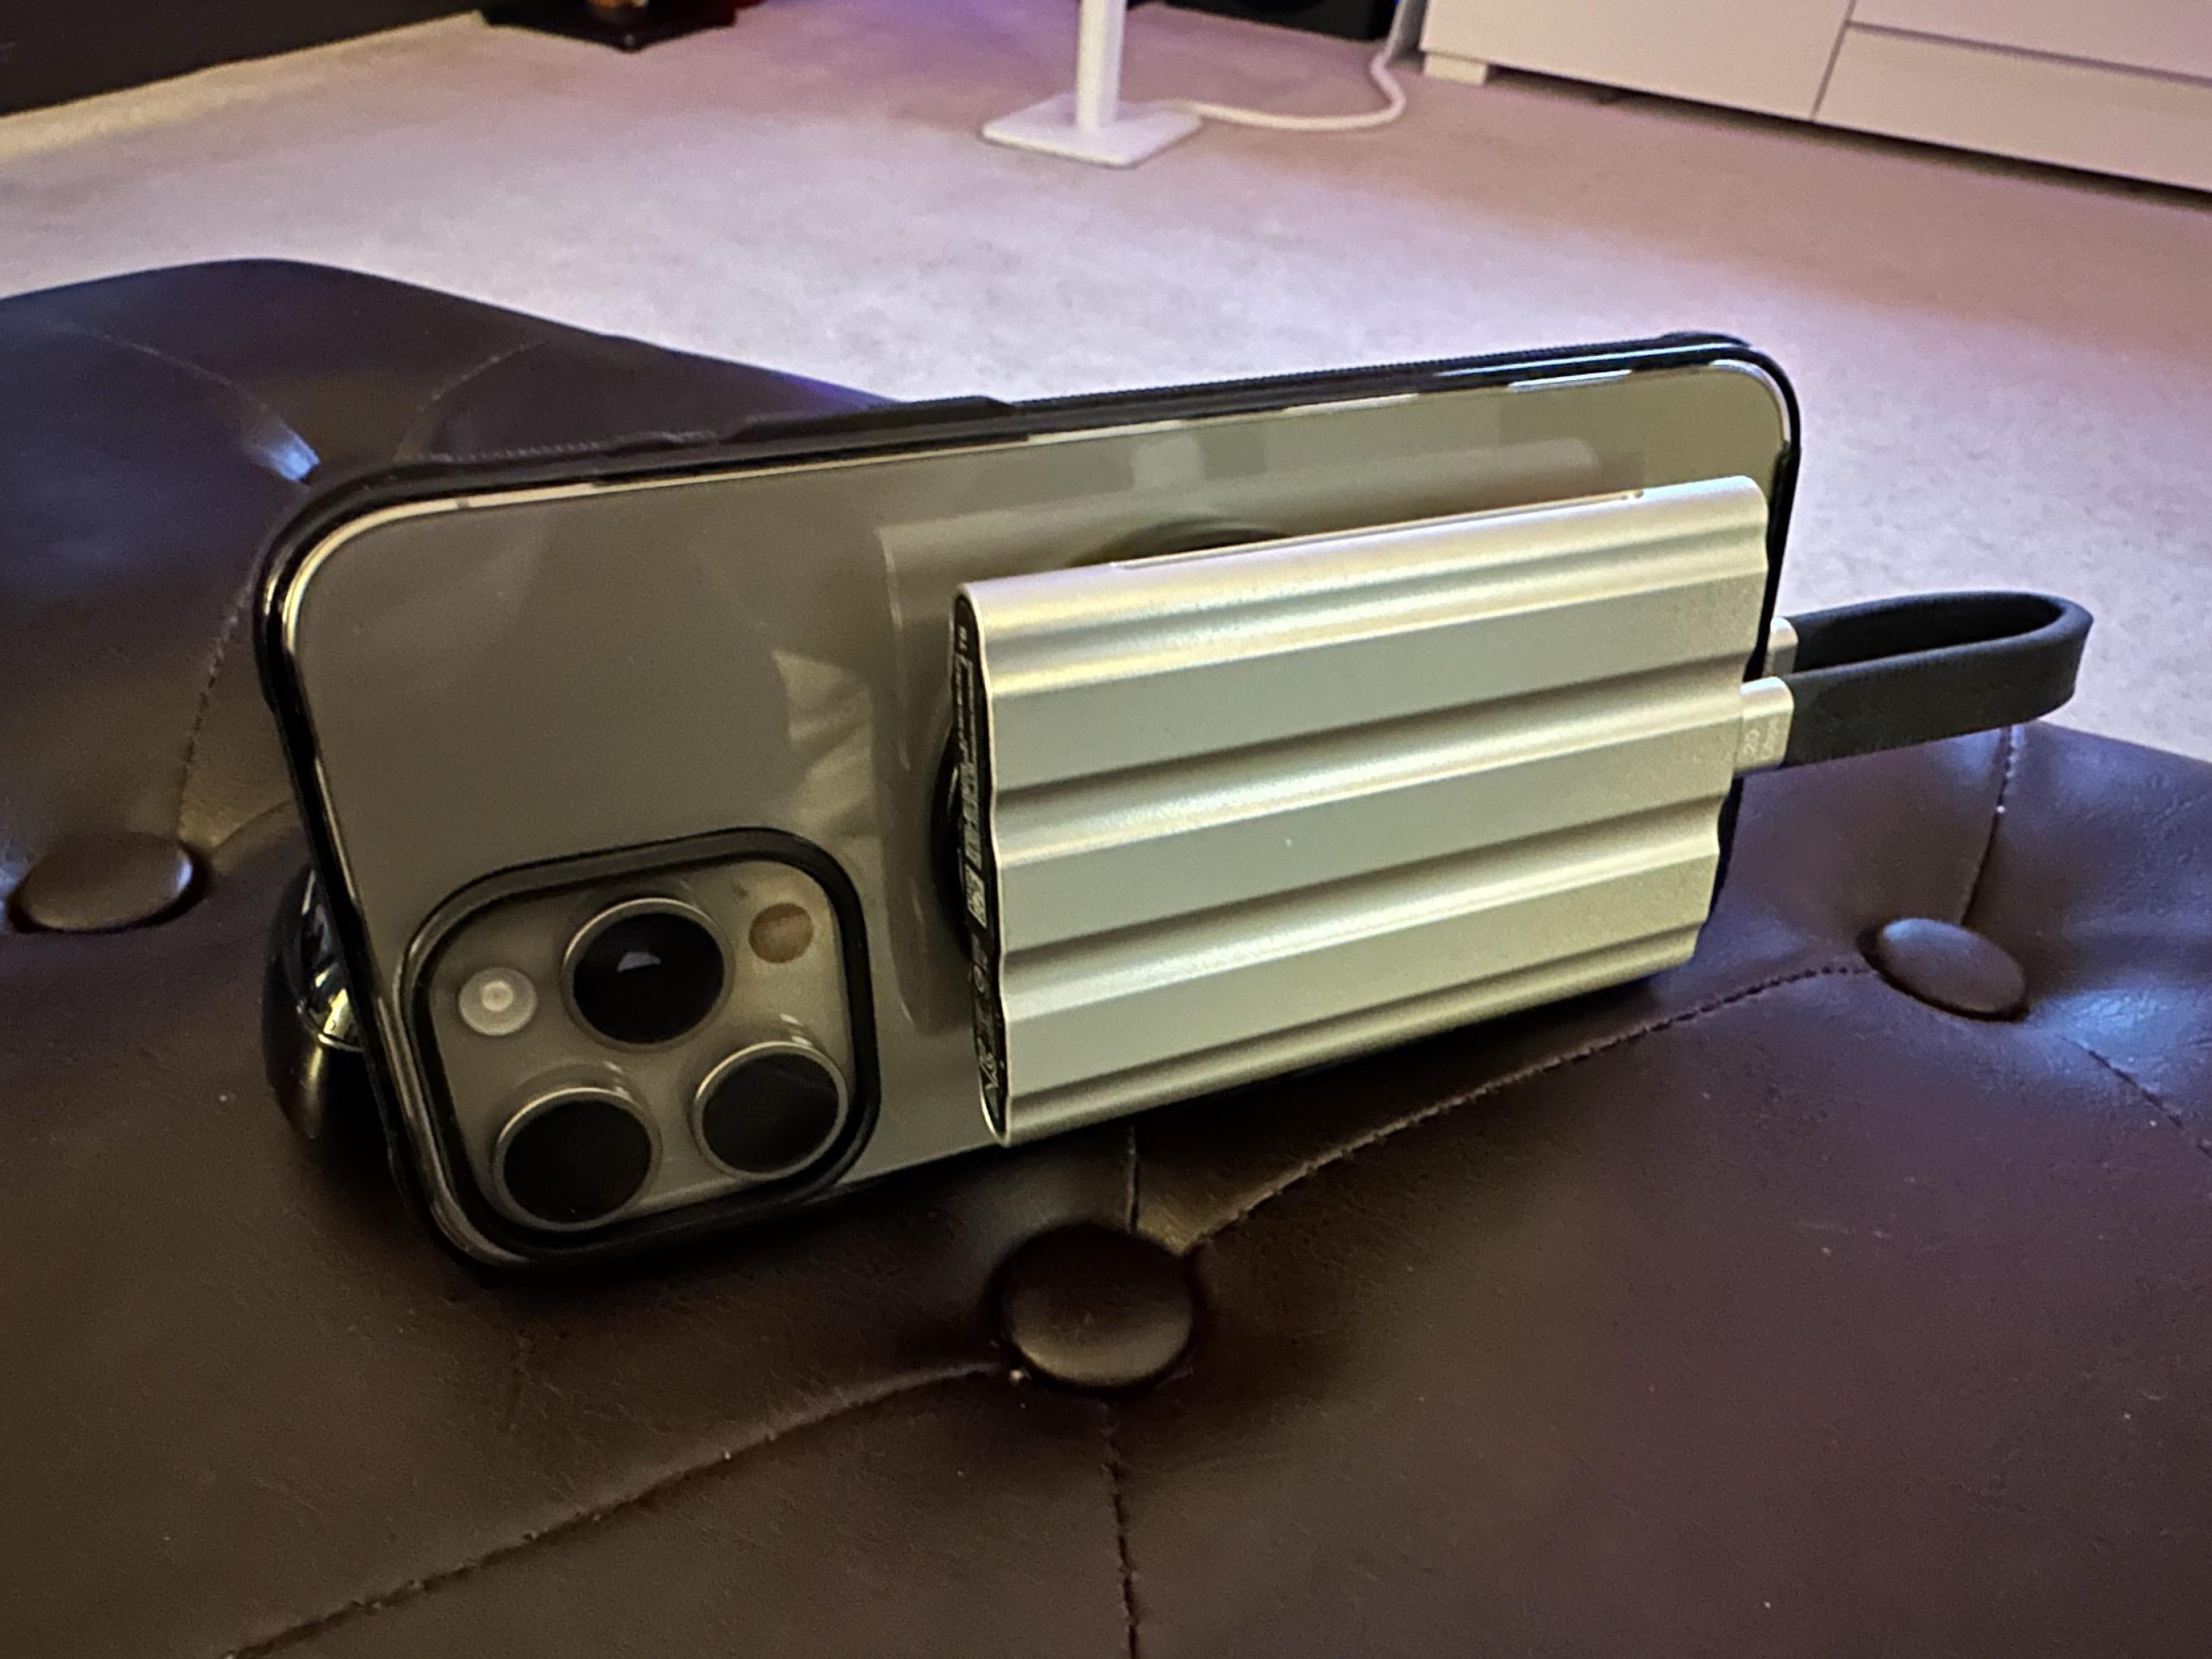
Why You Need It:
1. Direct-to-Drive Recording: With newer iPhones, you can record ProRes 4K and Apple Log video directly to an external SSD, bypassing internal storage limitations.
2. Efficient Workflow: Transfer files to your computer quickly, speeding up editing in DaVinci Resolve.
3. Portability: The slim, lightweight design makes it easy to slip into your camera bag without adding bulk.
🎯 Pro Tip: Format the SSD as exFAT for cross-compatibility between iOS, macOS, and Windows.
Expert Insight:
“Recording directly to an external SSD ensures uninterrupted, high-quality footage — essential when shooting extended scenes or time-lapses. The Samsung T7 Shield has been my go-to for both reliability and speed.”
How to Set Up Your SSD with an iPhone:
1. Connect the SSD: Use a USB-C to Lightning/USB-C adapter (depending on your iPhone model).
2. Check Compatibility: Open the Files app to verify the SSD is recognized.
3. Configure Recording Settings: Go to Settings > Camera > Record Video and select External Drive if available.
4. Start Recording: Shoot as usual, and the files will save directly to the SSD.
By adding the Samsung T7 Shield SSD to your gear, you’ll have the speed, reliability, and capacity needed to handle high-quality footage with ease — ensuring your content is safe, accessible, and ready for professional editing in DaVinci Resolve.
Assembling Your Pro Kit
1. Install the Case: Snap your iPhone into the Moment case for lens compatibility.
2. Attach the Lens: Select the appropriate lens and twist it into the T-Series mount.
3. Add a Filter: Screw in the desired filter based on lighting conditions.
4. Mount the Phone: Secure the phone in the cage, adjusting the grip to your hand size.
5. Attach Lighting: Slide the Moment LED into a cold shoe mount and adjust brightness as needed.
6. Attach Audio Gear: Plug in the wireless mic receiver and clip the transmitter to your subject.
7. Fine-Tune Settings: Adjust exposure, focus, and color balance before recording.
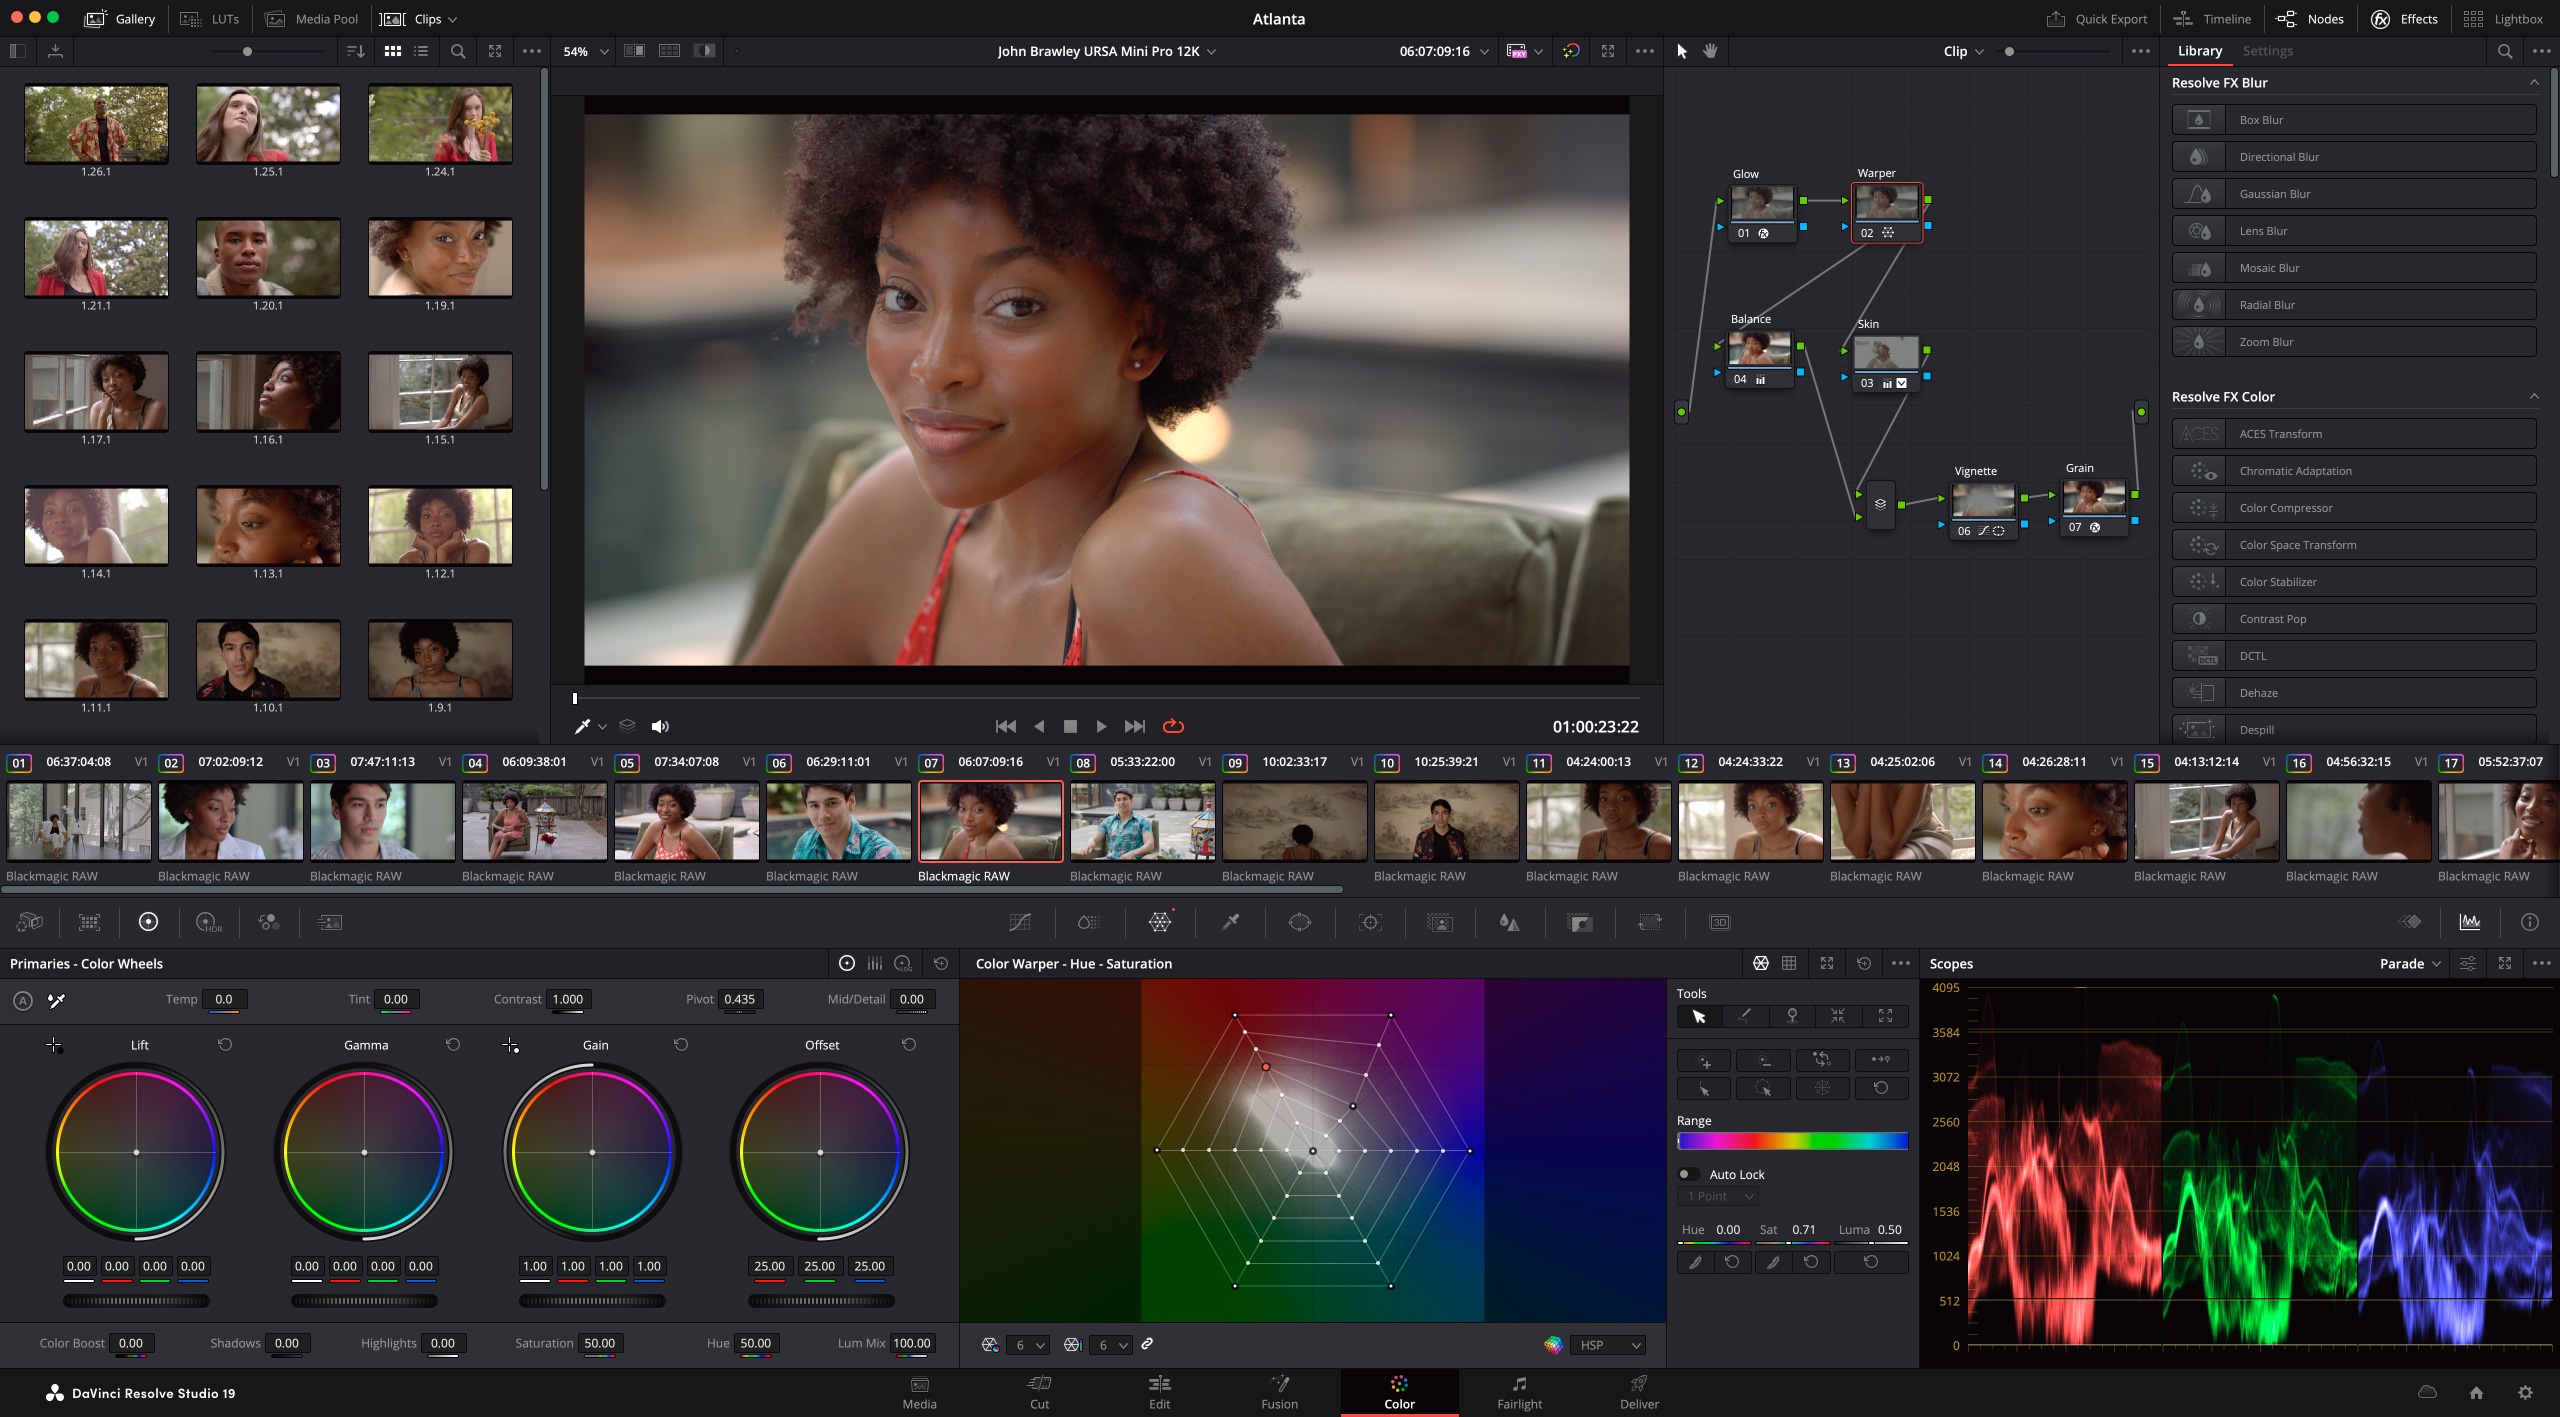
Color Grading & Editing: Why DaVinci Resolve?
Once you’ve captured your footage, editing and color grading are the final steps toward professional-quality content.
DaVinci Resolve – The Pro’s Choice
• Availability: Free and Studio versions available for iPhone, iPad, and computer.
• Color Grading: World-renowned color tools let you adjust tones with pinpoint accuracy.
• Editing Tools: Intuitive timeline editing, sound design, and visual effects all in one platform.
• Workflow: You can shoot on your iPhone, then export and edit on a desktop for more precise control.
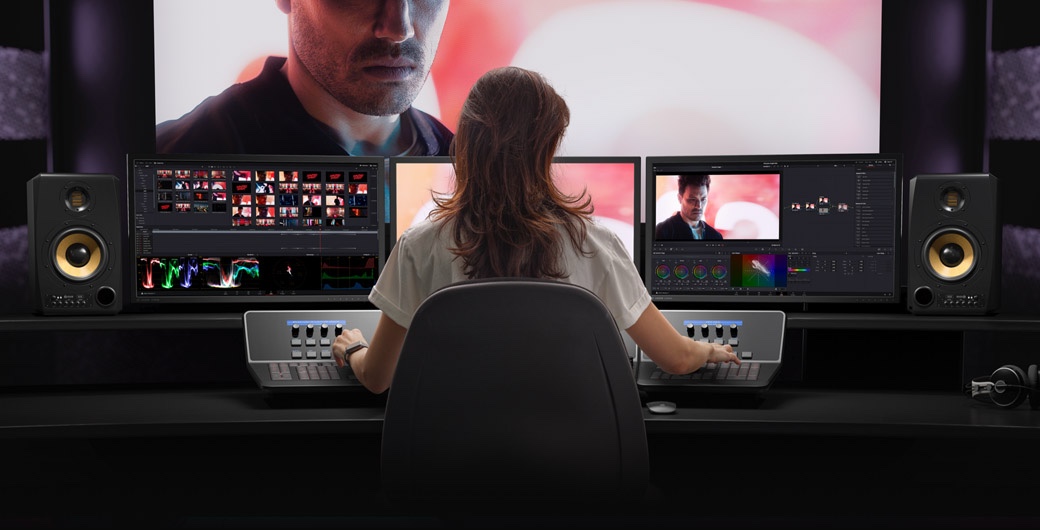
Expert Insight:
“I strongly recommend using DaVinci Resolve on a computer rather than on mobile devices. The larger interface, faster processing, and more advanced color grading options make a massive difference when crafting cinematic visuals.”
🎯 Pro Tip: Use DaVinci Resolve’s Color Wheels to fine-tune skin tones and balance highlights and shadows for natural-looking footage.
Final Breakdown: Total Investment
Product Price (USD)
Wide 18mm Lens $150
Tele 58mm Lens $150
Macro 10x Lens $150
Fisheye 14mm Lens $140
Anamorphic 1.55x Lens $150
Variable ND Filter $159
CineBloom Diffusion Filter $90
Anti-Glare CPL Filter $85
Camera Case $55
Cage with Grip $111
Wireless Mic System $89
Mobile LED Light $79
Samsung T7 Shield SSD (1TB) $108
Total Cost: $1,516
Conclusion: Why Moment + DaVinci Resolve?
With this complete Moment kit, your iPhone becomes a versatile content creation machine. From landscape photography to cinematic storytelling, these tools provide creative freedom and professional results.
And remember: Professional footage deserves professional editing. While DaVinci Resolve is available on iPhone, the desktop version provides a superior experience for color grading and advanced editing — unlocking the true potential of your visuals.
“Shoot smart, edit precisely, and your iPhone will become a filmmaking powerhouse.”
🎬 Now go out there and create something extraordinary!